My third BJD master sculpt work in progress from April 2014 to May 2015
April 2/2014
Here we are back with a new sculpt. Having finished an SD (Cassie) and a Yo-sd doll (Lily), of course I needed to make an MSD (43cm) sized girl.
I have been taking pictures along the way for you but haven't always remembered to bring my camera into the studio with me...I'll try to be better about that :)
For Cassie I used a styrofoam core but this time I chose to go with a wire armature covered in tinfoil and then masking tape for the inner core.
Styrofoam is great but very messy with little bits of foam forever everywhere.

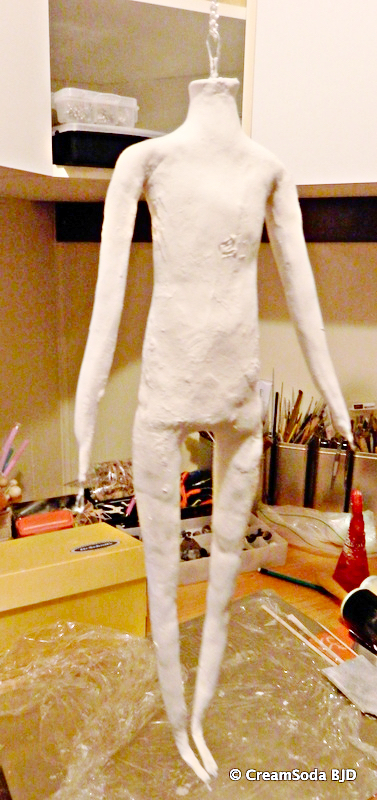
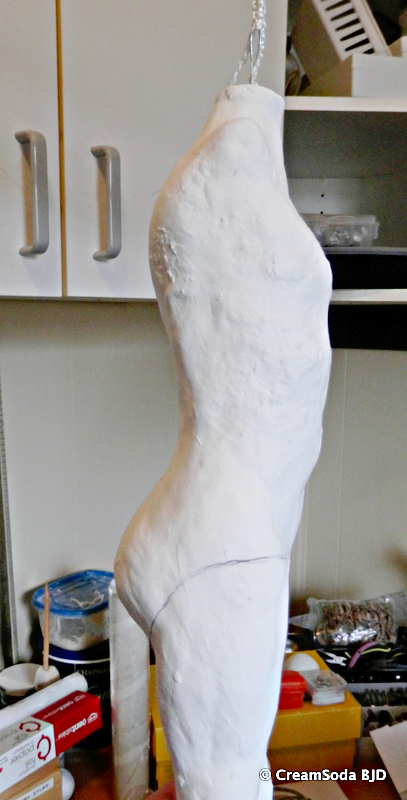
Just like a good book it's hard for me to put her down and quit for the day . Now that the basic body shape is done it's time to walk away and leave her alone for about a week.
Lots of time to dry before I start to hack her up into little pieces.
April 15/2014
Today is THE DAY, the one where I get to take the saw to my work.
This used to scare me but now I rather look forward to it. I grab my safety glasses and snorkel and away we go!
There we are, legs and arms hacked off and the core removed.

Next her insides get a rub down to fill any cracks and make everything more smooth.
Clay is added to the seam where I cut her in two to make her whole again and she is banded up until it's nice and dry.
And we wait another few more days.

April 25/2014
It's been a bit since I was able to get back into the studio but I managed to spend the day working on a rough head for Lacey. I want her to have a bit of an Asian feel to her. (though right now she looks a bit alien)
Still have a long way to go but there we are so far.

April 30/2014
OK I've obsessed over the past few days and spent A LOT of time in the studio, long days and nights :) Just the way I like it.
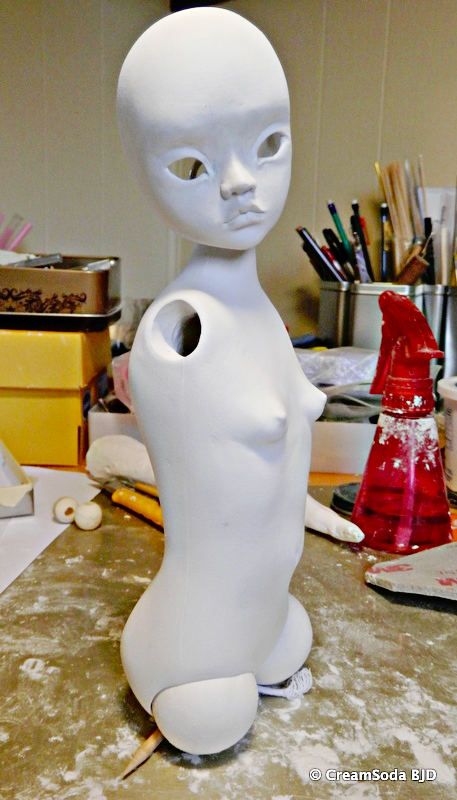
I've done some refining to the head and fleshed out the torso. Lacey is going to have an immature body of about 13 years. I do start a doll by making blueprint drawings but as far as joints I usually just figure it out as I go, often changing details and plans to suit the doll. I haven't decided yet how may pieces her torso is going to be or if I will cut it at all. I think I'll sleep on it :)
May 8/2014
I decided on a 2 piece torso so far and did some work on the inner joint for that as well as getting an arm, elbow joint and hand going. I added a keyhole to the back of the upper torso, I picture Lacey as a super flexi doll, almost ragdoll like. I also did some more sanding. There is always a ton of that to be done.

I absolutely love paperclay and am getting to the point where I find the sanding rather therapeutic besides all the dust it creates. On that note...my sanding table is almost finished!
I have wanted it forever and now I'm just waiting for a piece of metal screen to be made for it. I figure if I nag my friend for about another week he'll get tired of it and just do it :) Let the nagging begin!
May 16/2014
GUESS WHAT?? My metal screen arrived but my friend wasn't able to install it yet. I am not a patient person when it comes to some things...well maybe most things, sooooo.
All my sculpting table needed was a 4 inch hole cut in the side for the dust collection hose to fit through and my screen attached on the top of the desk. Well that sounds easy enough.
I found a hole cutter in the basement that looked like it had been used to cut cement with and grabbed my trusty drill. After measuring where I wanted the hole and crawled under the desk to start cutting.
"Oh My" , well those weren't my exact words when I started up the drill and found out the hole saw was so dull it was like trying to cut a brick with a butter knife. Not only that but my drill kept over heating and needed a 10 minute rest every 10 seconds LOL. So after 4 days of drilling, I finally made it all the way through the desk and siliconed the screen in place and stood back to admire my handy work :)
You may ask, "why not just buy a new hole saw?" I did go to the hardware store and look but I was too stubborn and cheap to dish out 50 bucks for something I was going to use once.
WHAT no photos?? I'm sure I took some
May 20/2014
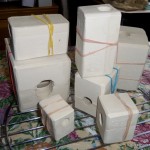
I wanted to make molds of my progress with Lacey so far so I had a working copy to make changes to and something to go back on if I made a major change with her that i wasn't happy with. It would save me the time and trouble of re-sculpting the part or parts.
The thought of learning to make molds always scared the heck out of me. I poured over all the info I could find on the internet but it looked difficult, and where to start just had me confused.
Silicone and resin are very costly and I didn't think something I should be "practicing" with. I decided to head back to the hardware store for a bag of plaster, the dollar store for some oil clay and Walmart for foam core
I spent about $40 and could deal with that if I messed it all up.
I have a lot to learn found it a bit tough to think in the negative and positive as far as the molding process goes but this is what I came up with. I even made a 3 part mold for the lower torso.
Mold making is surely an art and it takes quite a lot of time to make good working plaster ones...for me at least but I'm really glad I took the step and ventured out of my safe zone. It wasn't so scary after all.
I'll leave the molds to dry for about a week and then pour some them in Flumo, an air dry slip. Another first for me.
June 10/2014
I got some of Lacey's parts poured in Flumo, it's much more durable than I expected it to be though it's not as easy to sand and make changes to as the paper clay is.
I've decided to play with a different shoulder joint. As you can see I still have work to do, and no she won't end up looking like a football player...I hope.
I love that nothing is final until you are happy with the sculpt...don't like it , just chop it off and start again. I do LOTS of chopping, hacking and whacking :)
Next week, I'll work more on the shoulder joint as well as make the first joint of her thigh shorter. It's about twice as long as it needs to be...chop, chop, chop.
So far I'm quite happy and excited with her mobility and her little soul is already starting to emerge.


January 26/2015
After starting to work with her again I decided that I wanted to add one more torso joint, so out came the saw!


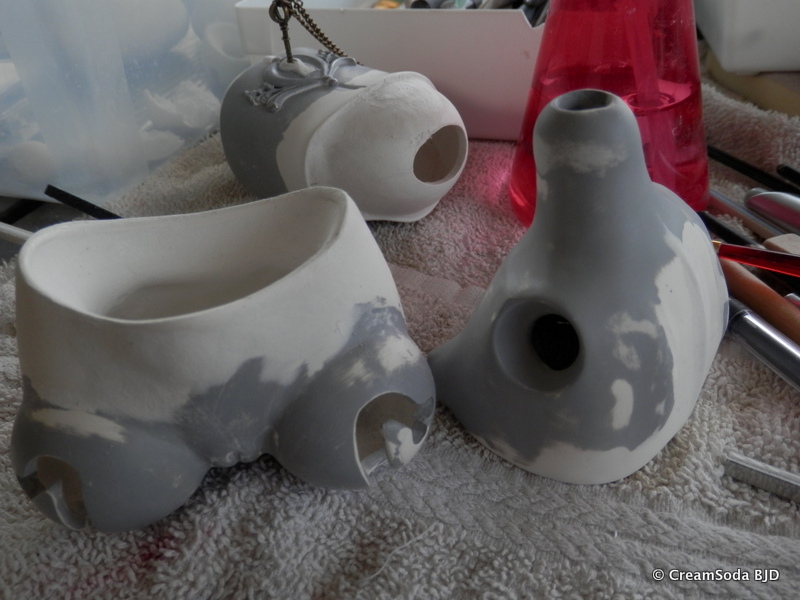
After a bit of chop, chop and some sanding I was anxious to do a test stringing to try out the new joint. This is how it worked...


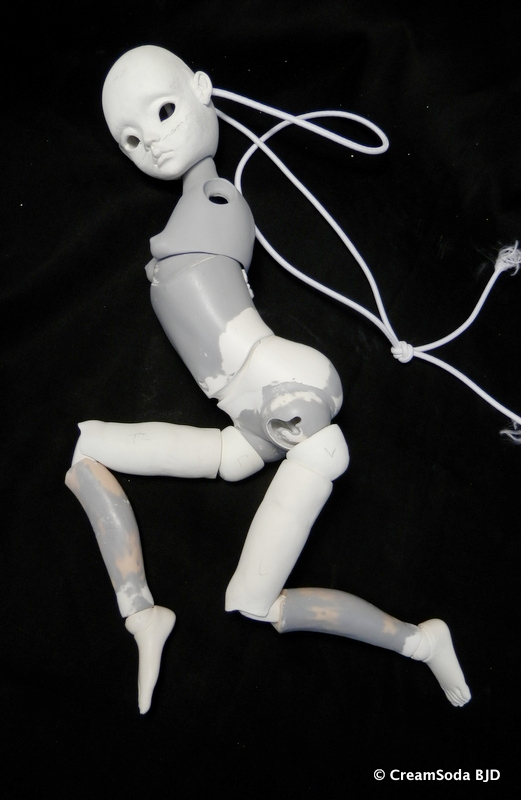
GREAT! I'm happy with that and I think Lacey is too :)
January, 28/2015
Over the past 2 days I've been adding some clay to the thighs and building the indentations for the calves to fit into so that when she sits back on her legs it will be more natural.
Lots of tiny adjustments today and working on symmetry in her legs and a good smooth movement of the joints. I also made some small changes to her ears, they were a bit too thick for my liking.
I have vowed not to shelf Lacey again until she is finished. It's been almost a year since I started her and I really want to see her all done.
Generally my sculpts are taking a year to finish and have a sample resin doll back from the casting factory. So that being said I am shooting to have all the sculpting finished and sent away by the end of February.
Tomorrow I will do more fine tuning to the legs, some more test stringings and probably re-sculpt her feet. I'm not 100% happy with the toes and want to have a smaller ankle joint anyways.
Also slated for tomorrow is getting her torso finished and primed again after more sanding.....I'll get wore pics too, YAY! I love playtime
January, 29/2015
Well it was rainy and dismal all day so I wasn't as productive as I had hoped.
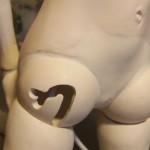
I did get to sculpting locks for her upper thigh joints, did lots more sanding to the torso and worked on cleaning up the keyhole in the mid torso. The key fits great and I'm happy with how it turned out. I realized that in all the pictures I have taken of Lacey I hadn't posted one of the back of her with the pretty keyhole, so here it is along with the other torso pieces.
Tomorrow I will perfect the fit of the torso at all the joints, sand some more and hopefully the weather will co-operate so I can spray primer outside.
Once the torso is all finished I'll go on to finishing the legs and feet, they are almost finished and should just take a couple days.
March, 9/2015
Ok, admittedly it's been quite a bit more than a couple of days since my last post. So for everyone that's following Lacey's progress here we go.... "HI Ashley!"
I spent some time on re-working new knee joints because I wasn't completely happy with how they looked. They were working good but now I think they are going to be better both mechanically and aesthetically.
SO after working on them for about a week I went to making a mold, figuring it would save a lot of time rather than try to get them both the same.
Wellll.... since the move I am still looking for some of my studio goodies, including it seems, my Murphy's oil soap which I use as a mold release. It works awesome!
BUT I did have some commercial mold release which should do the trick even better ...I thought.
The moral of the story is stick with what you know works and if you don't know USE Murphy's Oil Soap!!!!!
My knee that took me forever to perfect and another whole day to finish the mold was solidly stuck in the mold for good.
PANIC set in and I had no choice but to break the mold carefully to try to rescue my treasure.
Needless to say I threw out the mold release and started on new molds. A bit of a set back but the day was saved and I now have 2 beautiful knees. YAY!
Tomorrow I will finish up the legs and get some more pictures.
See you soon!

March, 11/2015
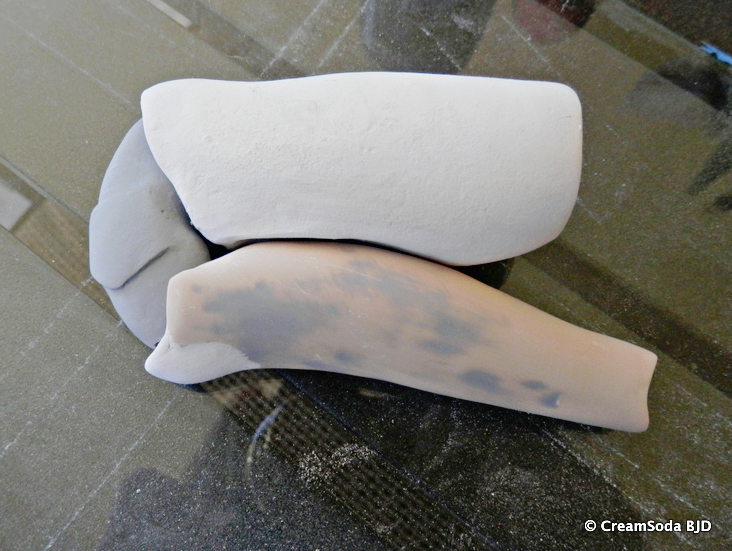
Today I worked mostly on the little things. Making adjustments to the fit of the torso pieces and symmetry in the face. I also decided to change the ankle joint to a smaller one and refined her toes.
Tomorrow the plan is to completely finish the legs off and and get them and the torso all primed up. Maybe even her head if all goes well.
I'm anxious to get back to the arms and hands so I can re-unite all her bits :)
April, 24/2015
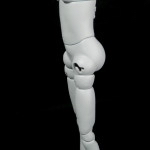
WOOOhooo! After a bunch of fine tuning and even more sanding Lacey's legs and feet are finished. Well enough to have a play day anyways. There are still some minor adjustments and more sanding to do but she's close. Next week I'll work on her arms and hands some more. They are about half finished now.
When her arms are finished I am going to be in trouble and may never get anymore work done because I can't stop playing with her! Lacey has a TON of personality and her poses are endless. The great thing I am finding with her is that she strikes a pose effortlessly and so naturally that she is super fun to play with. Hope you like her so far :)


May, 14/2015
I'm still here :) I've been working on arms and hands as well as some more adjustments here and there. Every time I have Lacey in my hands I see something that I want to add the tiniest adjustment to. Things like a bit of cellulite in her thigh...sand...sand...sand, or a nostril is slightly larger than the other, can't have that :)
I'll be working on her all day today and should have her pretty close to being done. Picture updates for tomorrow I hope YAY!
BIG FAT DOLLY HUGS,
Rhonda
May, 20/2015
Here I am again. I really thought I would have Lacey finished today....but. The lesson for this week is if something is working well...don't mess with it!!!
While I was making adjustments and sanding for the millionth time I decided that the knees might be better if I changed then just a touch, adding just a tiny bit of clay about the size of half a pea to each knee. I did it and merrily went to sanding and priming the new adjustment. After everything was finished I restrung her all ready to play after a few days of hard work.
Well, the addition to the knees was just enough to throw her balance off the tiniest bit sooooo, over the next few days I will be un-doing what I did and testing and retesting again.
I did get some playtime with her though and found a few small adjustments I want to make so that I can add a bit more flexibility to her already incredible flexiness....there you how bout' that for the word of the day? Is that a word? hmmm. Well anyways, I had always wanted to do a "forgotten/rag doll" type character BJD, hence the keyhole in Lacey's back, so the more flexi I can make her the better, all the way around. Perfect for great play!
Here are a few more pictures I snapped to share with the Lacey fans out there that keep coming back for a peek :) Thanks guys!
Over and out, signing off for another few days
Rhonda


July, 16/2015
Lacy was carefully packed up and shipped to the casting house in China about 8 days ago. Always a scary thing for me because I don't take a copy of the dolls before I send them.
I just take a deep breath before I drop them in the mailbox, crossing my fingers that the Master doll I just spent over a year sculpting will arrive safely at the proper destination and in one piece :)
I have great confidence in the postal system and am happy to say in 8 years I have never had anything lost or broken. I pack things verrryyyyy well.
Anyways, to make a long story short, I received notice yesterday to say that Lacey has arrived. YAY! So now we wait.
I'll keep you posted as I get news of her progress.
HUGS!
Over and out, signing off for another few days
Rhonda
