

NEW wig tutorial for Stella & Lizzy
Posted by Rhonda on 22nd May 2019
It's time for an update on Stella and AMelias wig pattern, I've added an extra dart for a better fit. I know you guys can handle it because you mastered the last one like pros!
get your wig making fur and pattern here if you prefer to have the PDF emailed to you to print yourself please contact me using the contact us form.
Stella's new pattern now has 2 darts and Lizzy's has 4 darts, both are still very easy to make and the new tutorial has lots of photos. This will probably take about an hour to finish.
If you purchase the Make a wig kit you get the pattern of your choice, either Stella or Lizzy and a piece of Tibetan fur large enough to cut the pattern out of.
You will need to gather a few extra things:
contact cement, medium to heavy thread for hand sewing, a sturdy hand sewing needle, xacto or craft knife
If you have any questions feel free to drop me an email at creamsodabjd@gmail.com or here ask me
Let's get started!
- Cut out your pattern piece with scissors and lay it face up on the backing of the fur so that the arrow on the pattern is pointing in the same direction as the fur wants to lay naturally.

Trace around your pattern piece then flip it over and trace it again in reverse
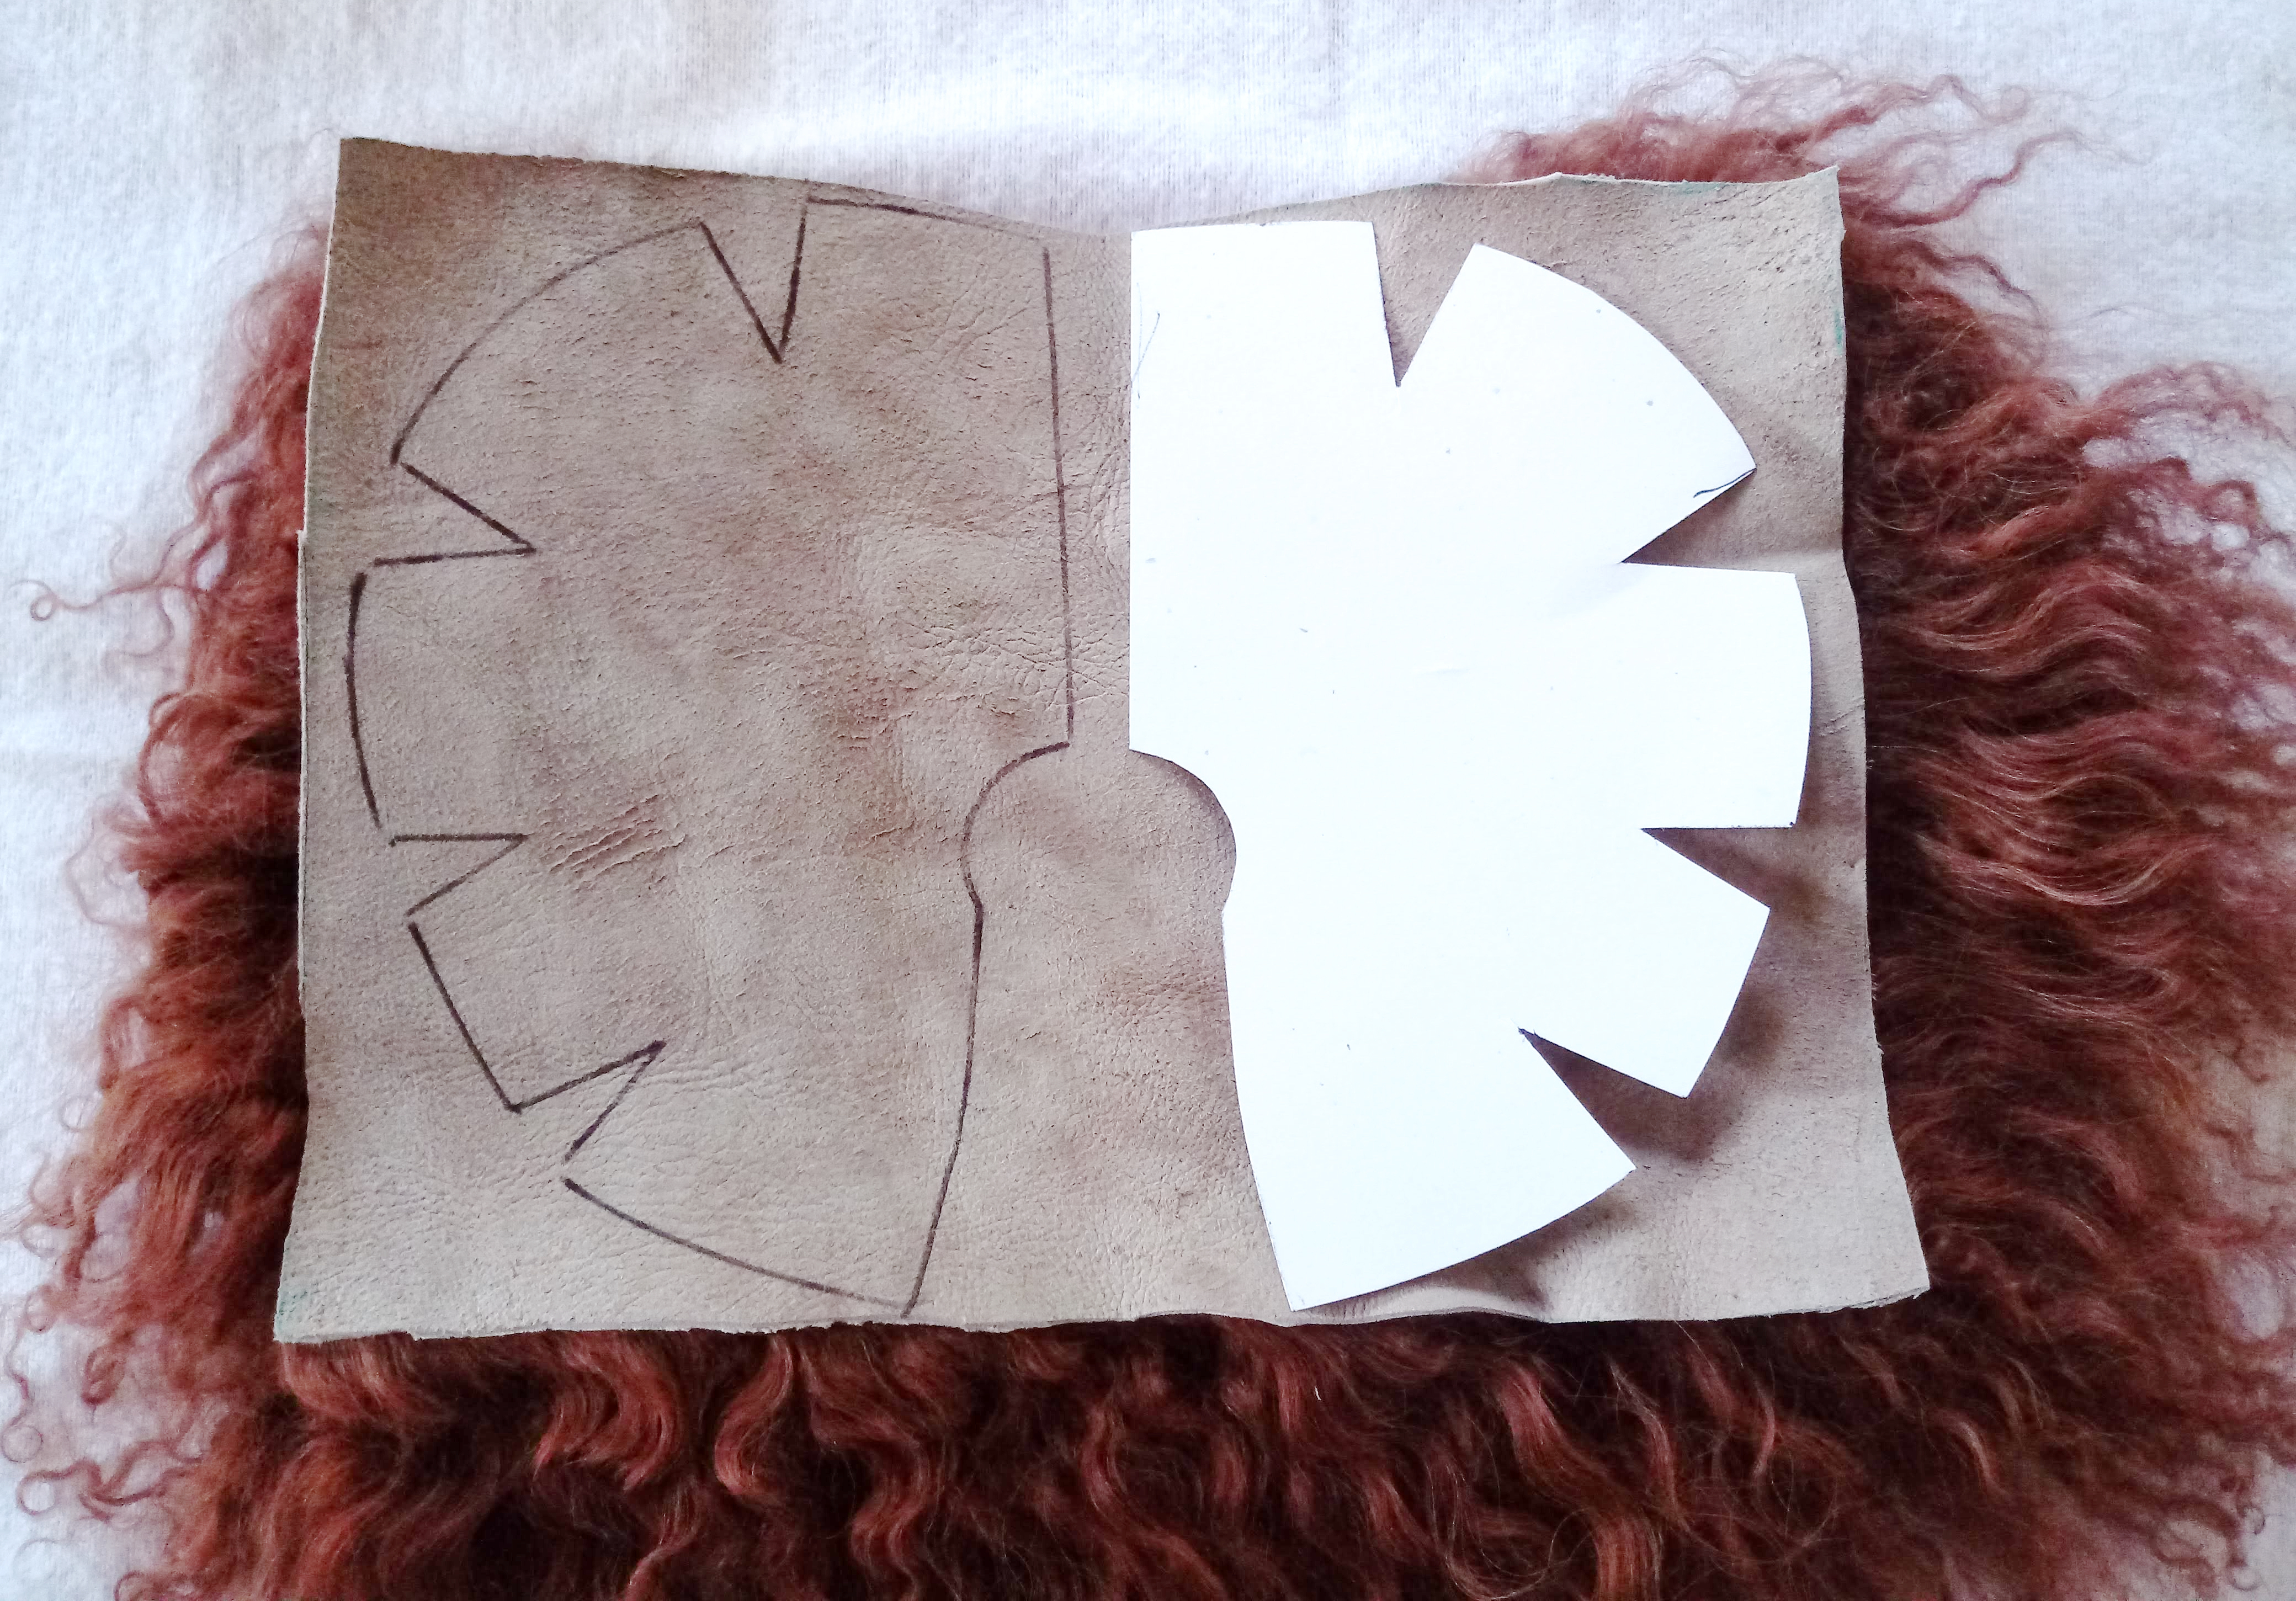
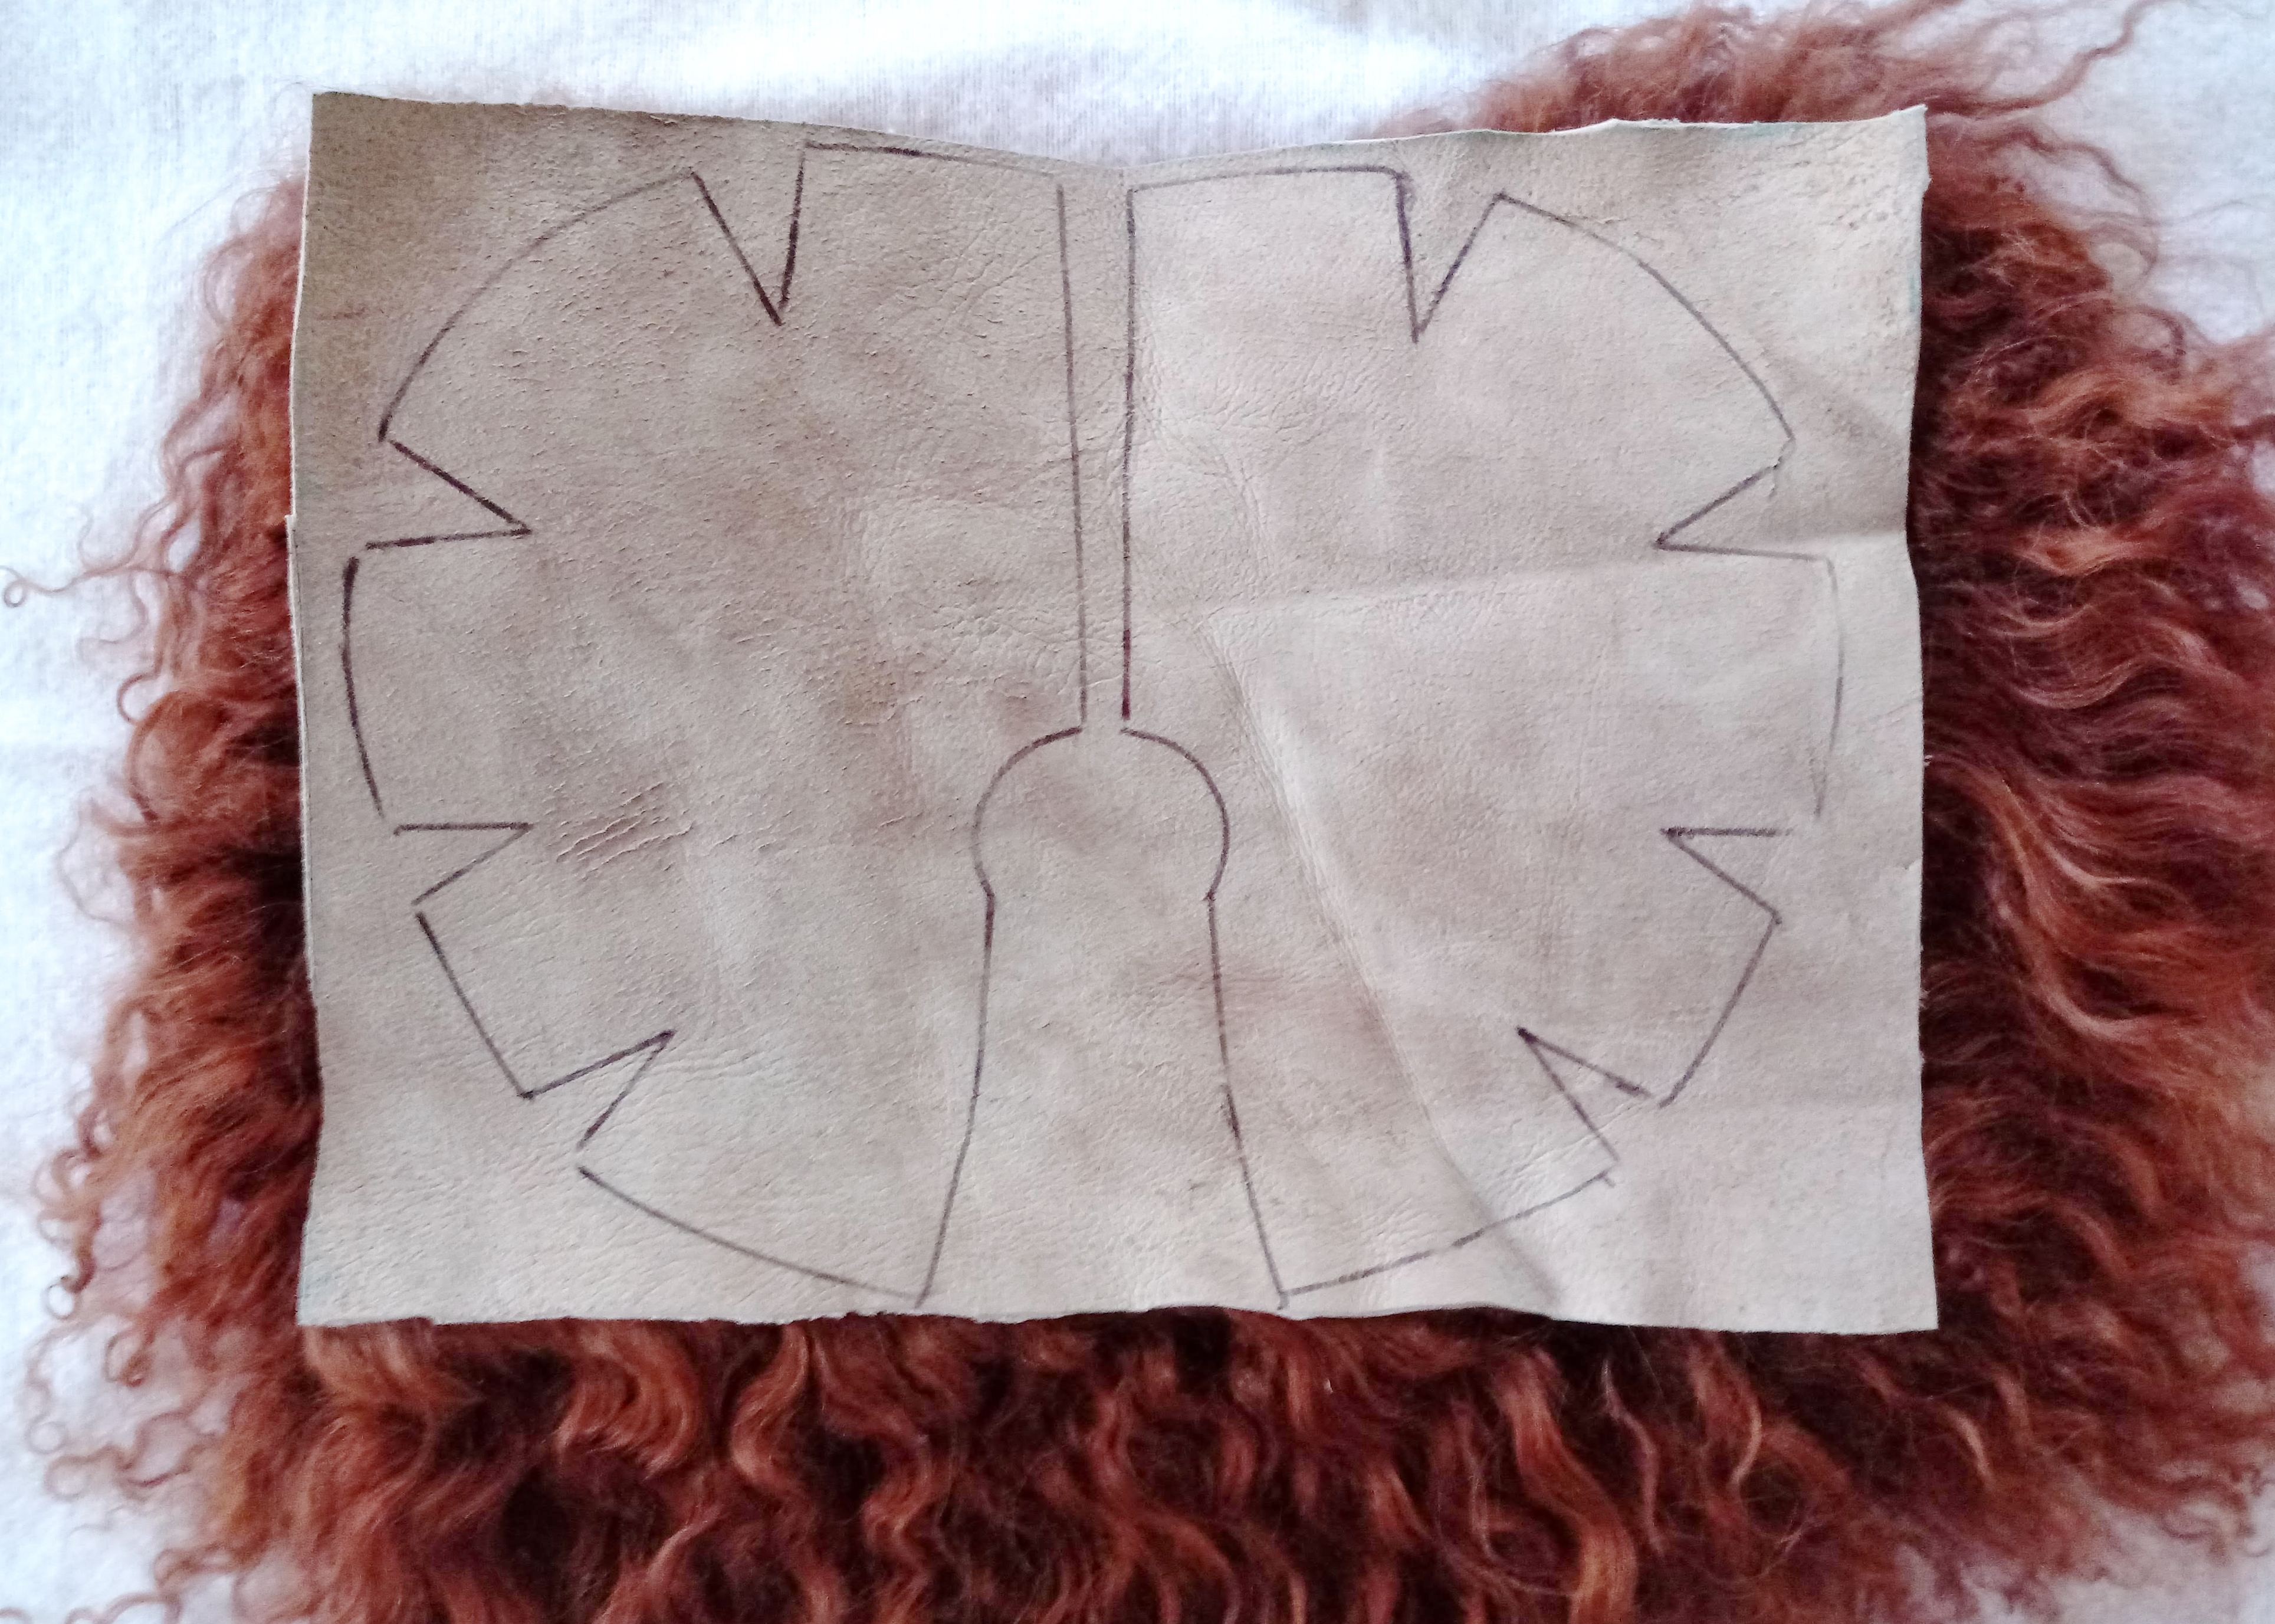
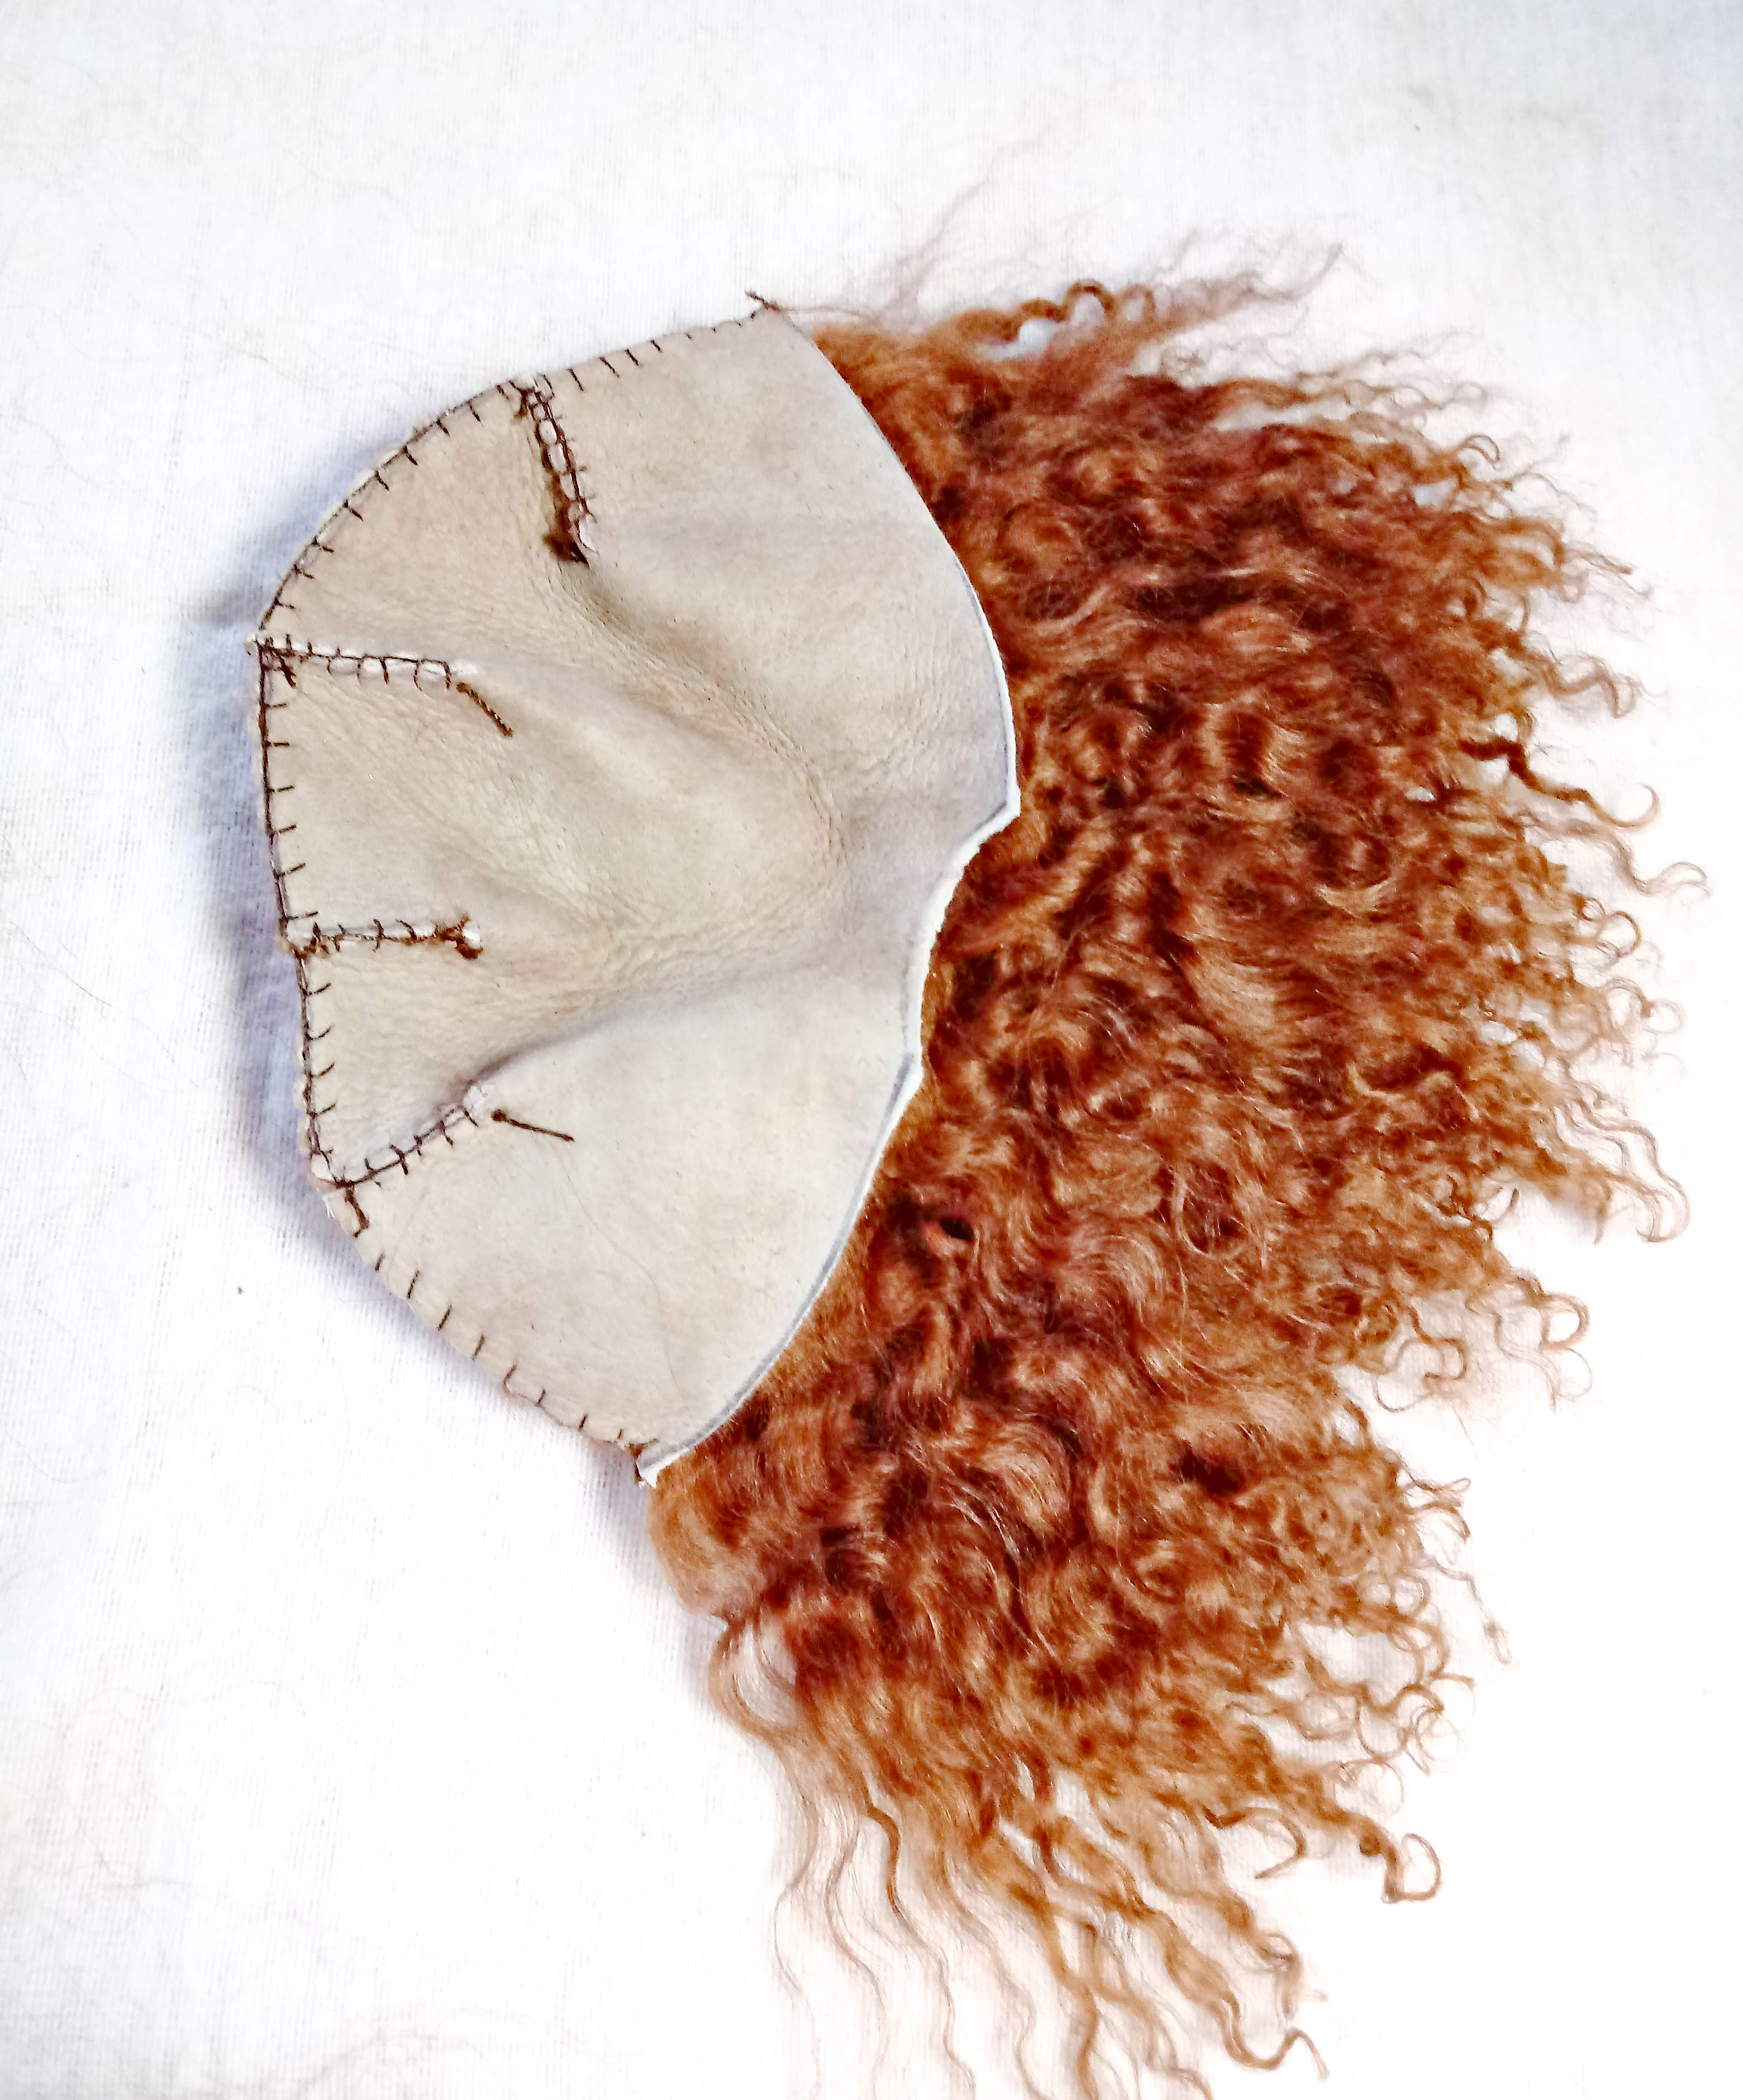
Excellent, now you should have something that looks like this
Let's sew!
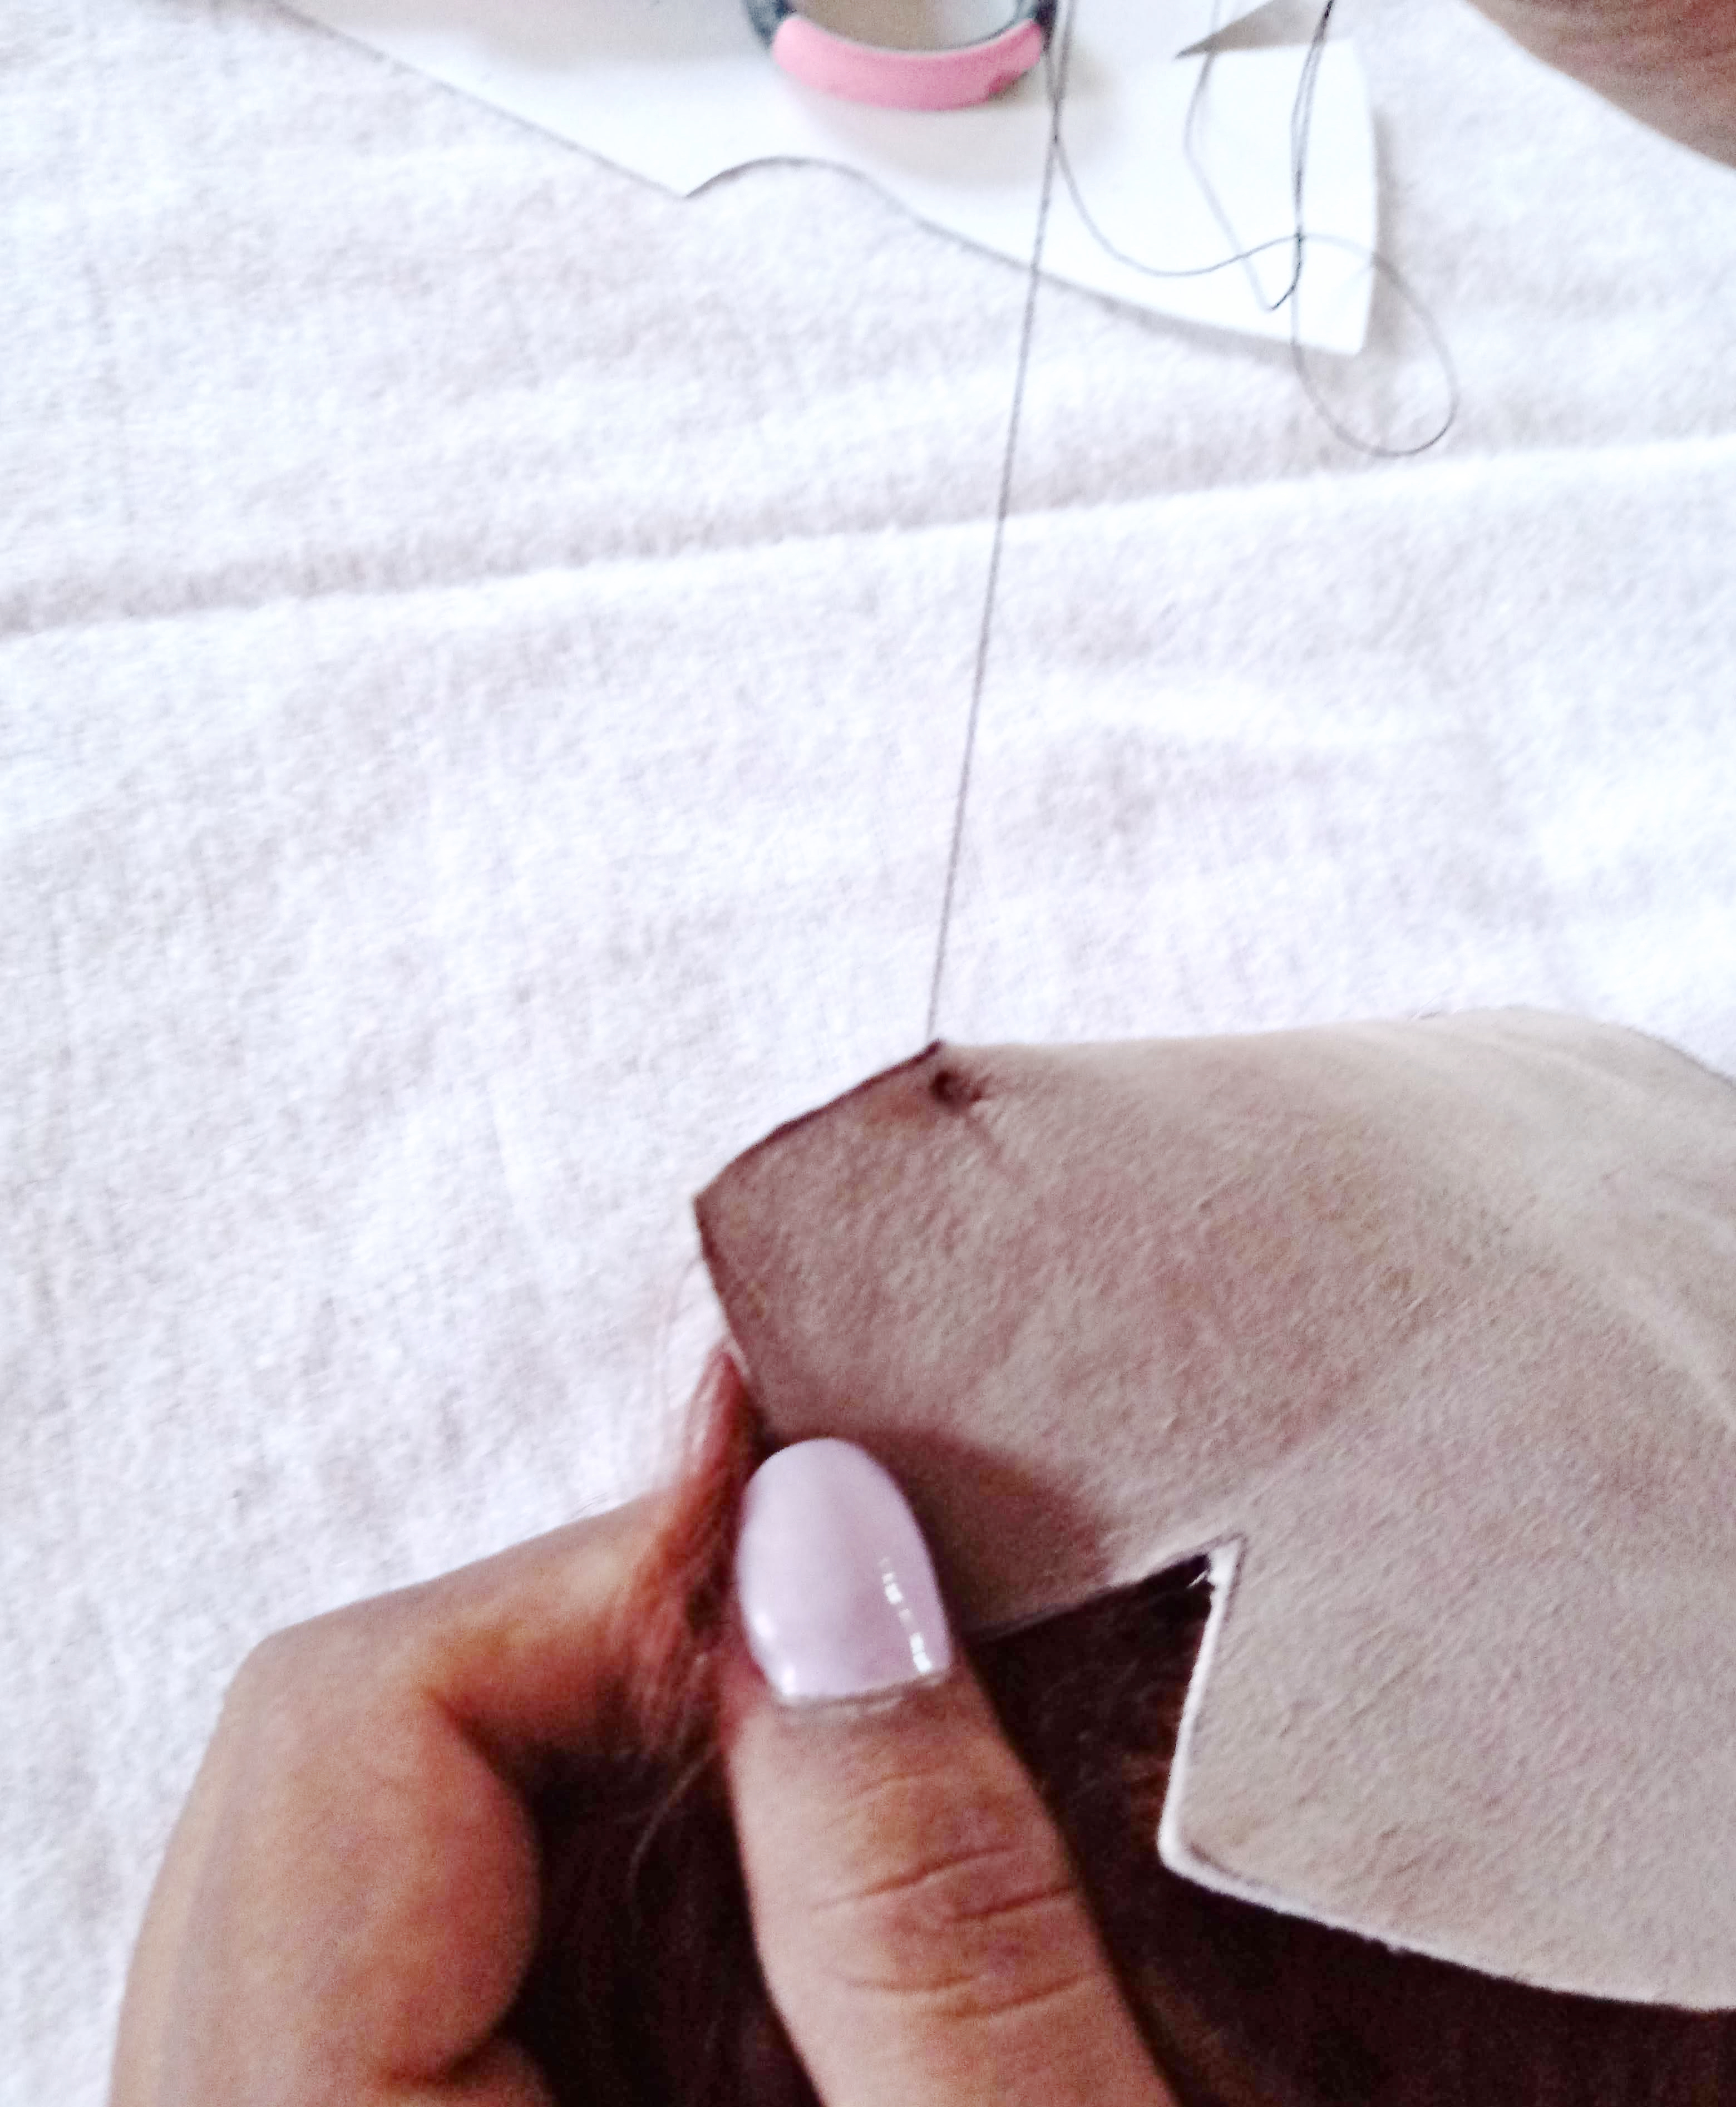
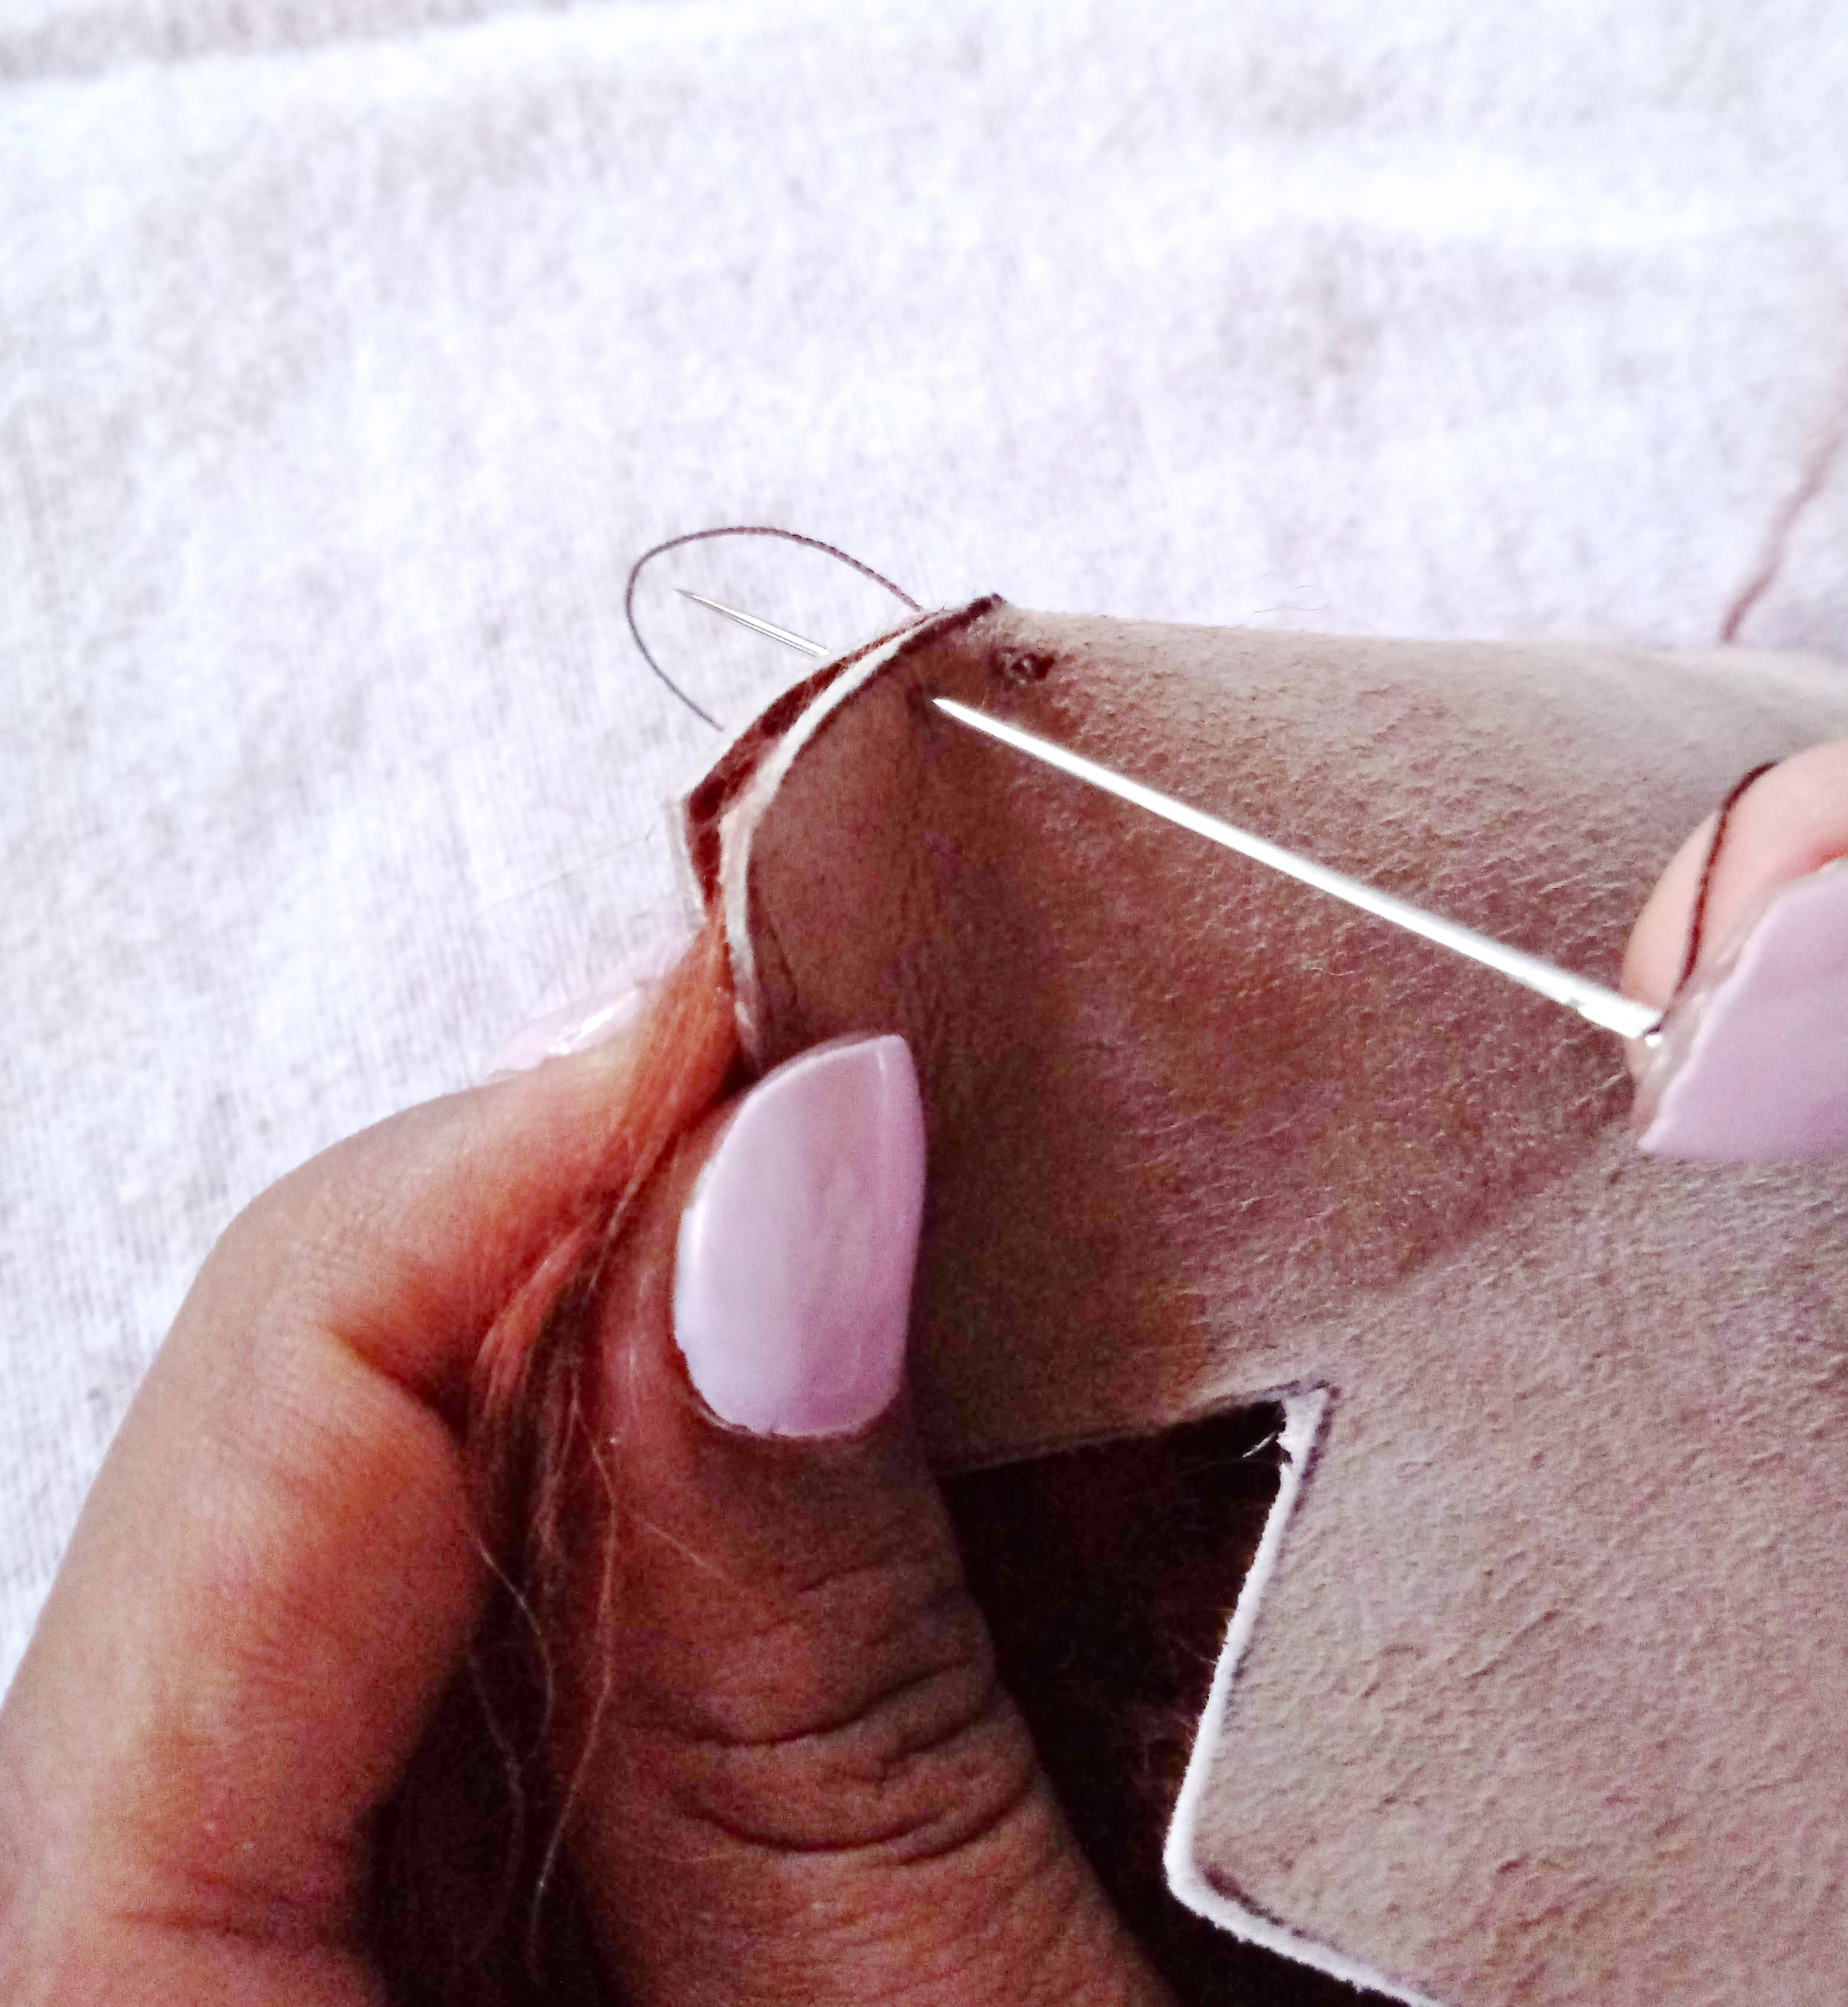
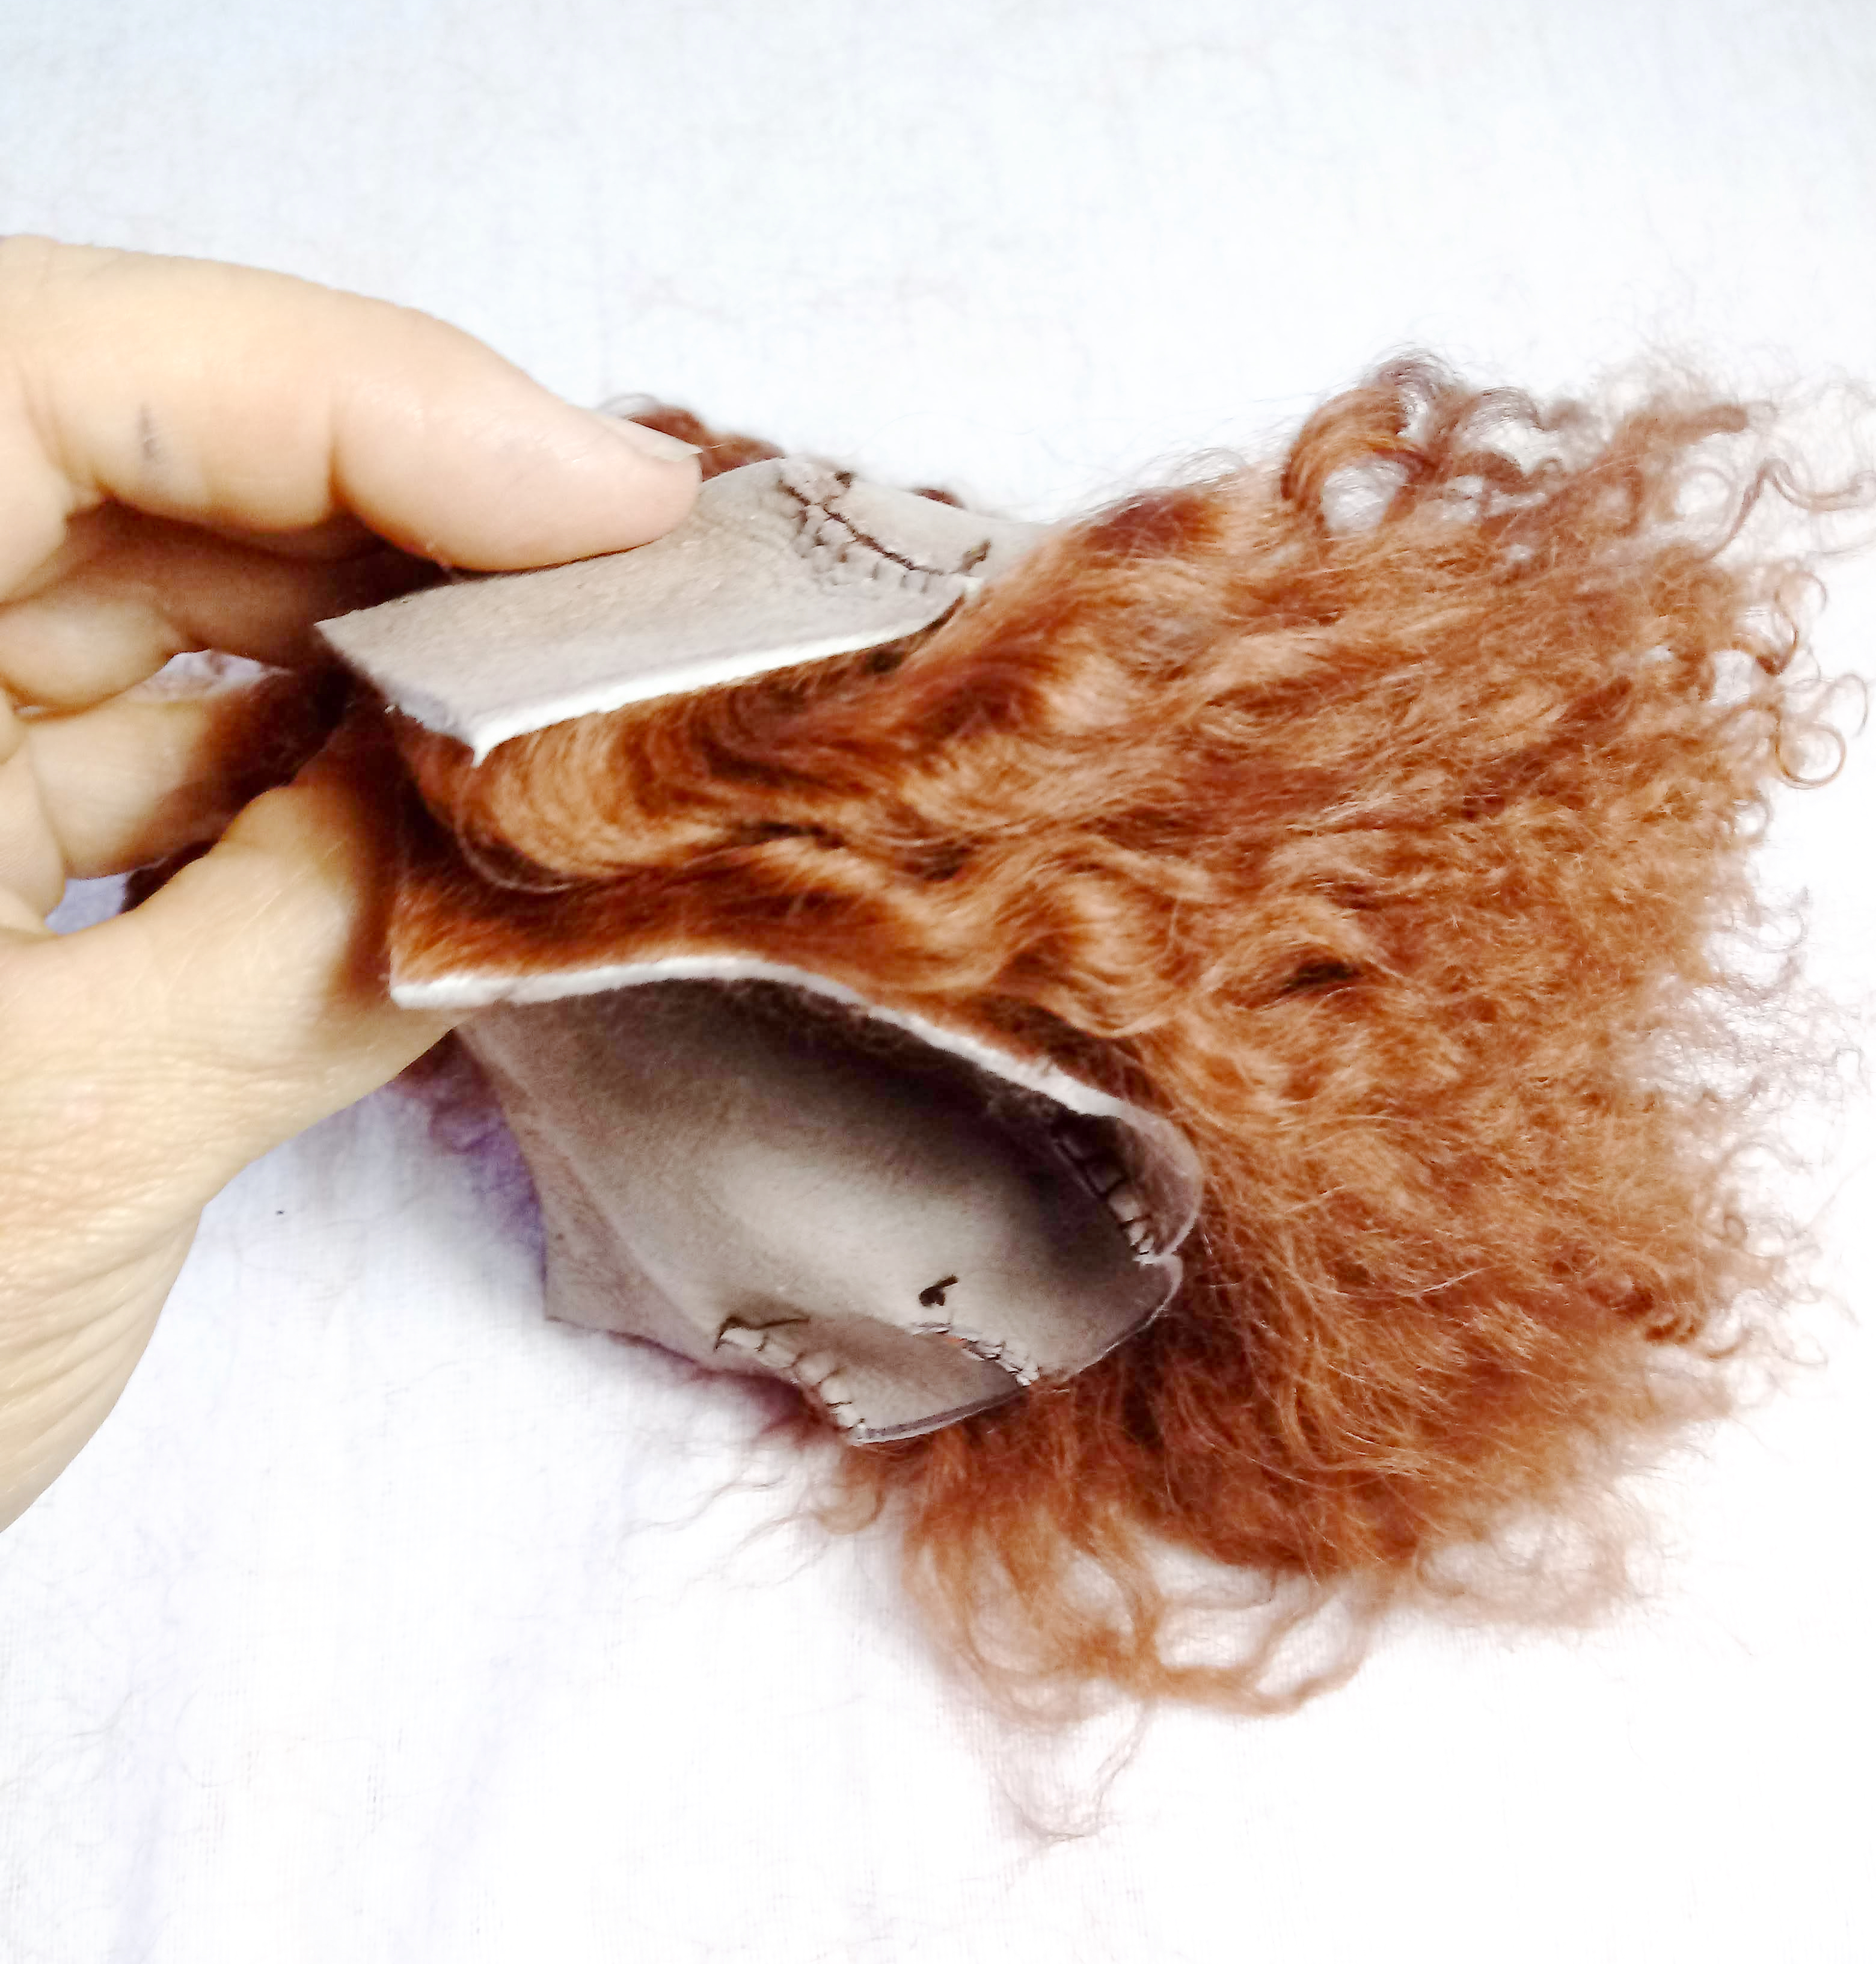
Fold your first dart fur sides together, tucking the fur inside so it doesn't get caught in your stitches
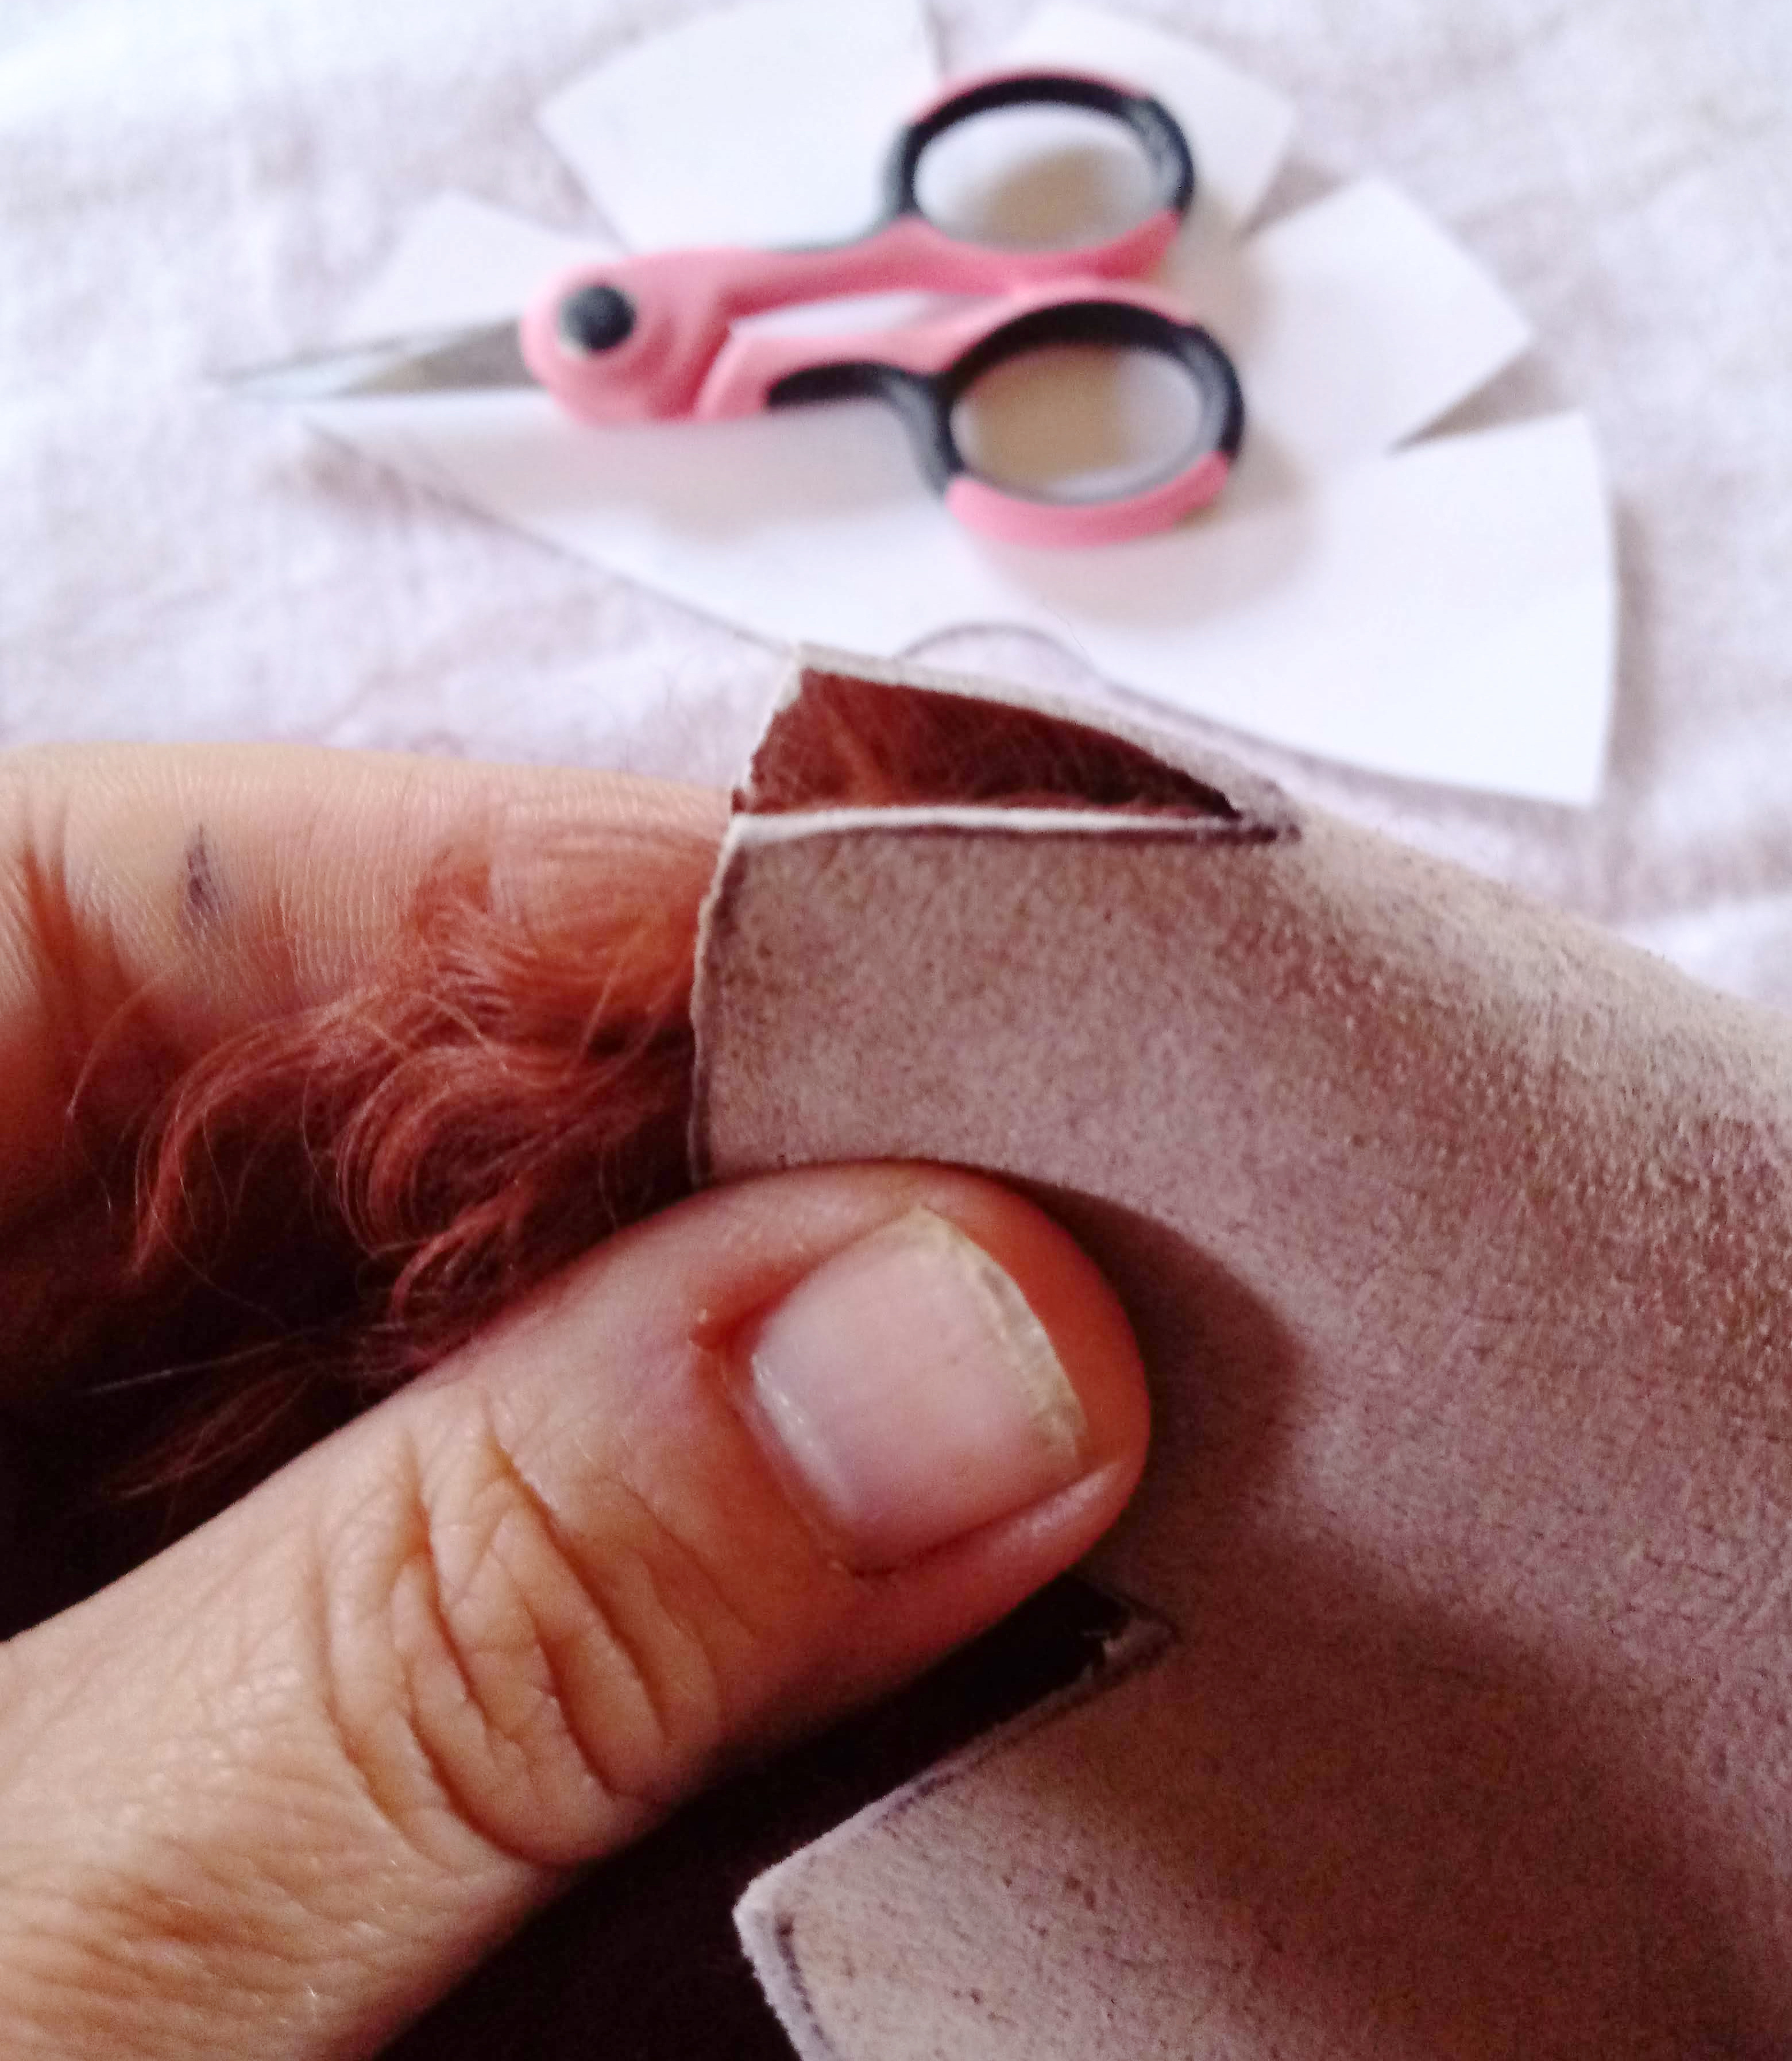
Knot your thread and start stitching at the point of the dart. this way your finishing stitch will be at the forehead and be glued inside the hem for security when your done. I stitch in about 1/8-1/4 inch and like to do a blanket stitch. If you need more instruction on that there are tons of youtube videos , just search blanket stitch. It's hard to show in photos how to do it but I can give you an idea. Even just a regular over and through stitch will work don't need to be fancy here.
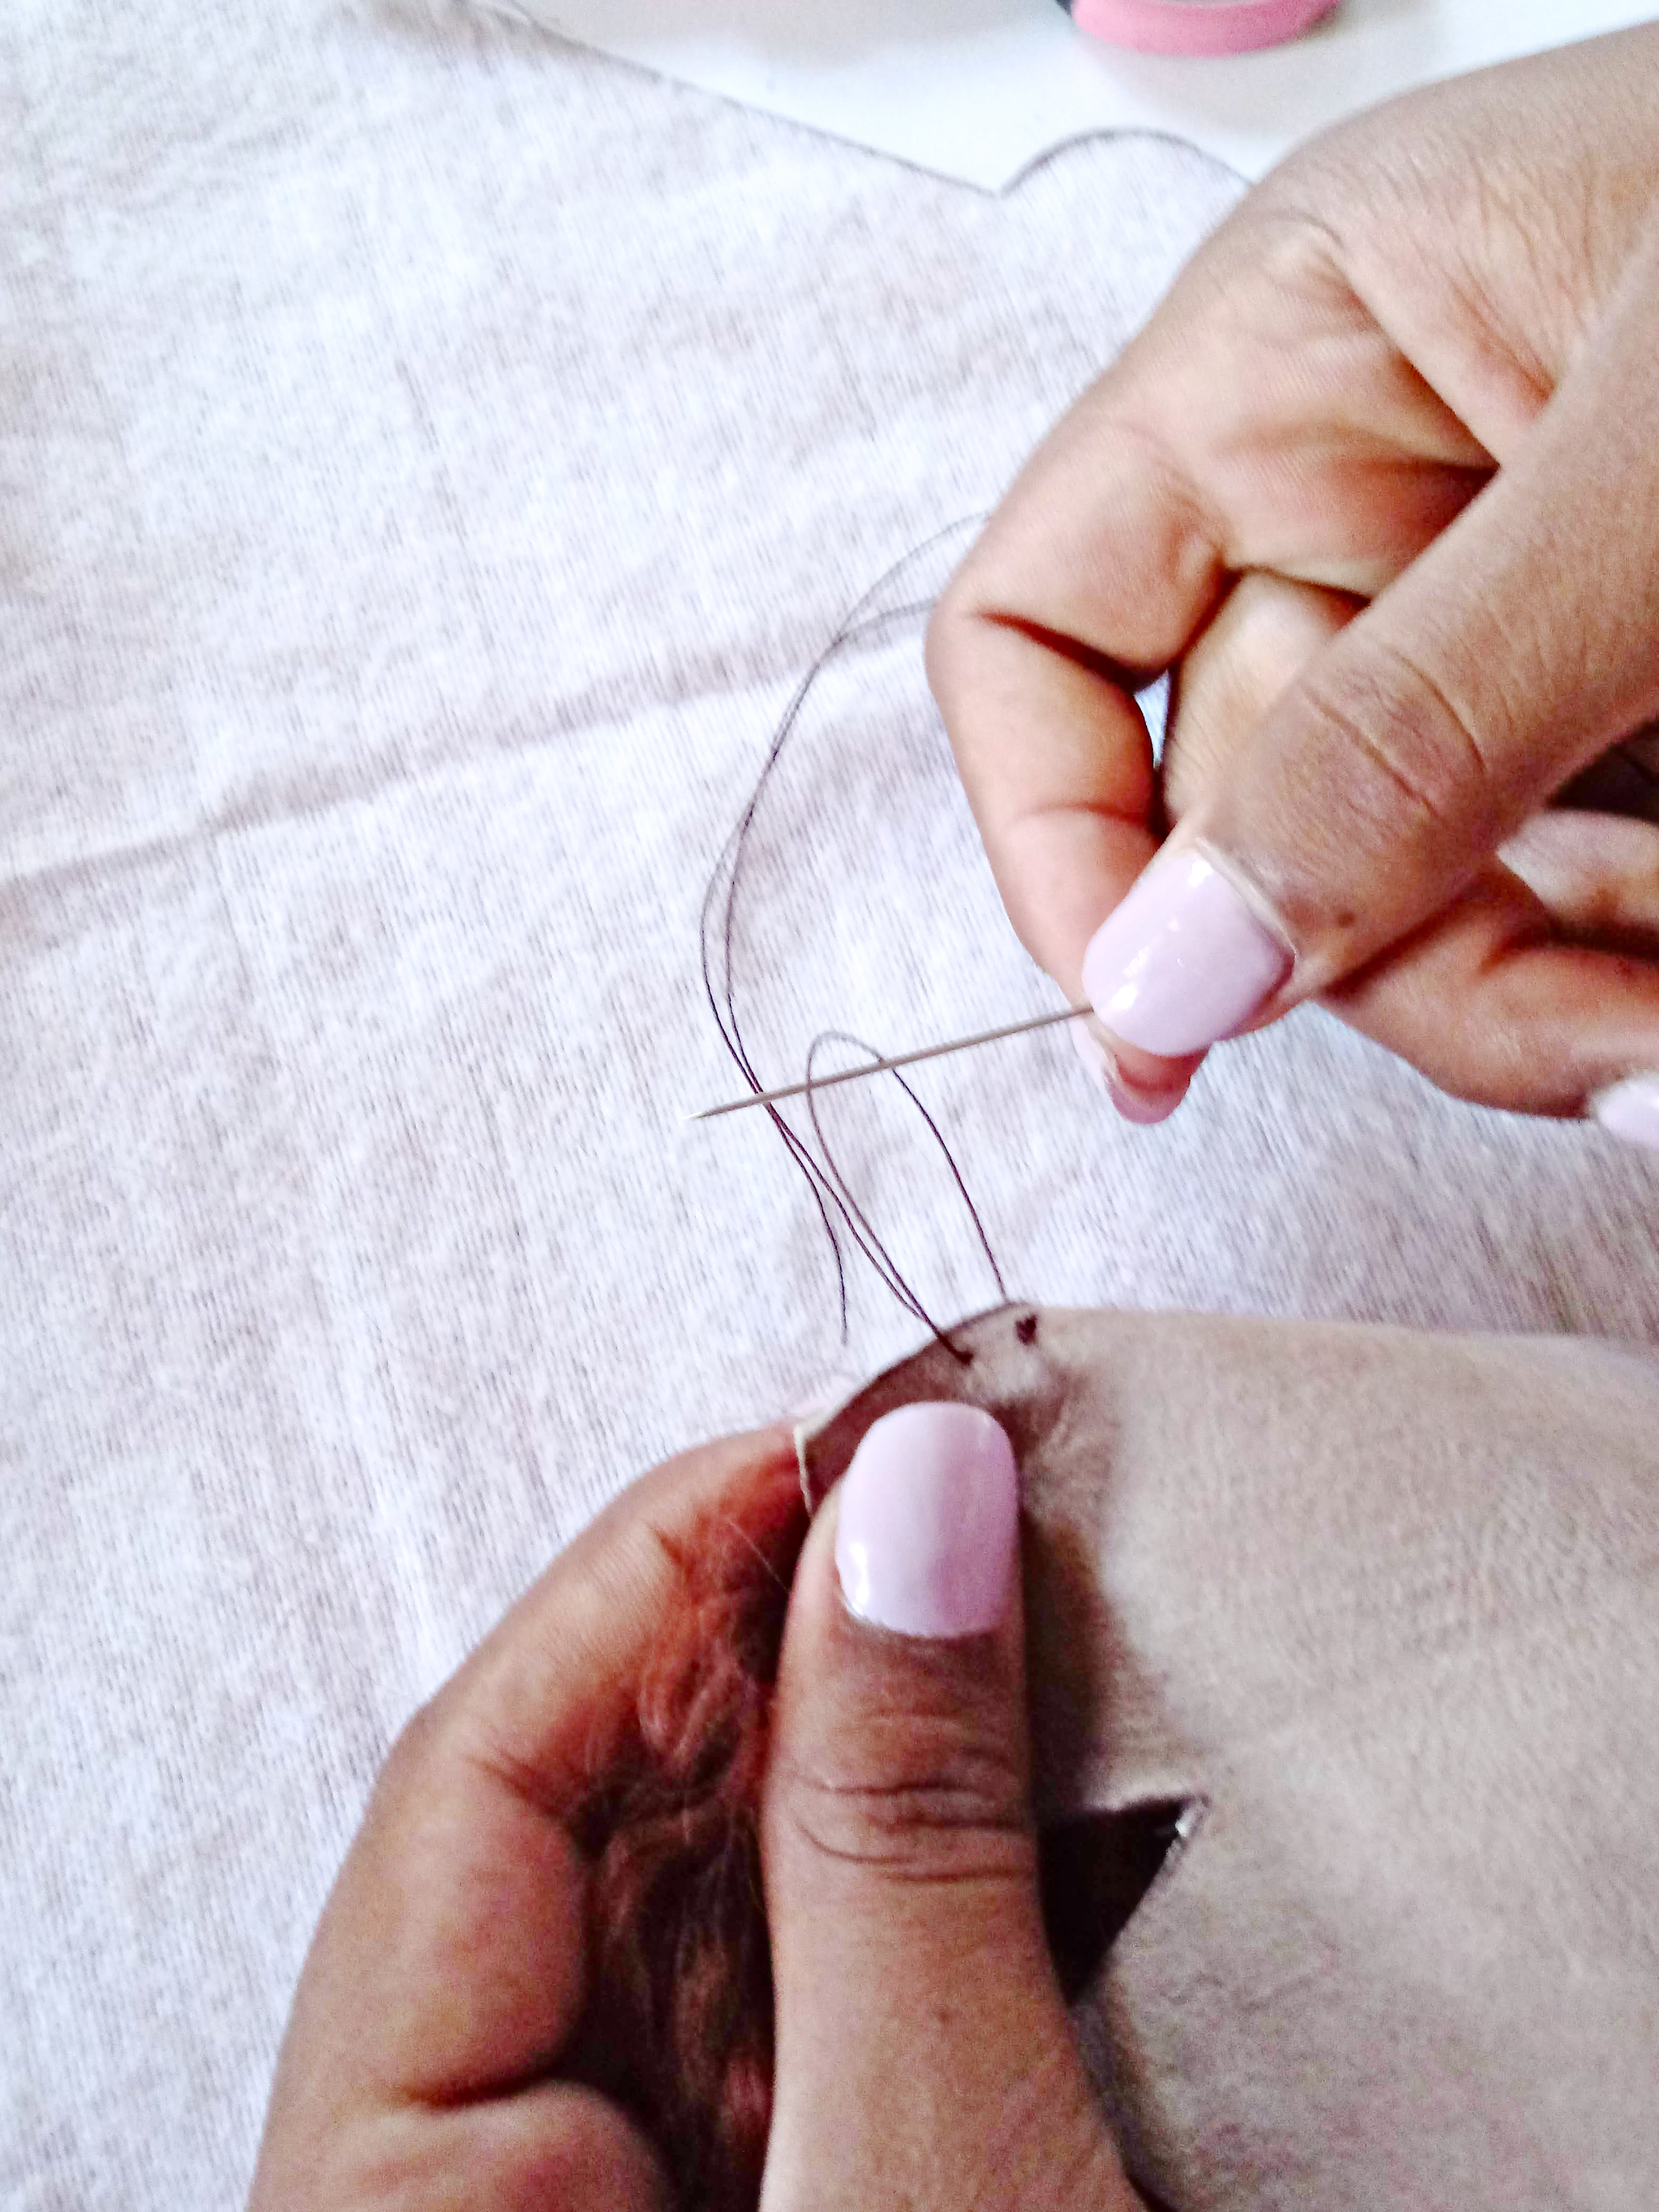

Continue on sewing all the darts which will give the piece a nice shape that will fit your doll's head well.
Wonderful! Now do the same with the second piece
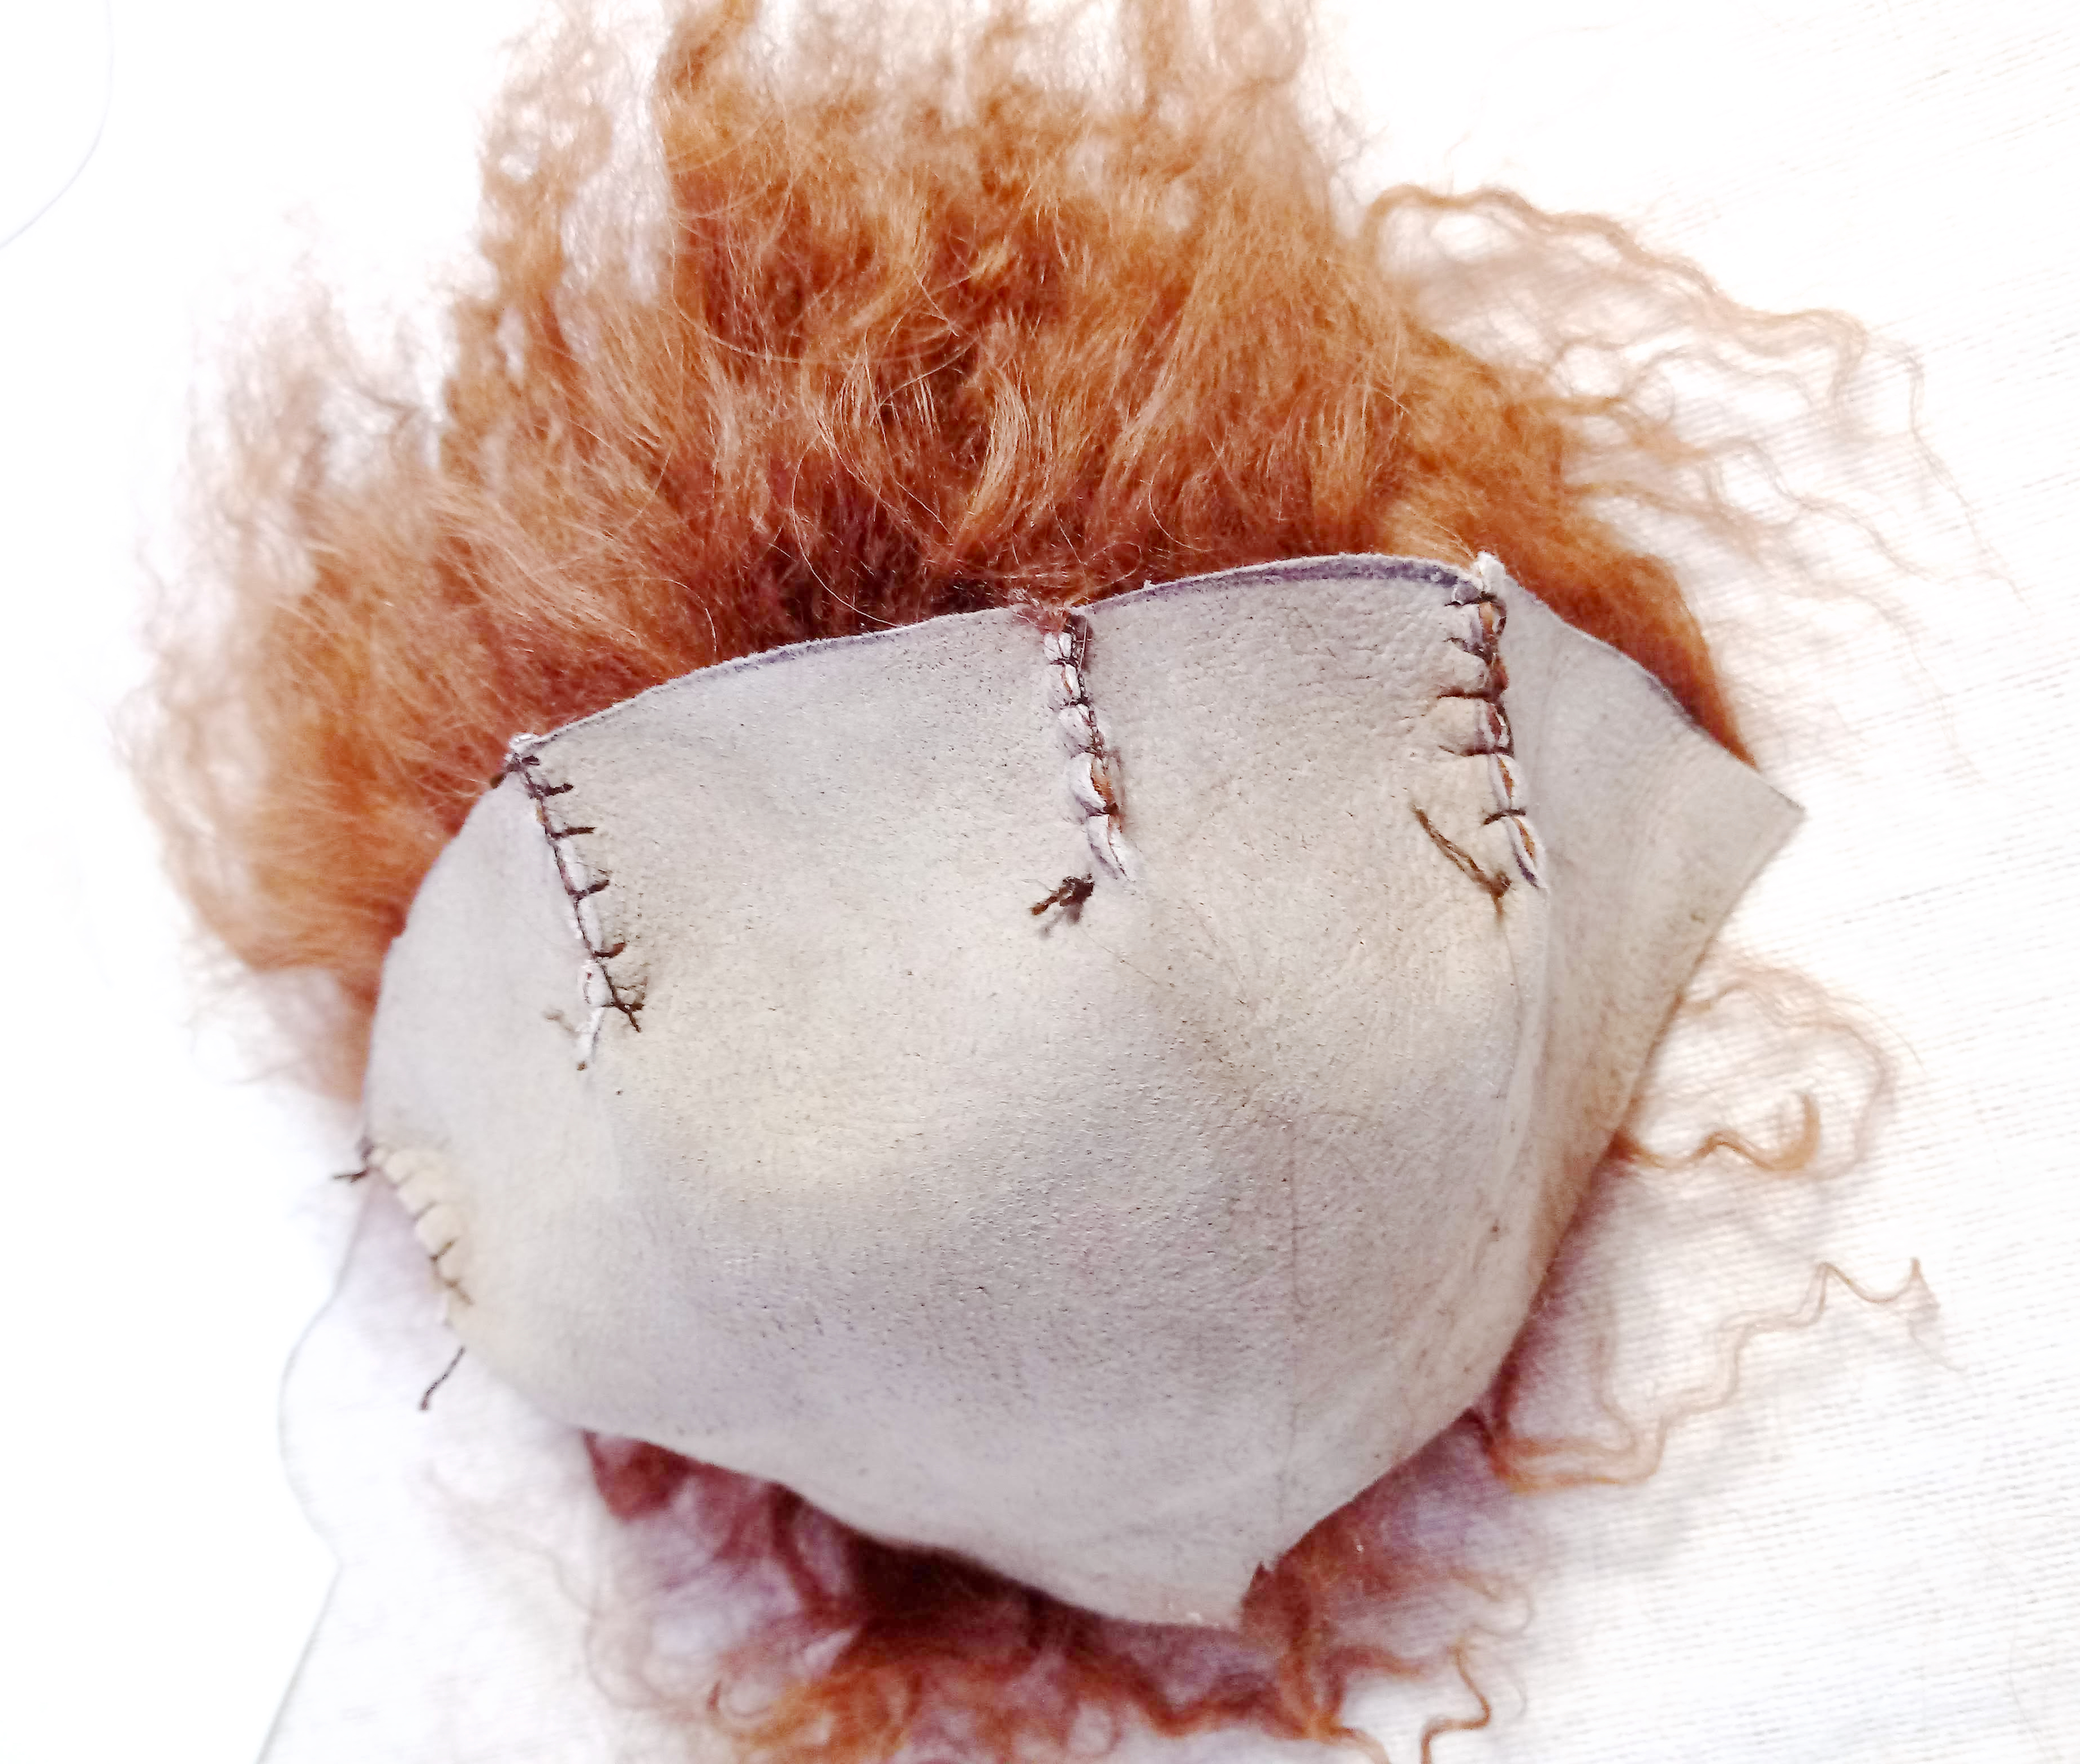
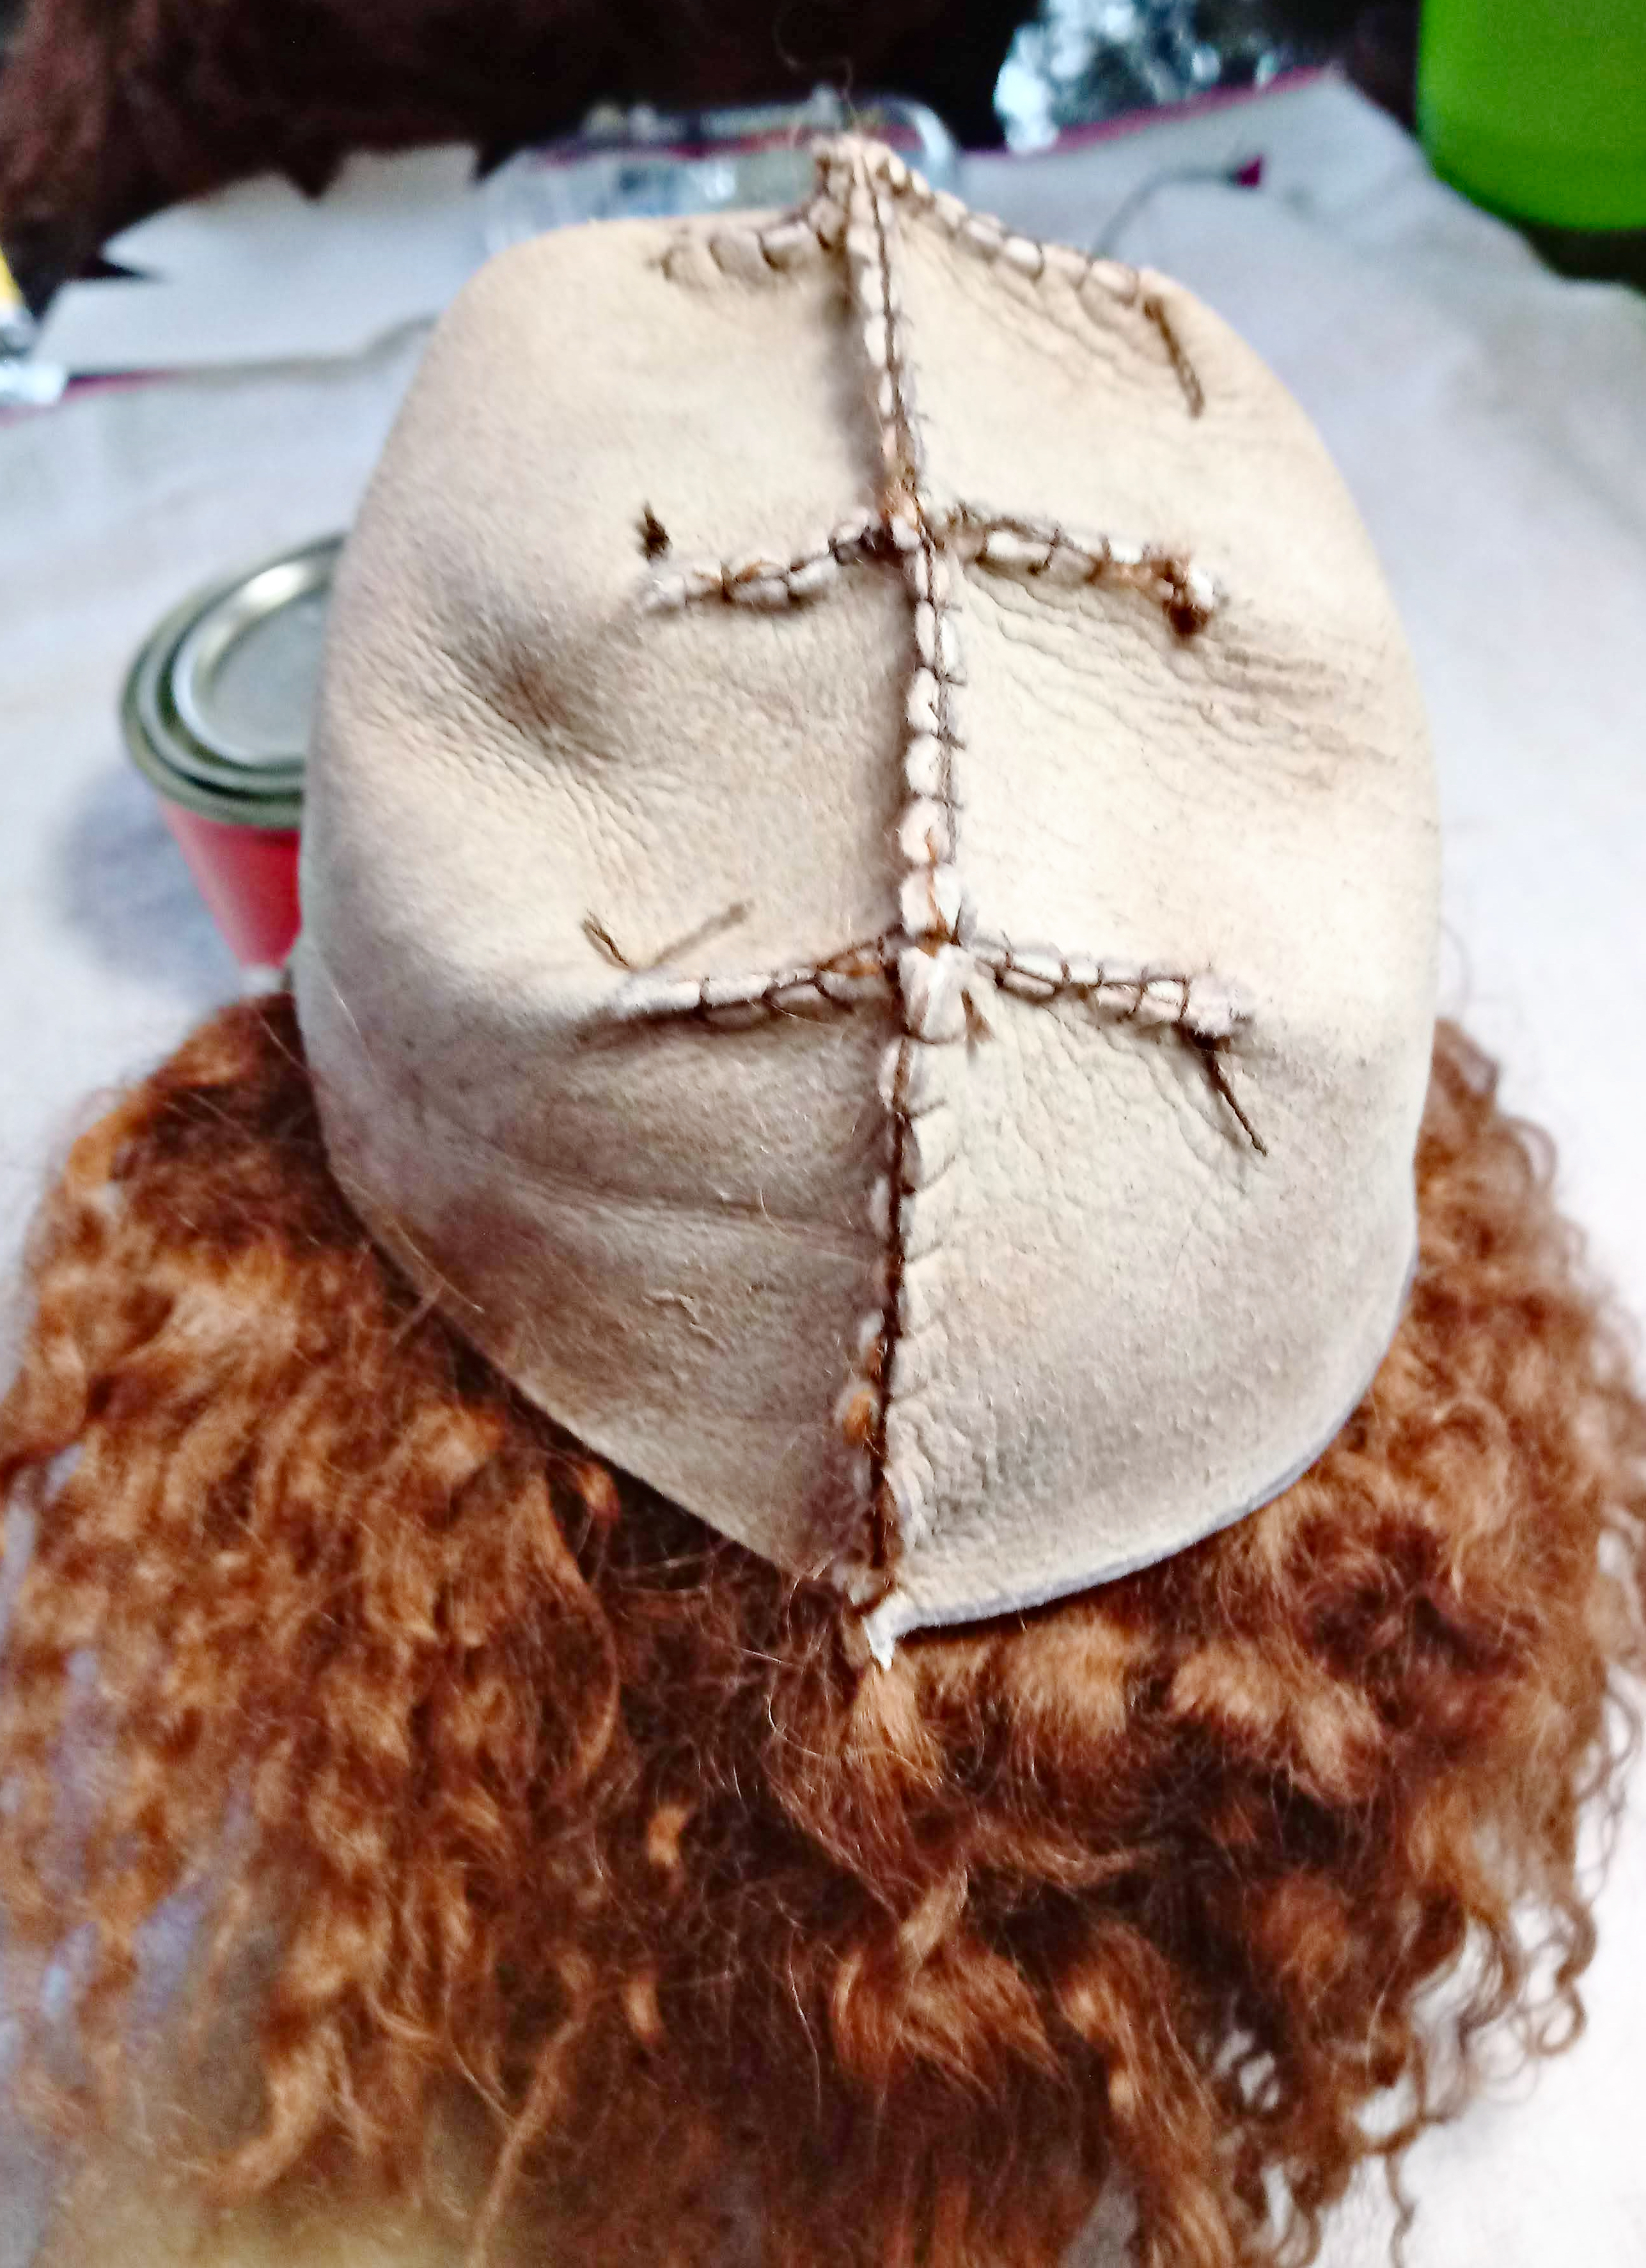
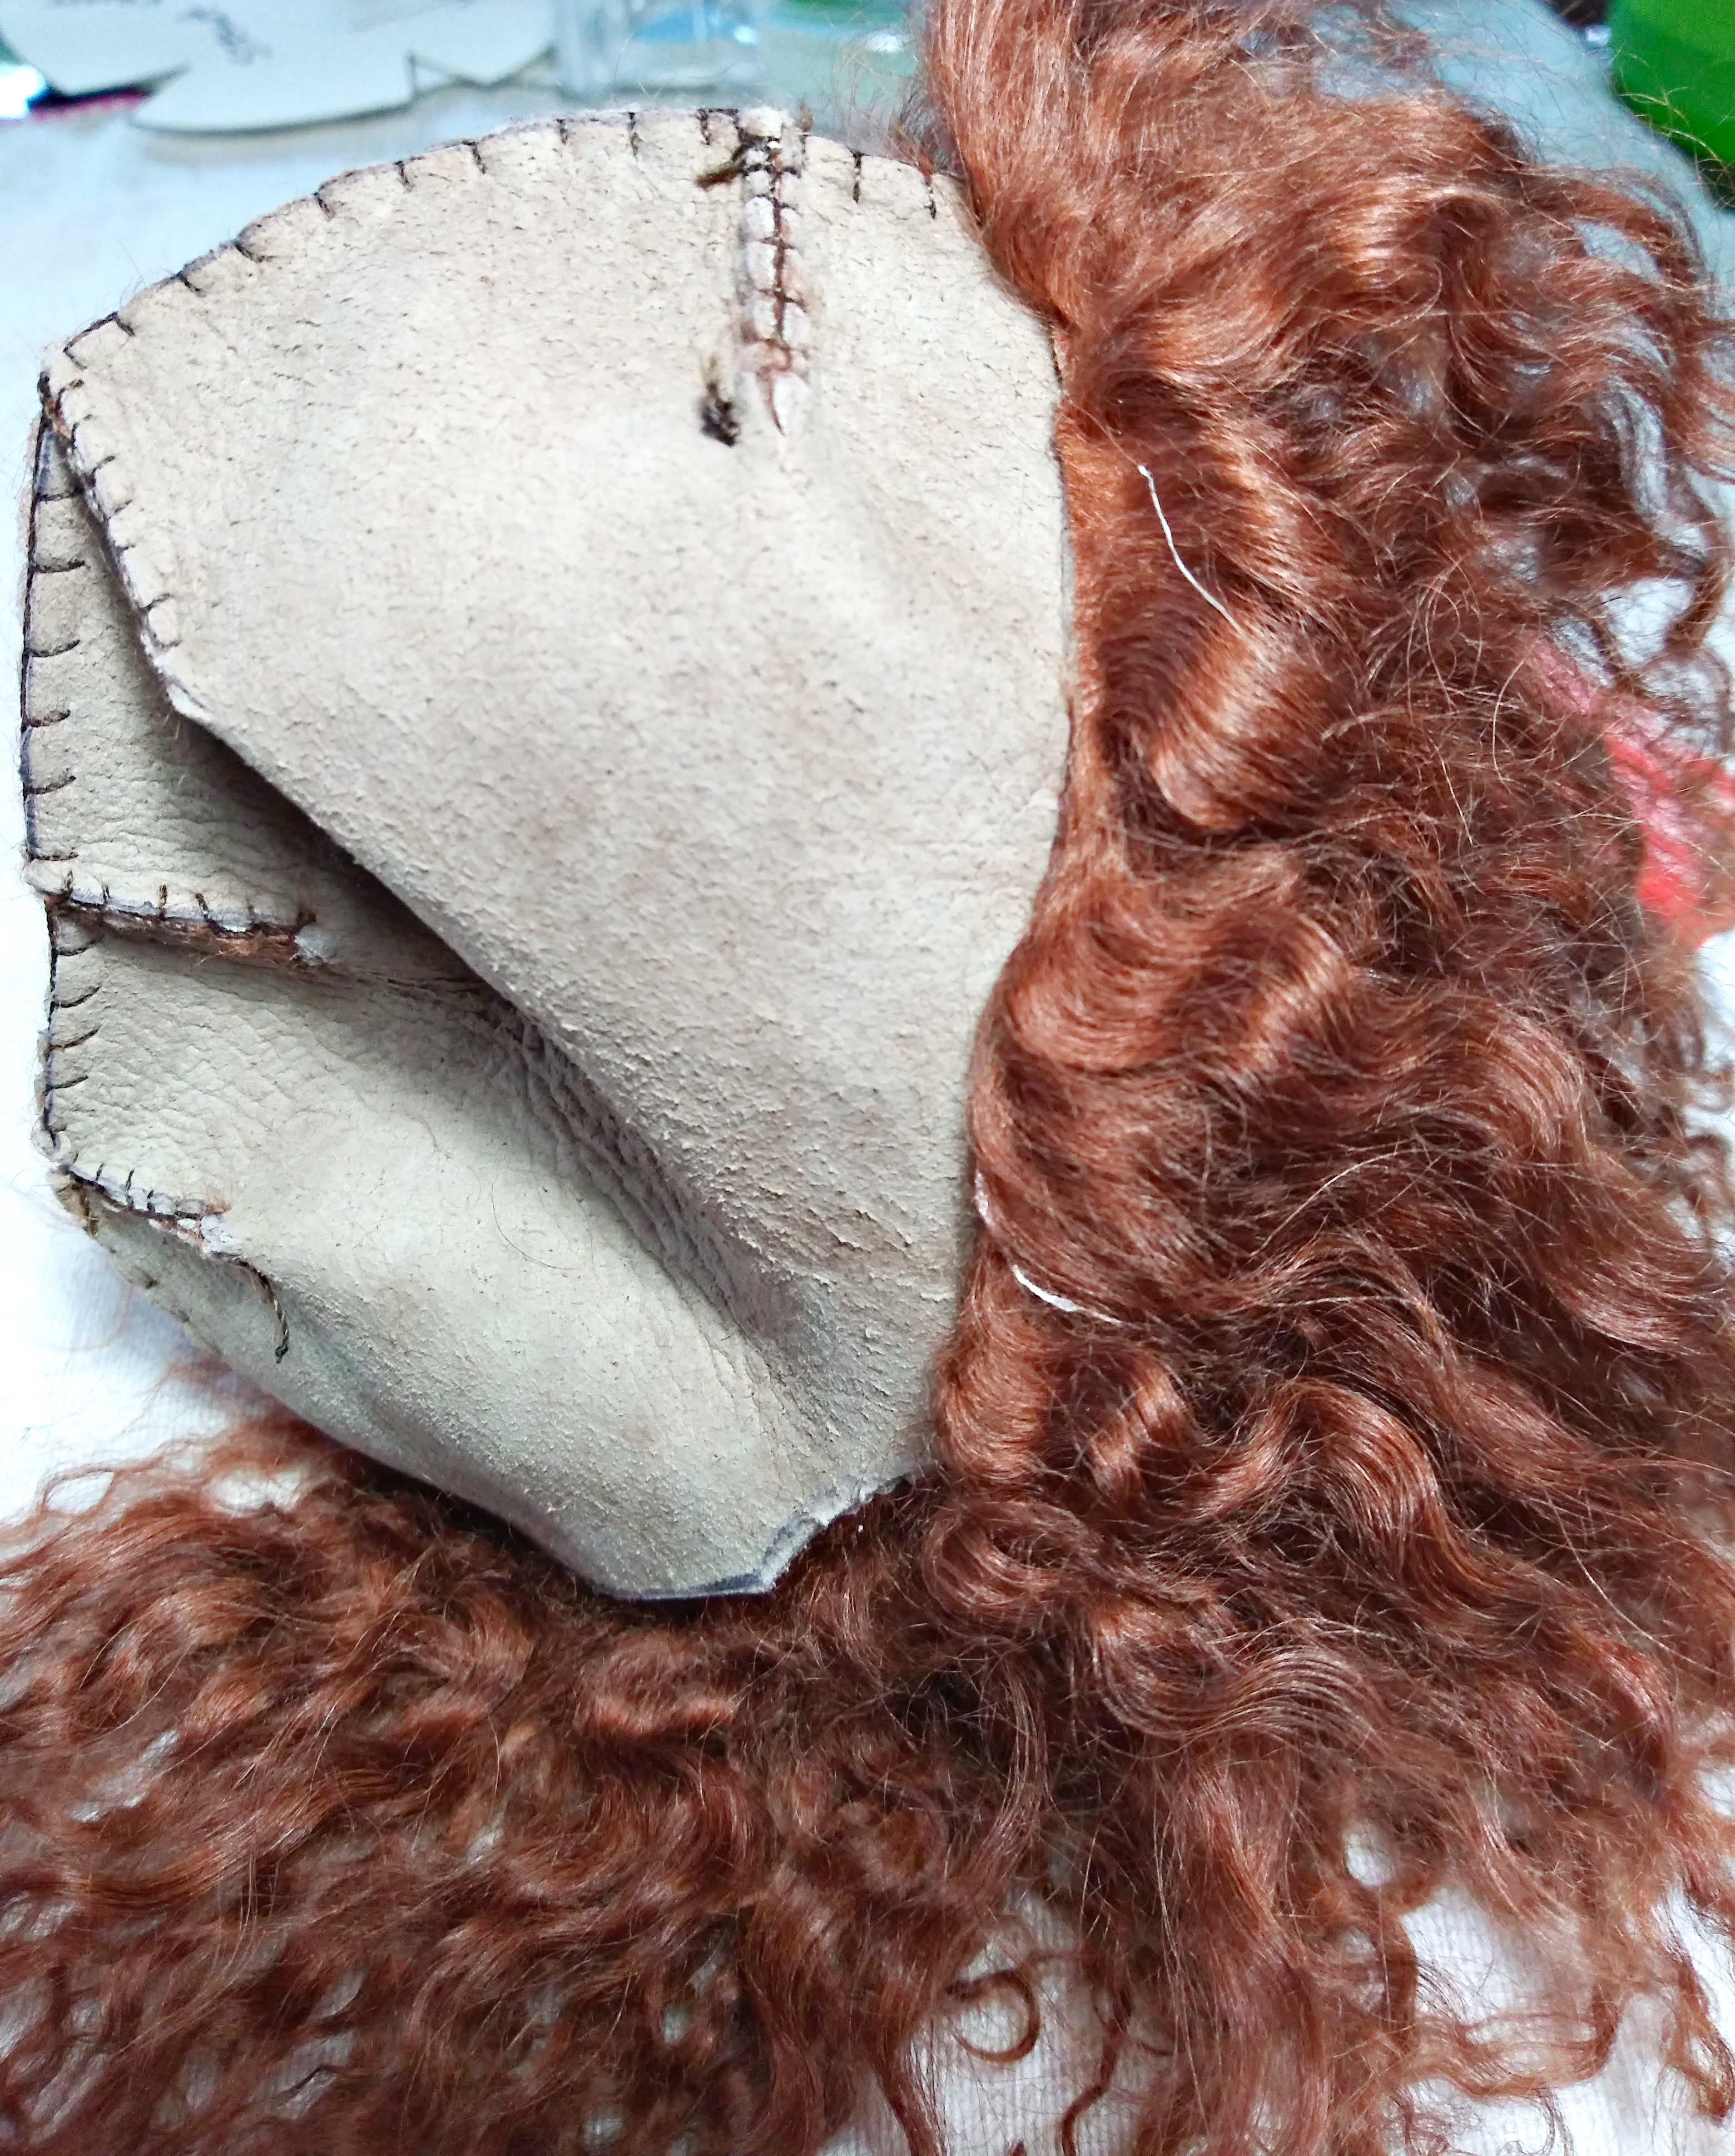
Now we'll sew them together. With fur sides together be sure you have both fronts (foreheads) together and nothing is upsidedown. As you sew along the outside edge do your best to match the darts across from each other for a neat finish and a good fit. Remember to poke the fur to the inside so it doesn't get in the way of your stitching.
Sew all the way around starting at the nape of the neck and ending at the forehead.
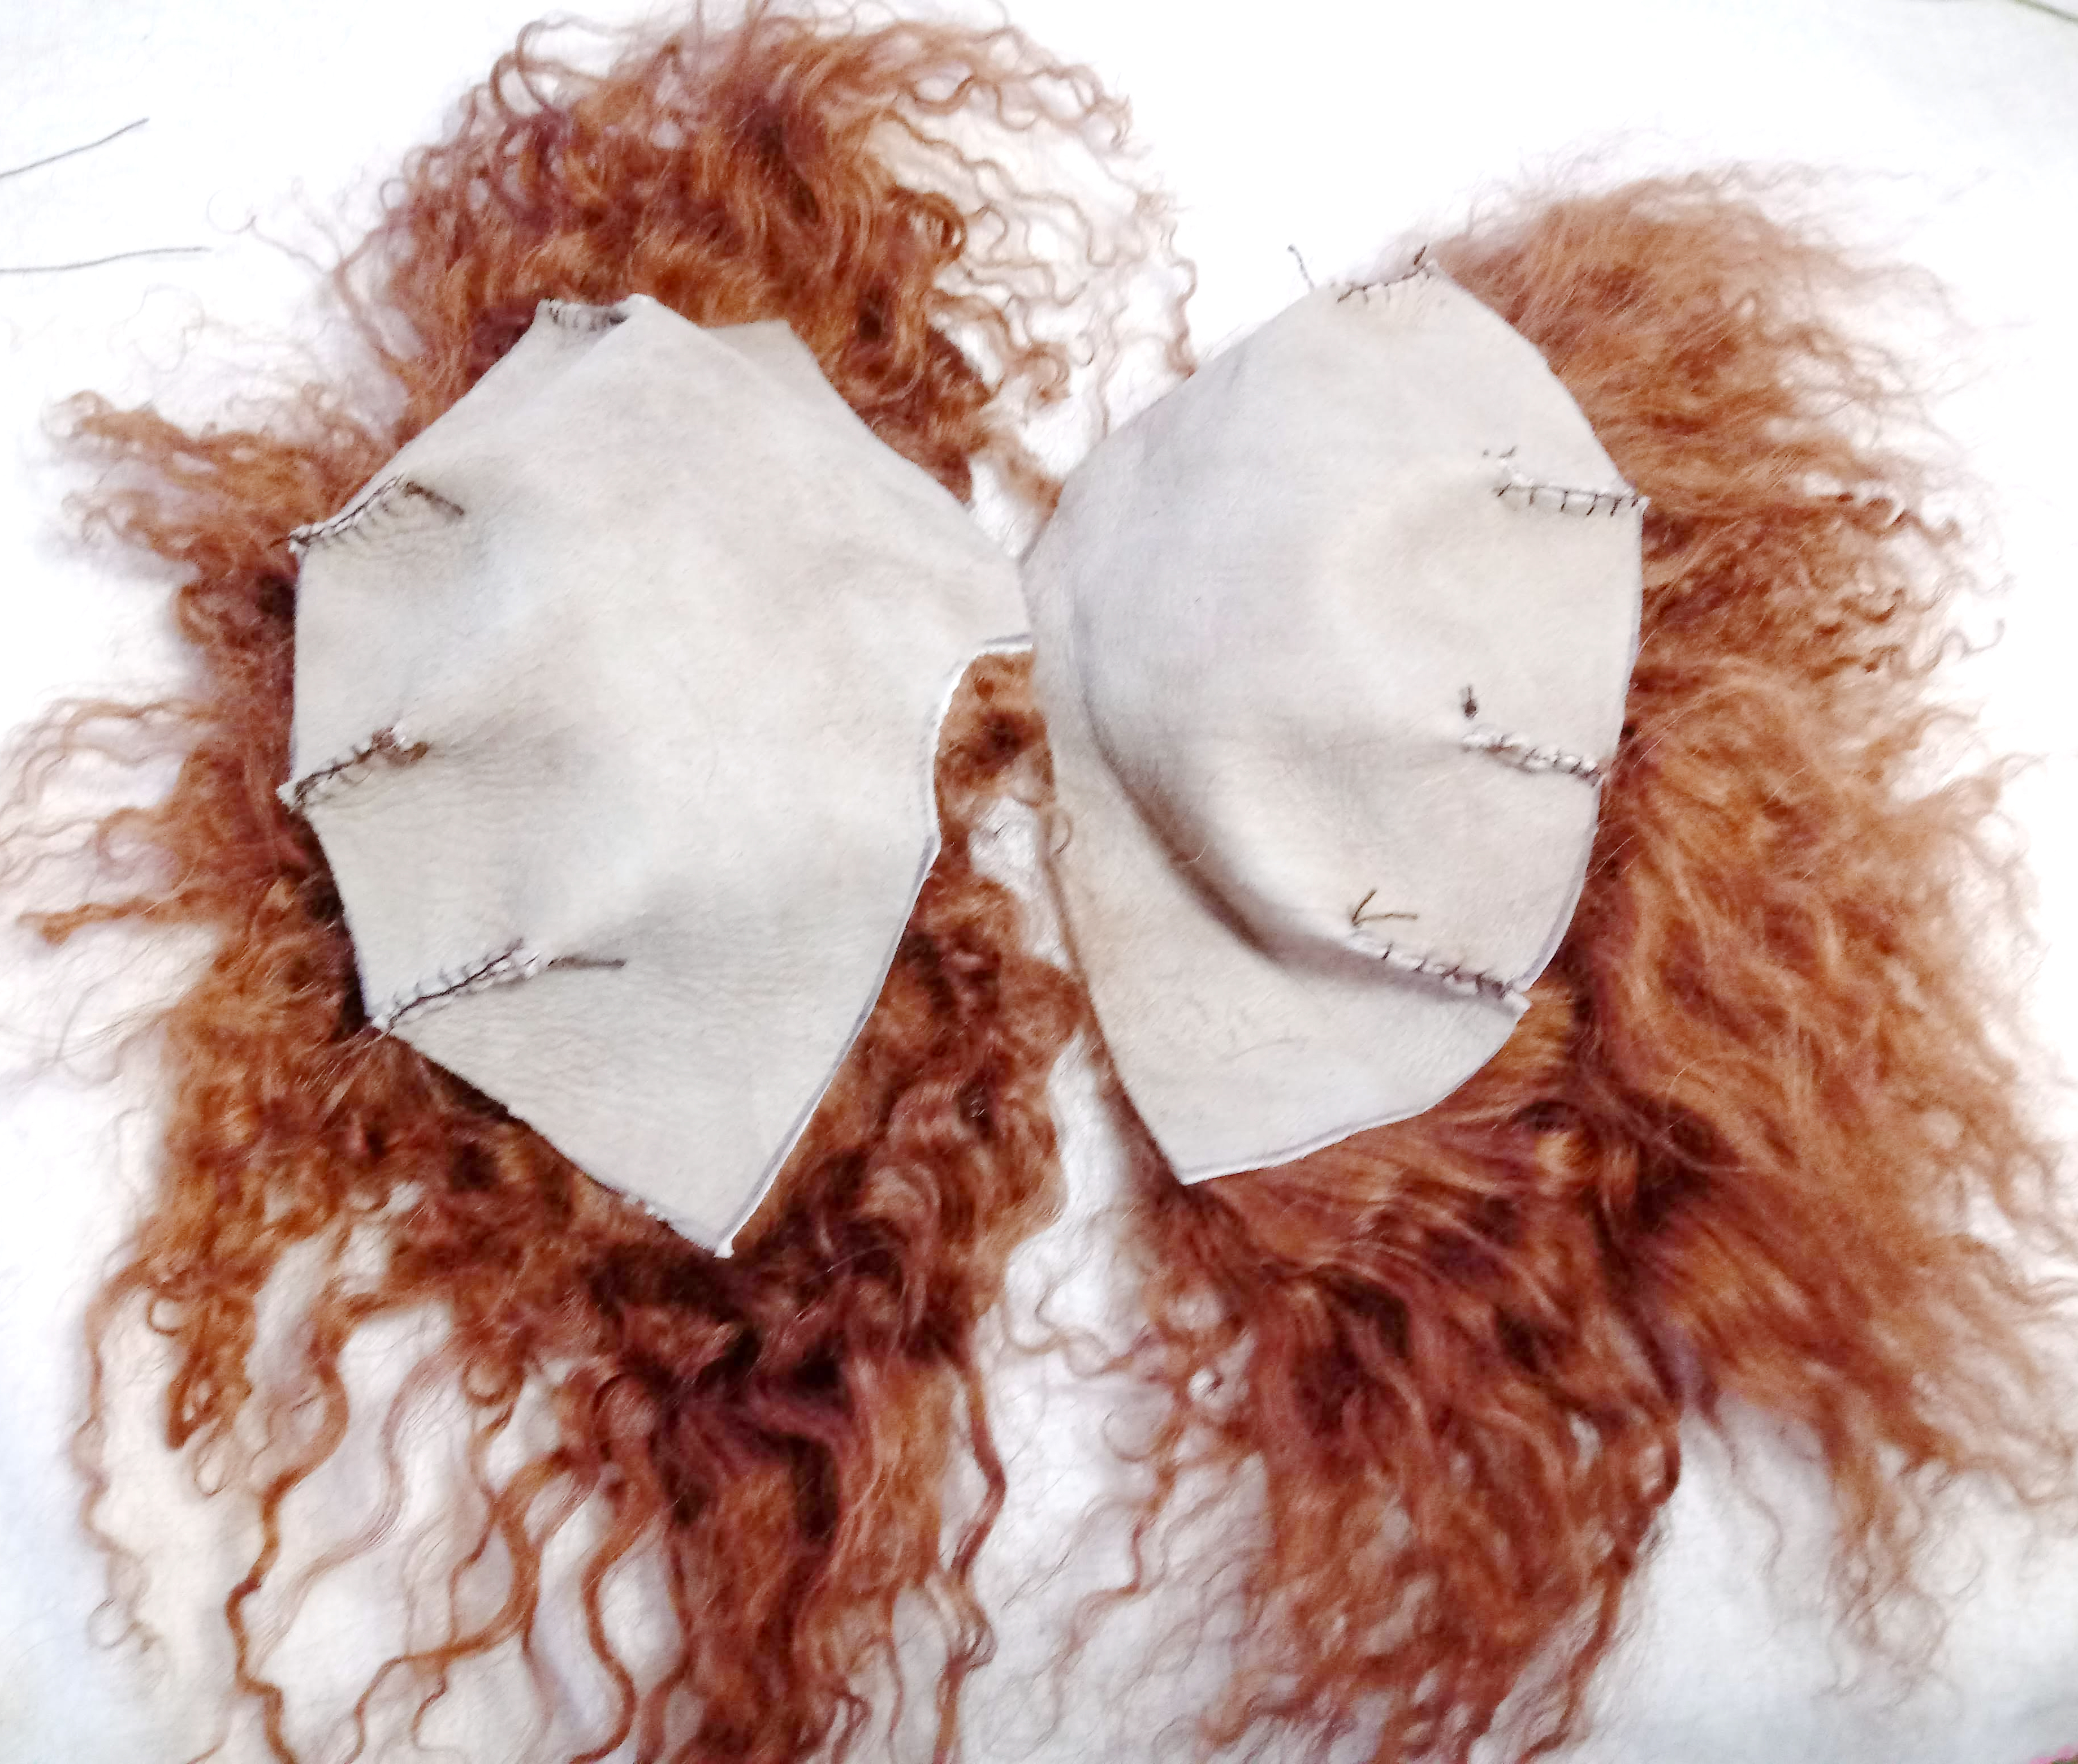
There we go, the darts are nicely matched up across from each other. All good, time for glue
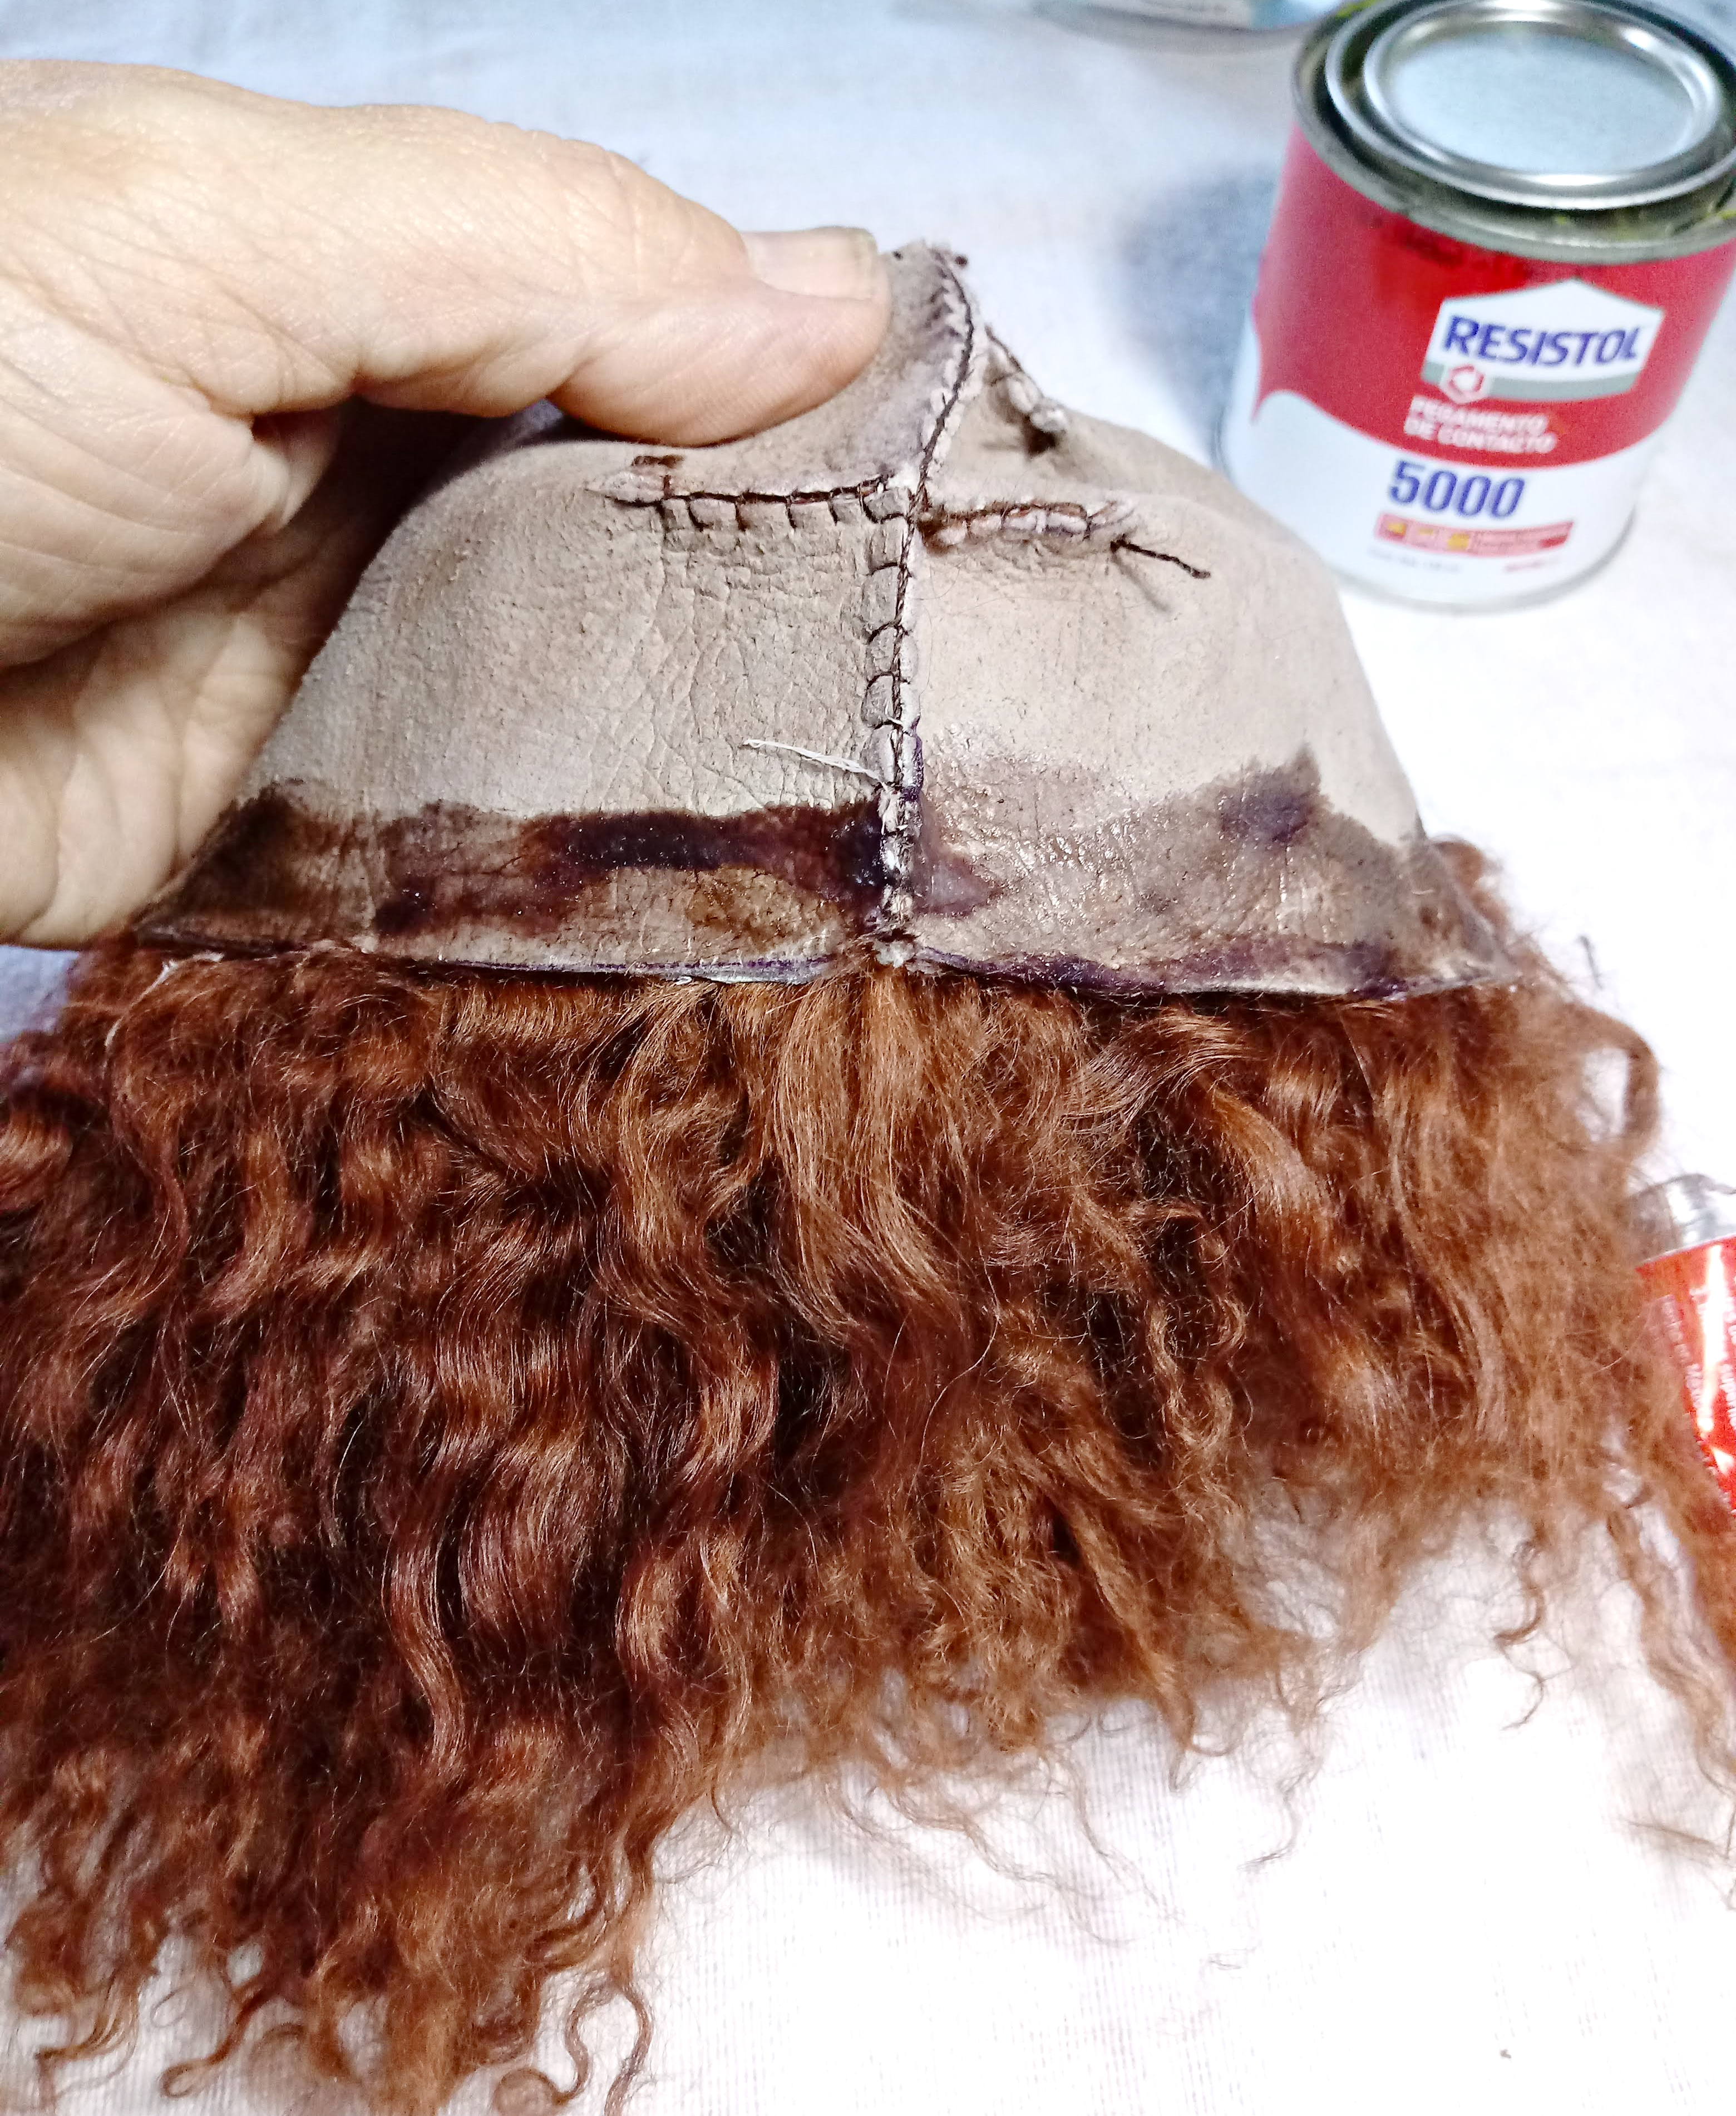
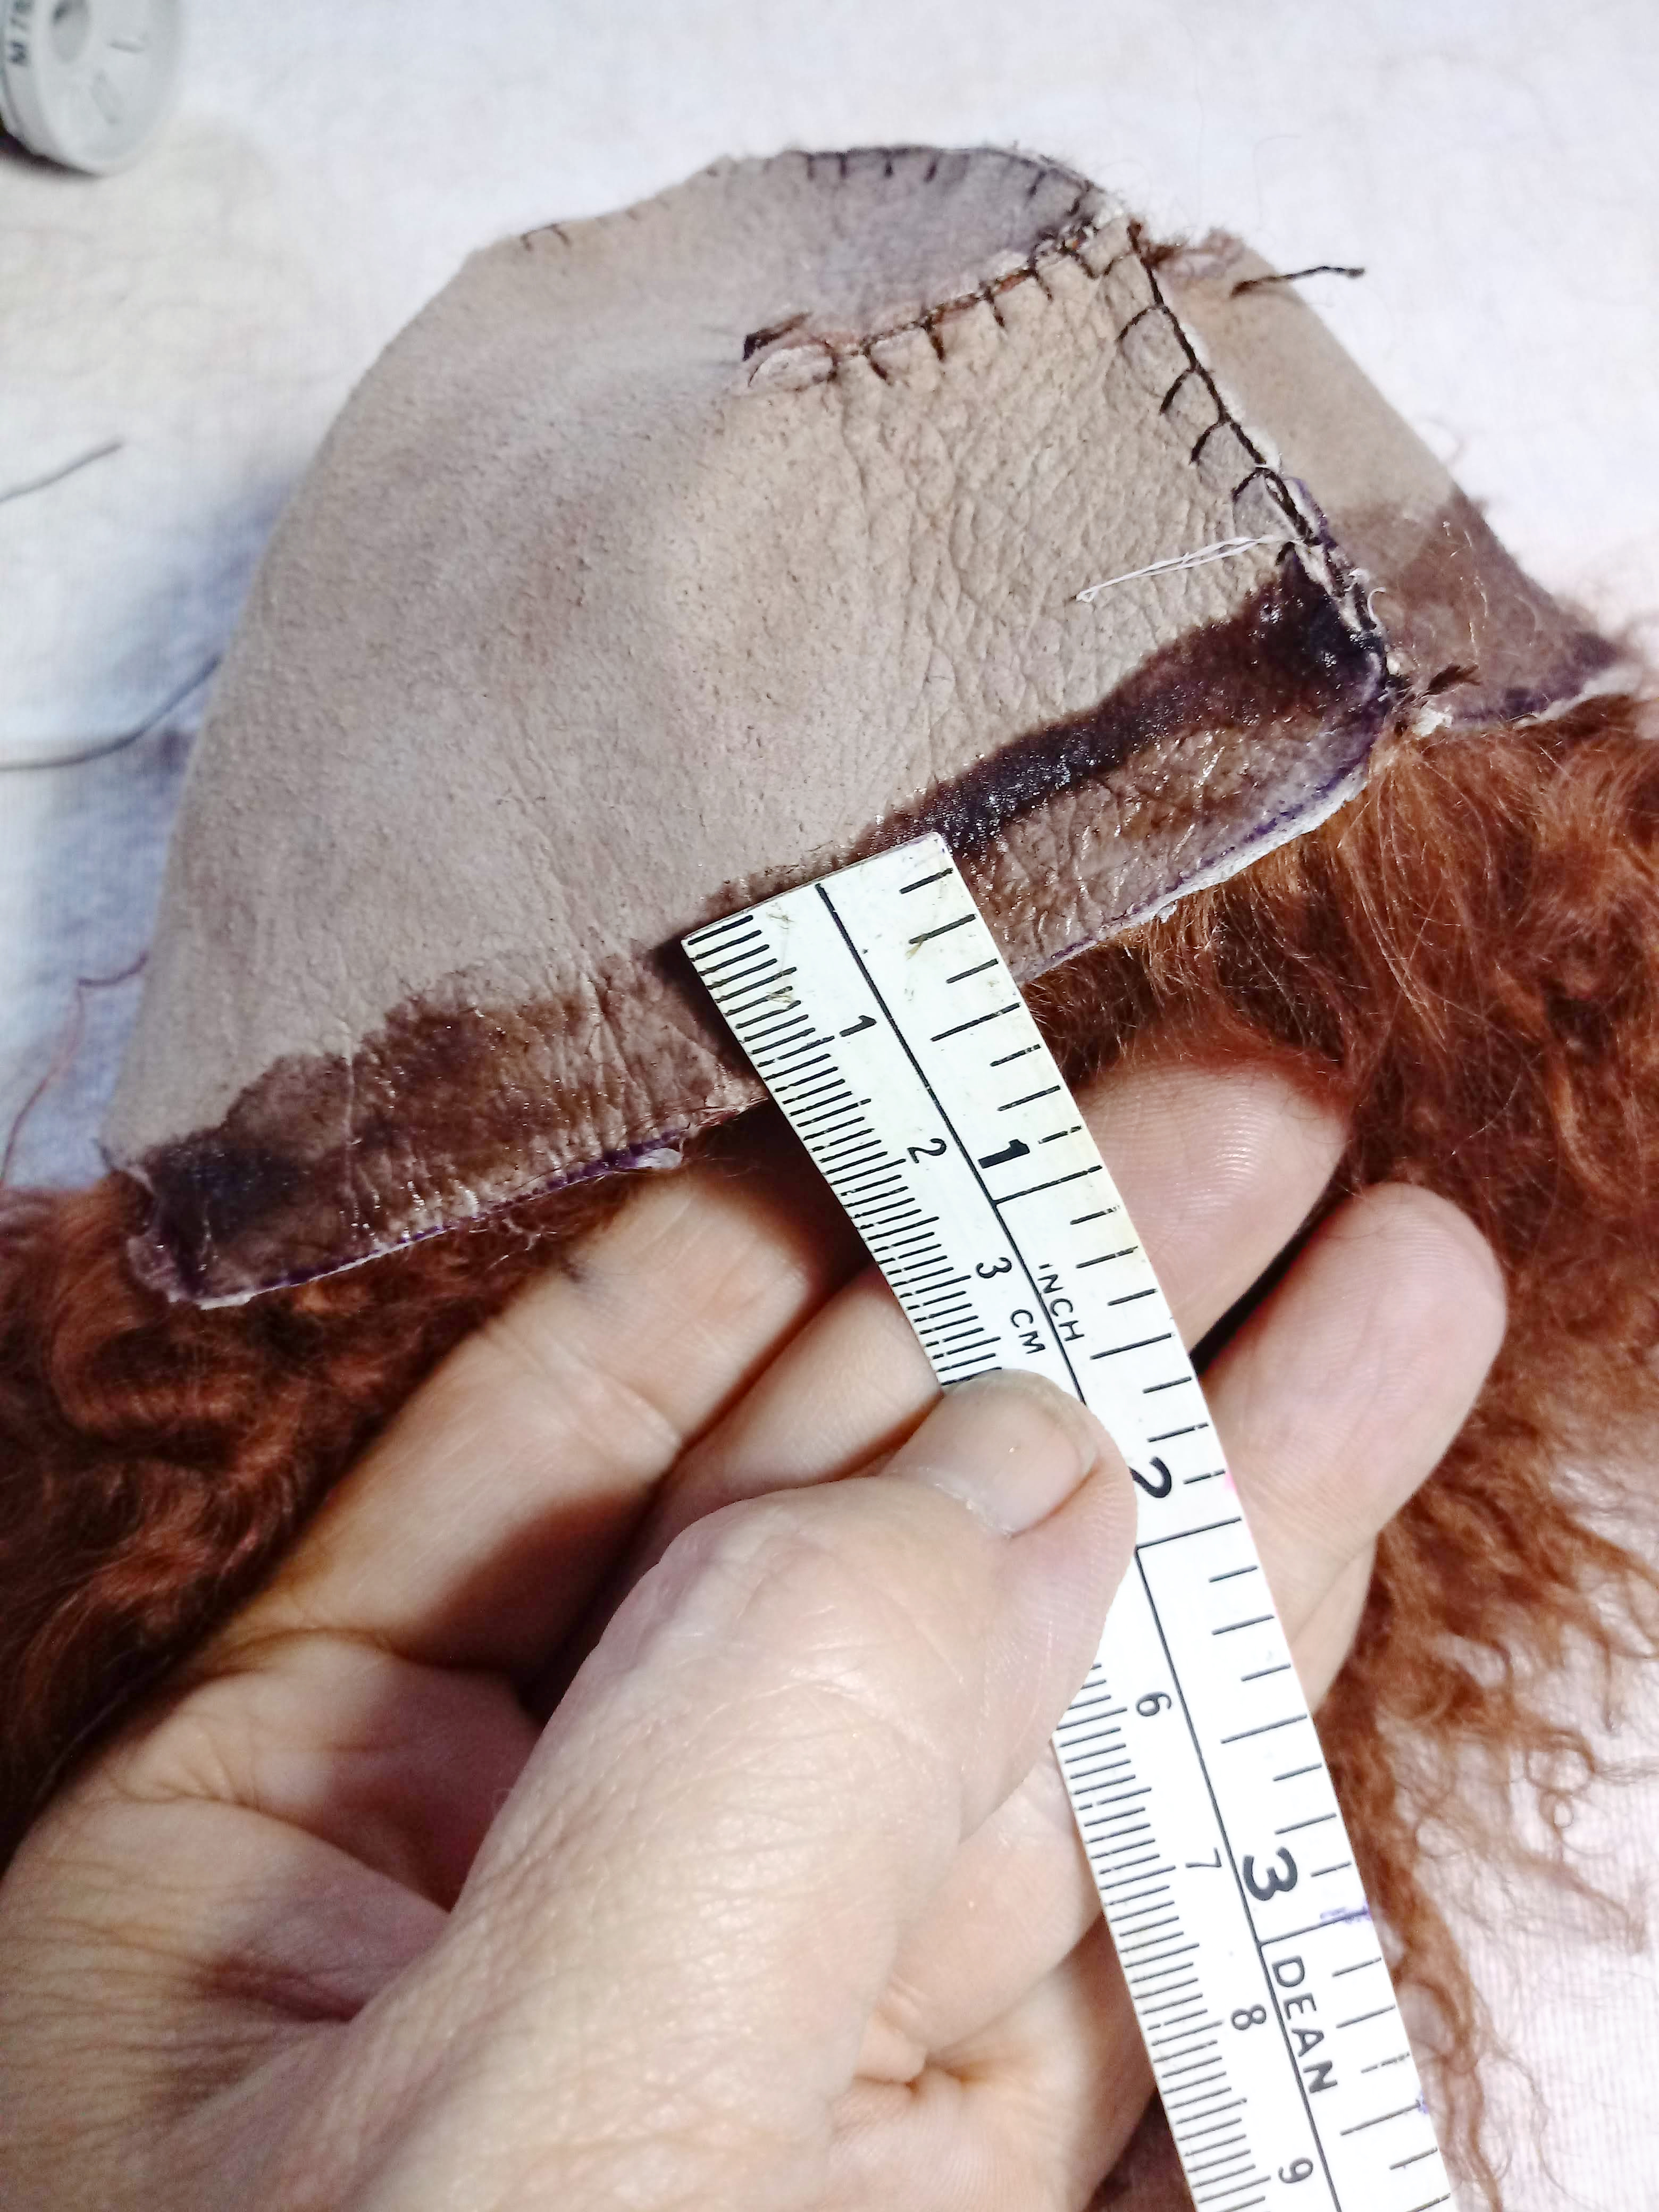
Apply contact cement from one ear to the other around the forehead. I like to go about 1/2 inch wide with my glue.
We don't glue the neck area
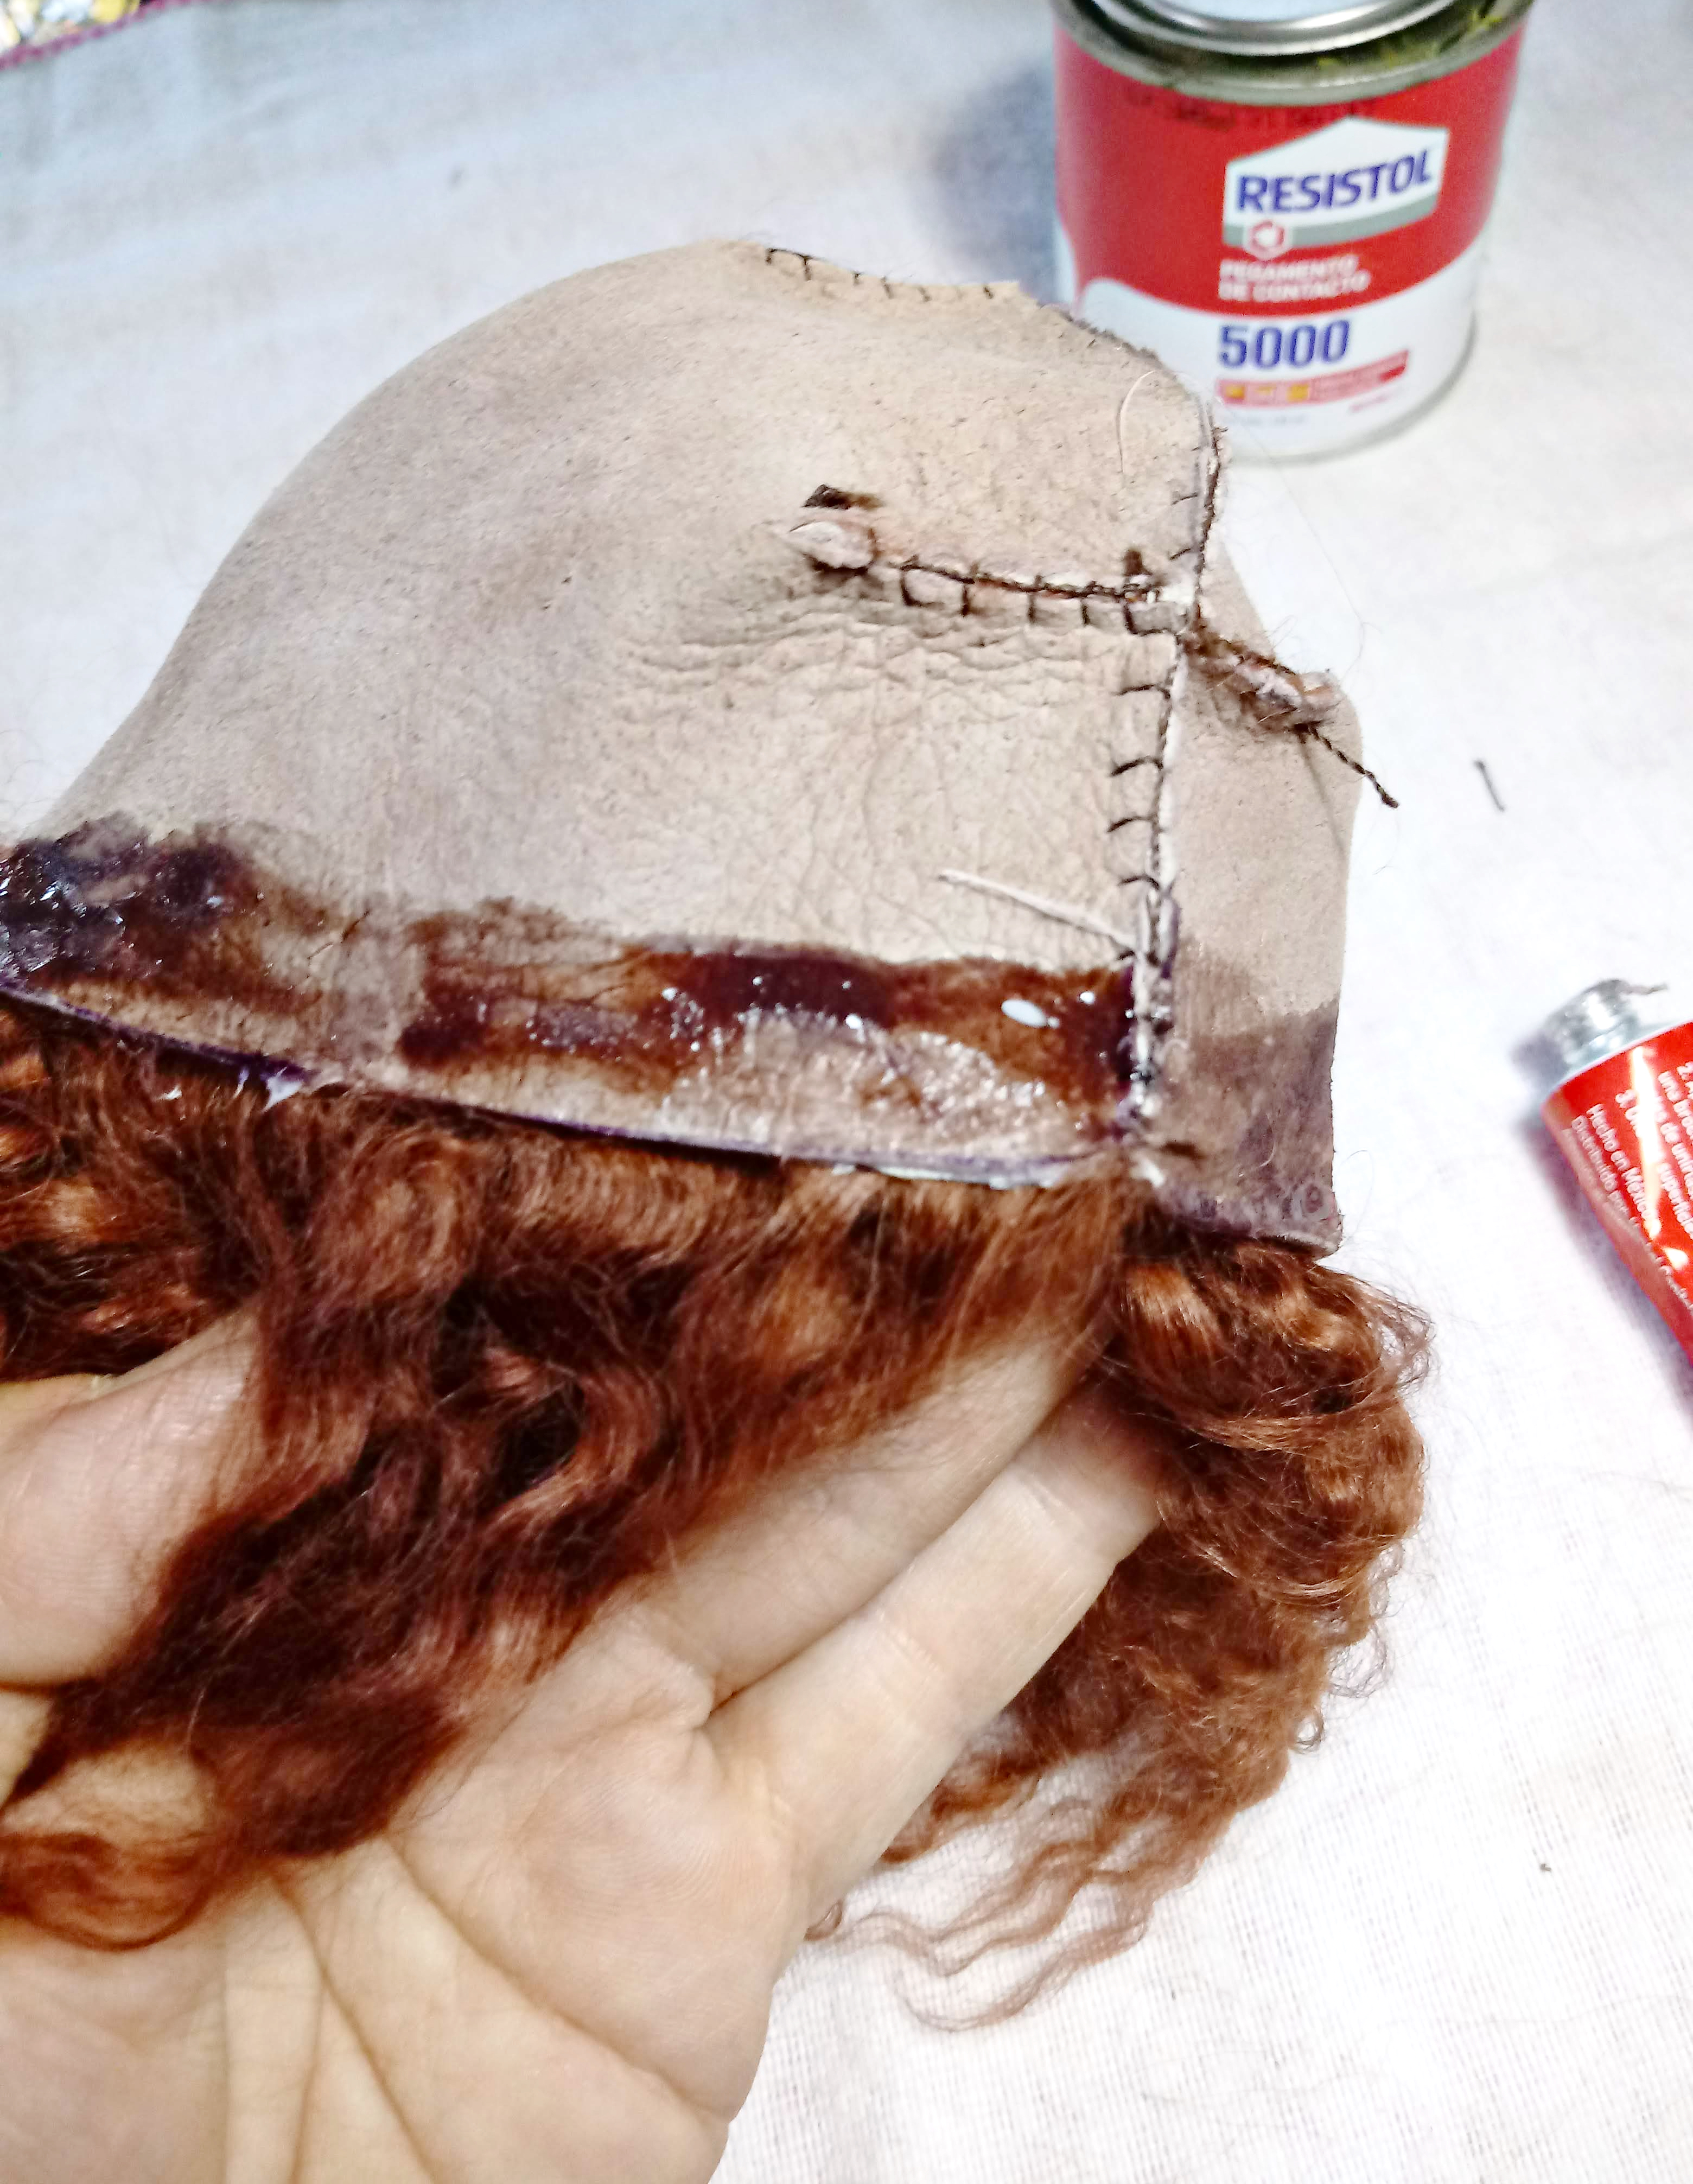
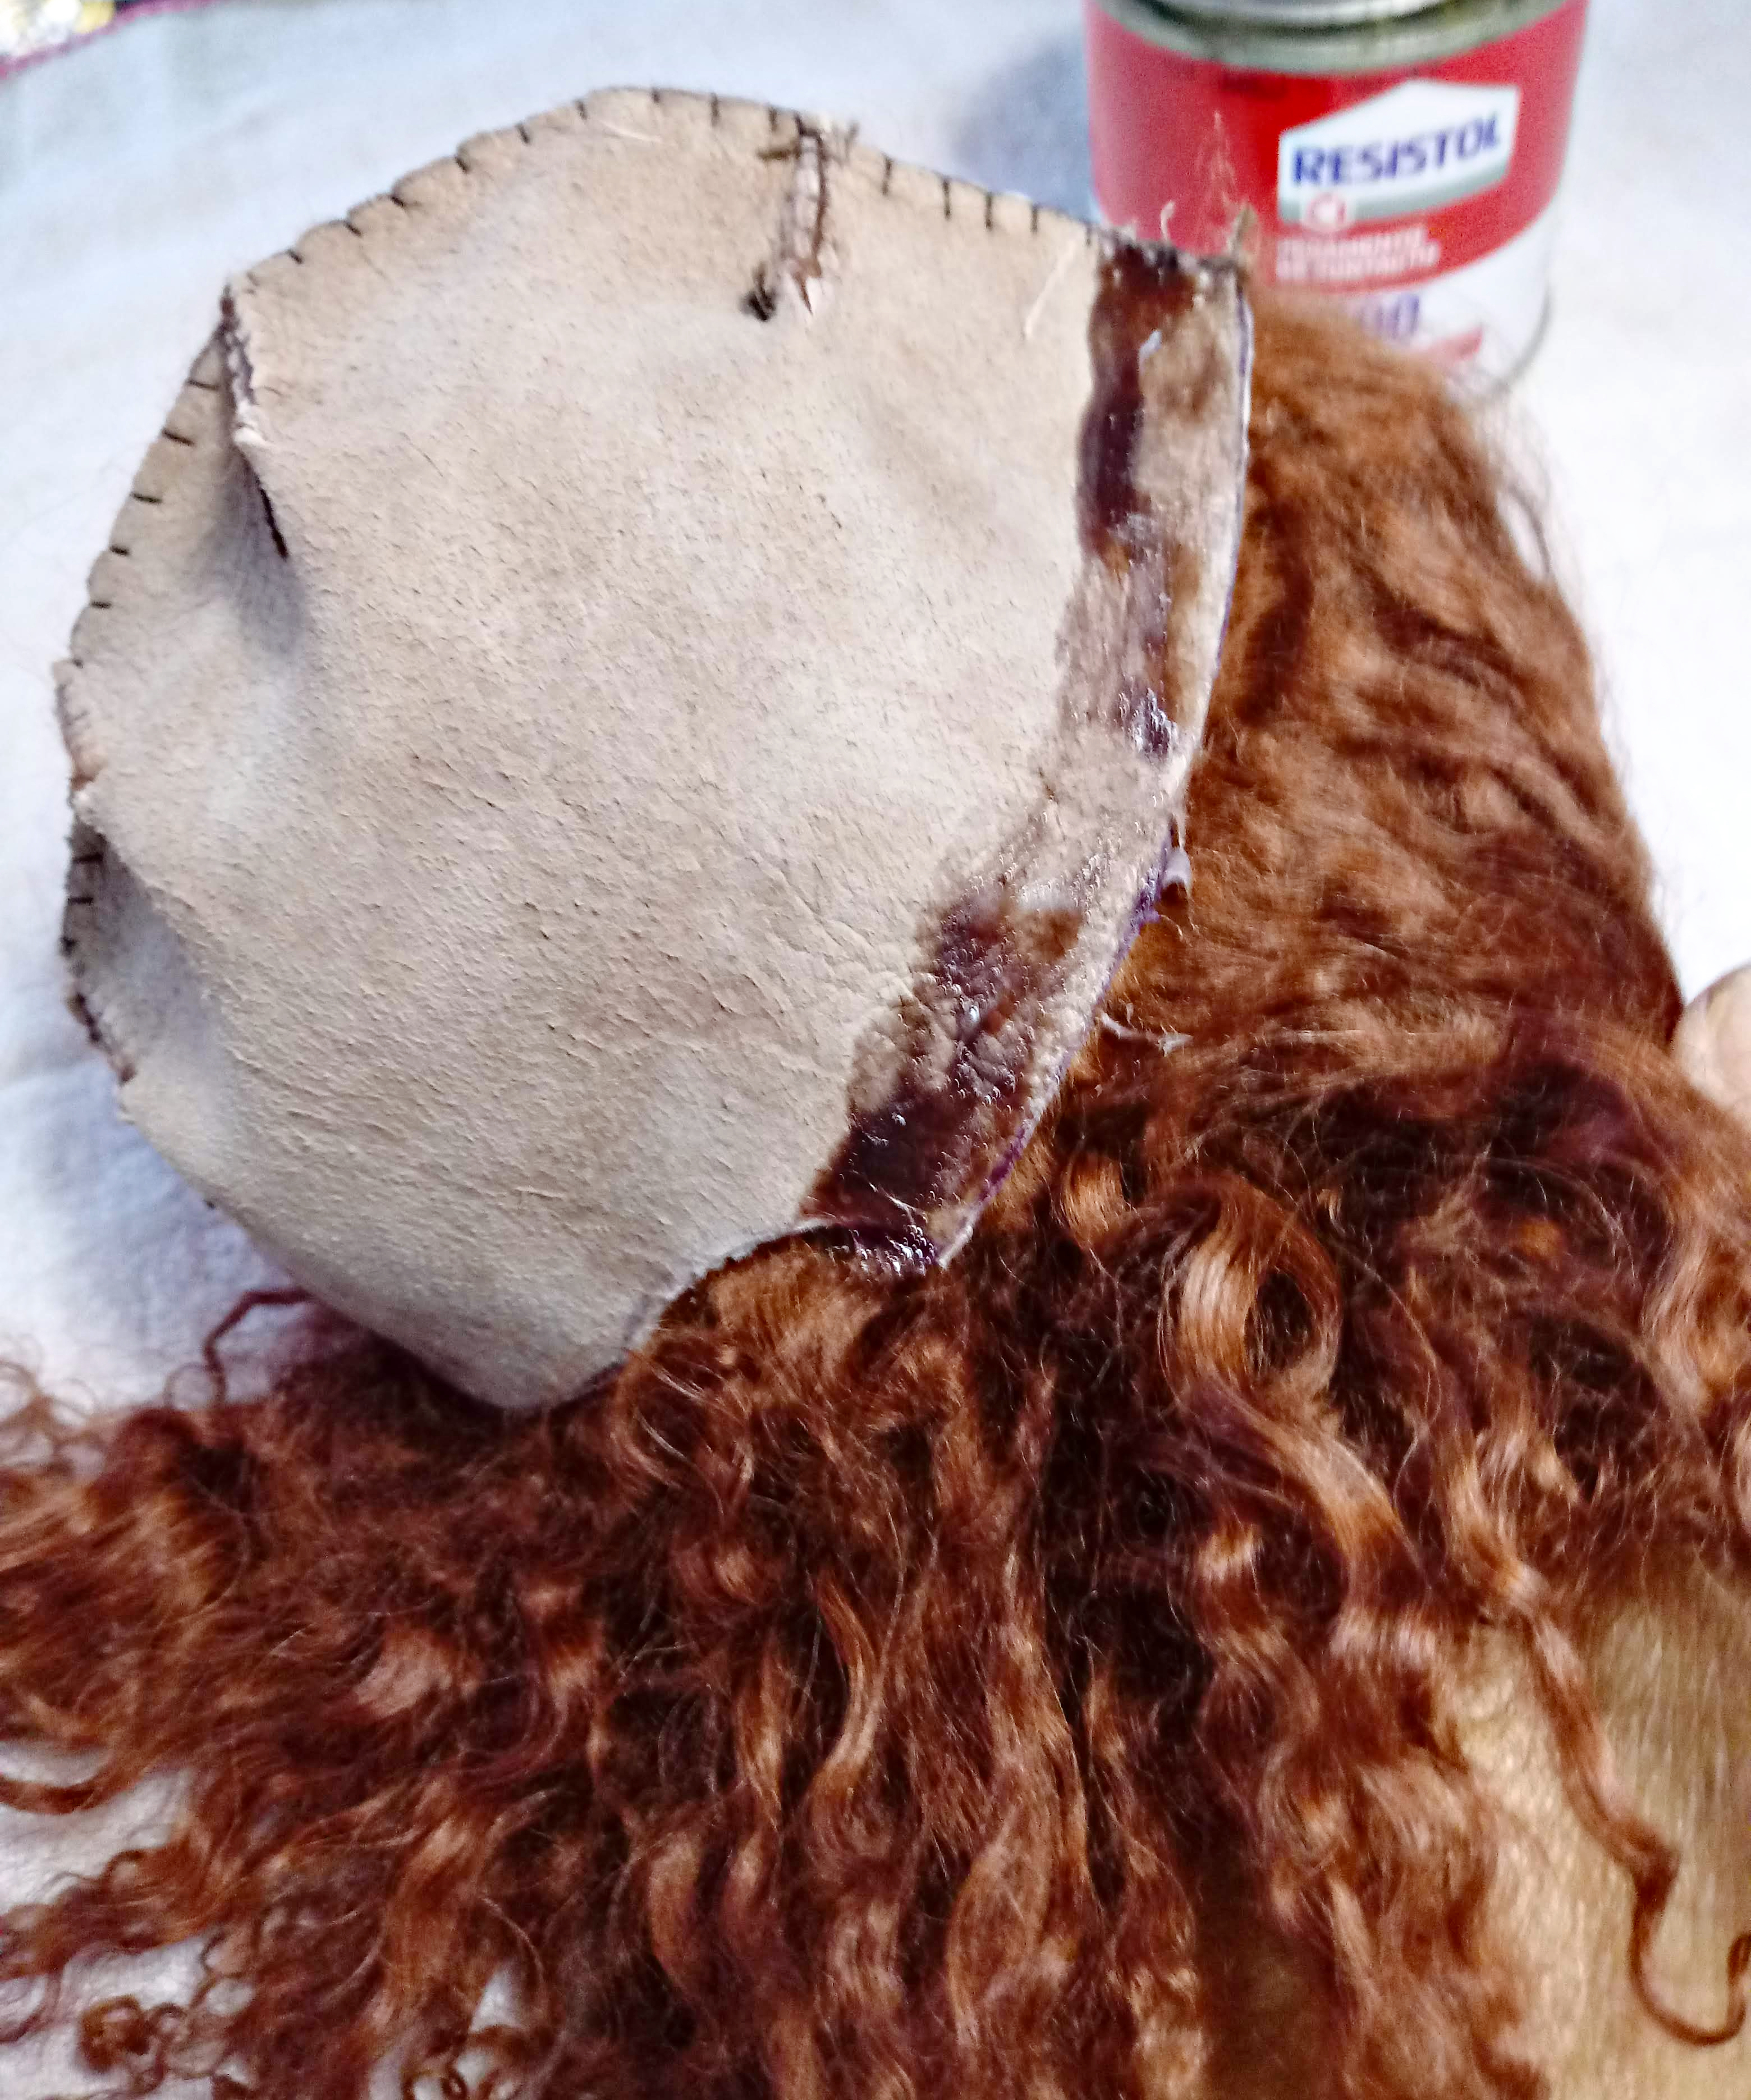
Also make sure to put glue over the seam you have stitched so the hem will stay down good in that bulky spot
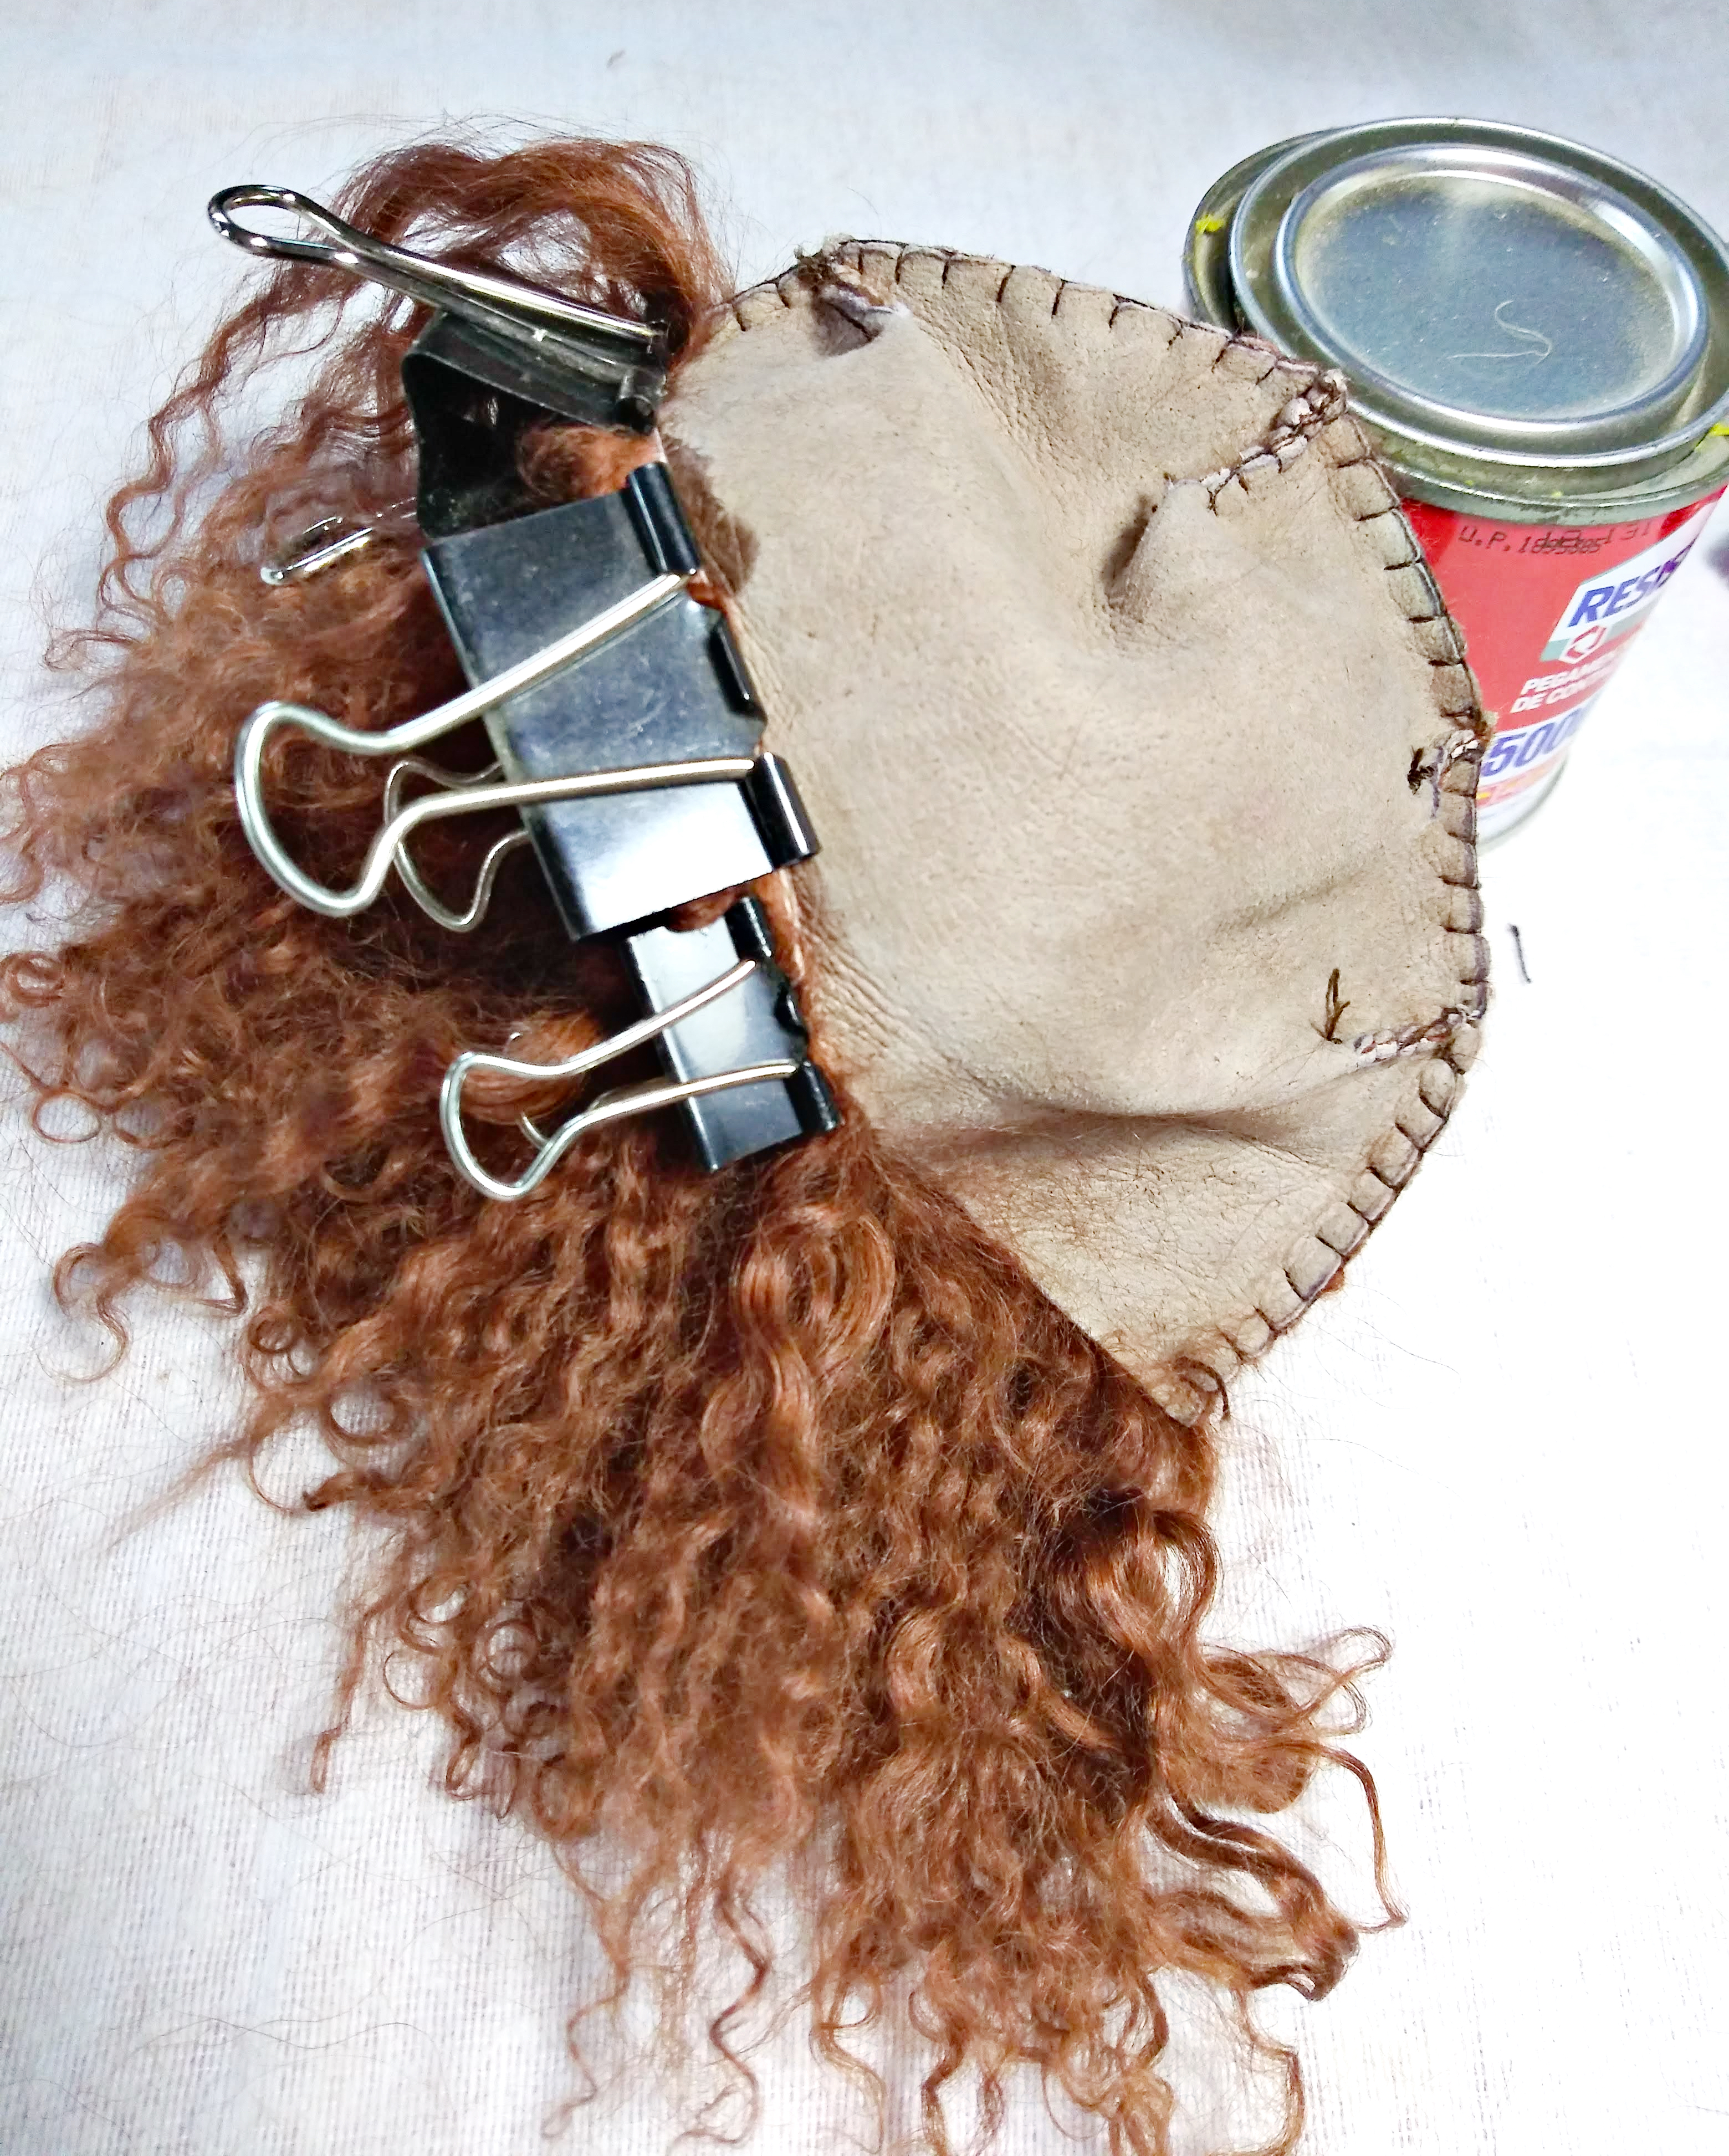
Wait for the glue to lose it's shine, meaning it has dried enough to have tack. Fold the front hem over 1/4 inch so it's touching glue to glue.
Now I usually use office clips to hold it together for about 5 minutes but it isn't necessary. You can hold it or put something heavy on it
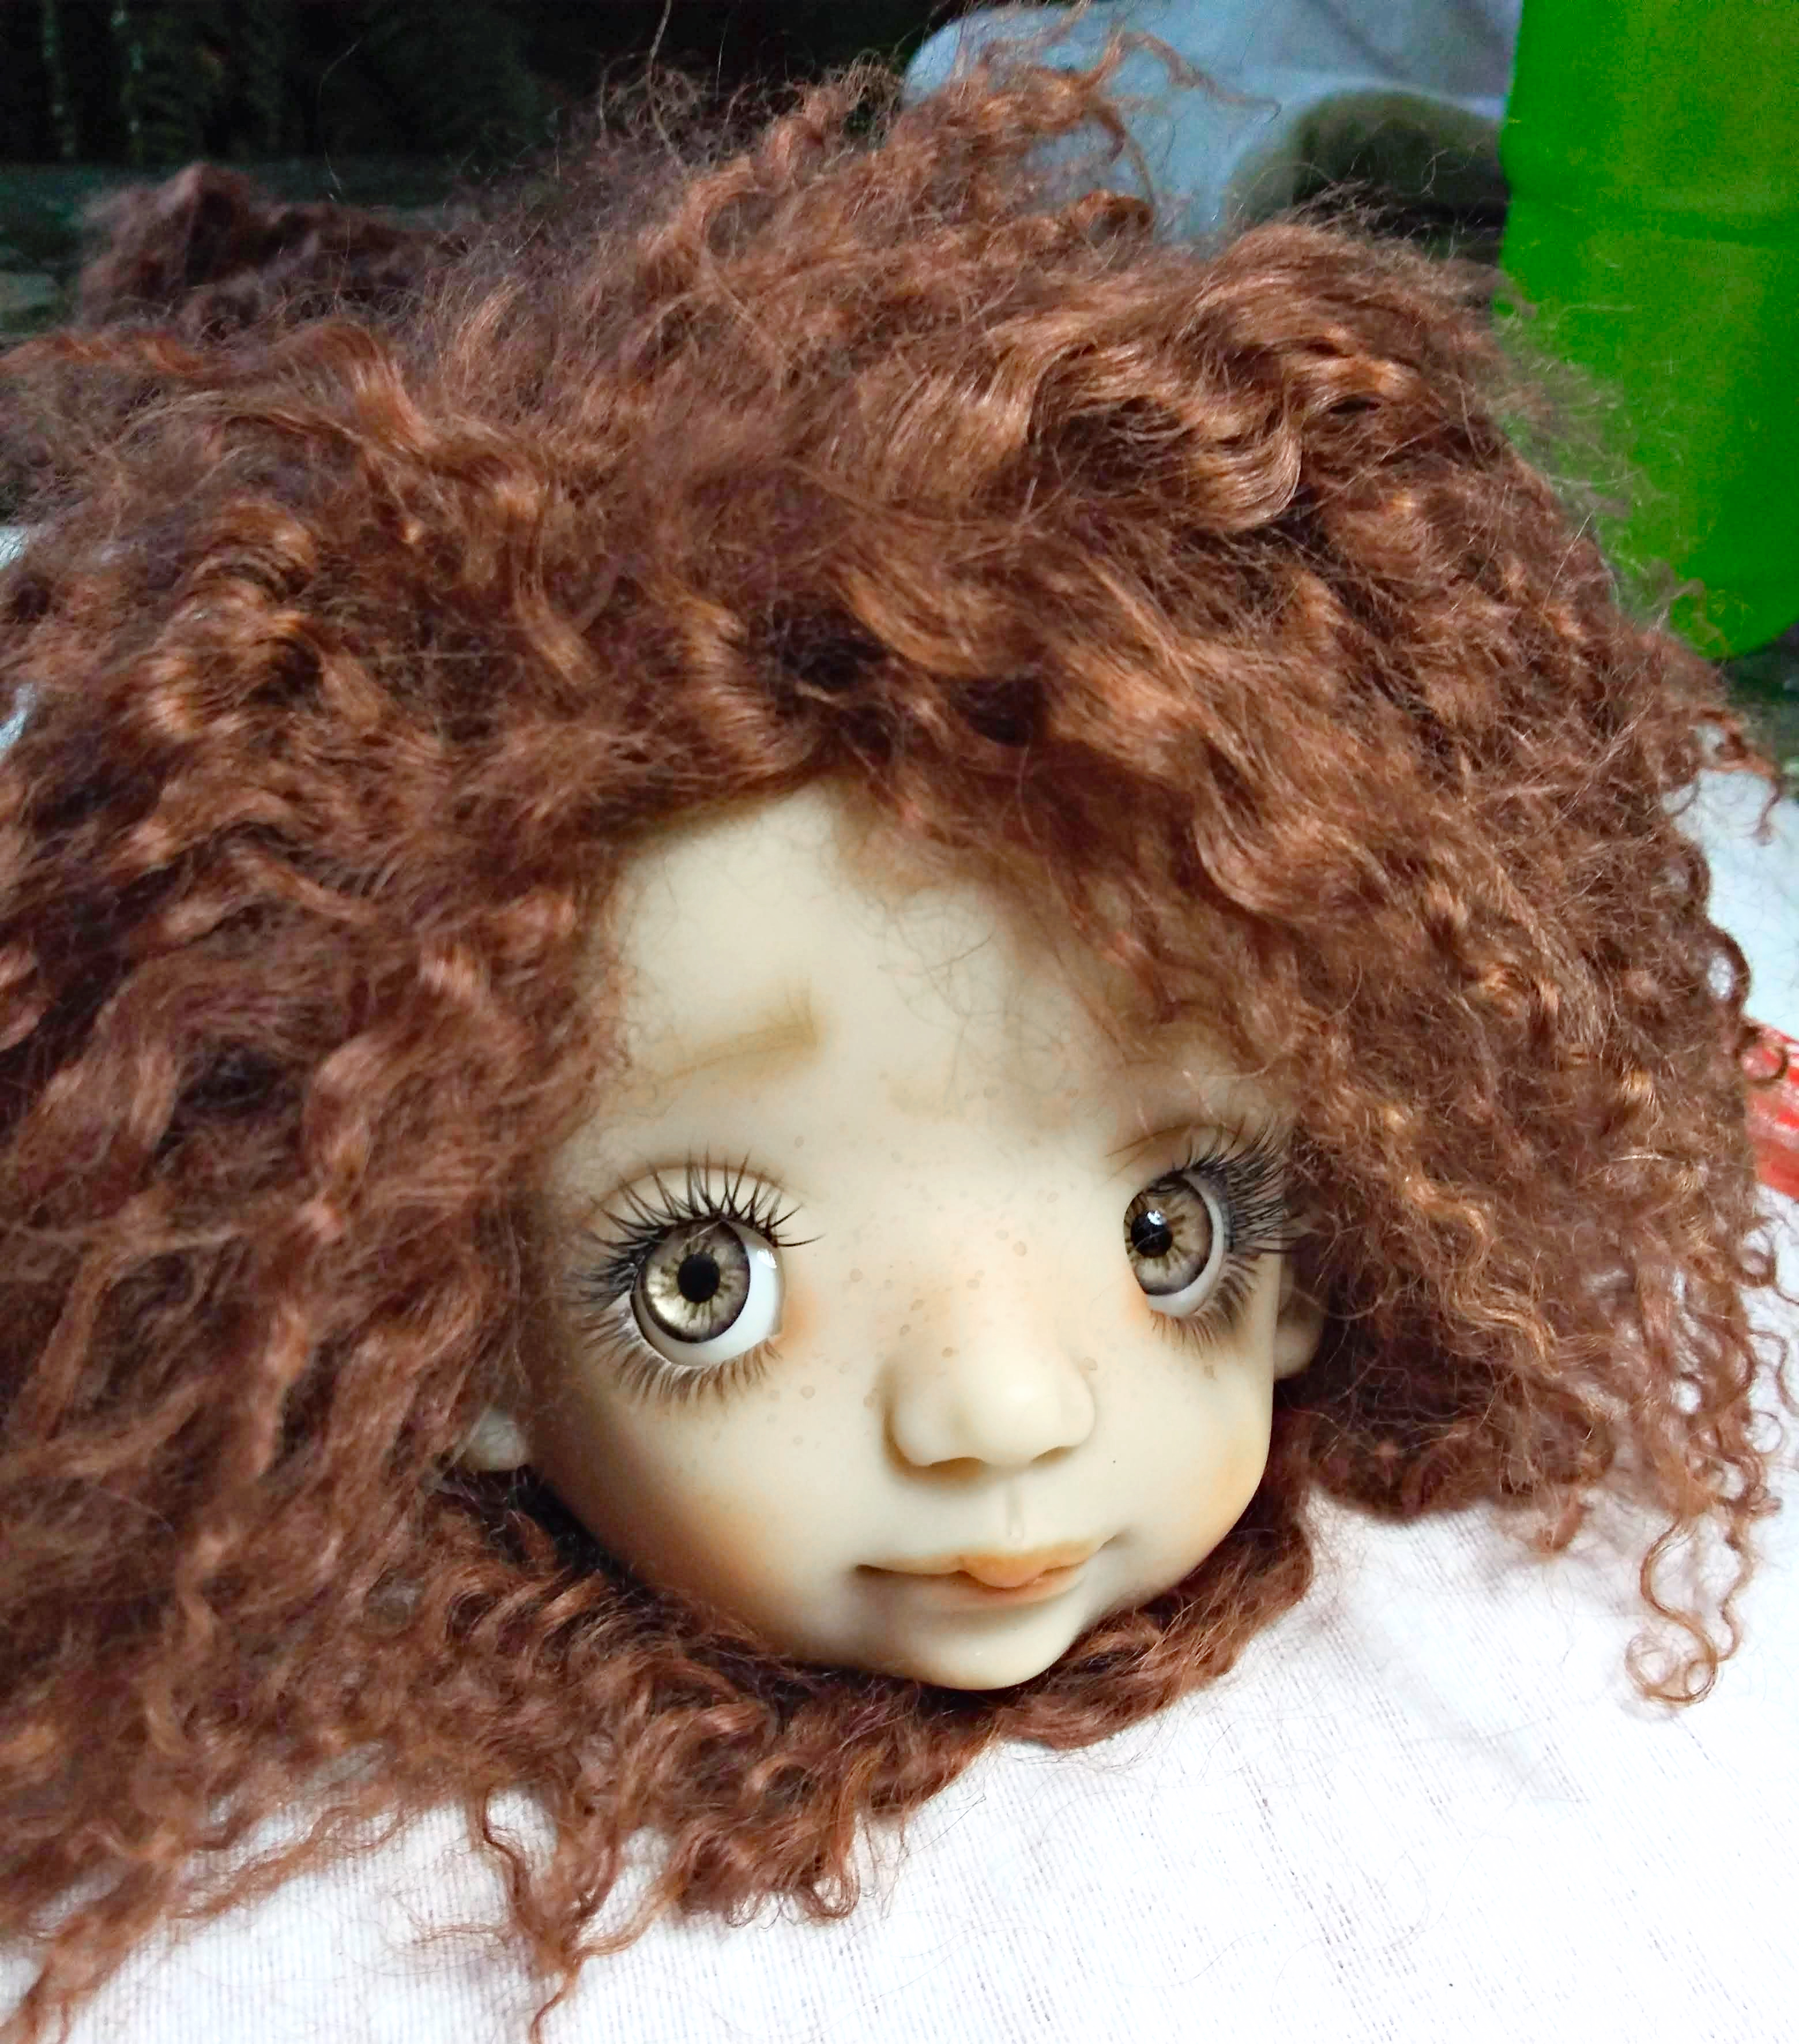
And here we are at the final destination, great job! I hope you feel accomplished and go on to make many more
your wig is very sturdy and can be treated just as you would human hair. Feel free to brush it and style it as you like. Cut bangs in it, add mousse or leave in conditioner. You can wet it too. I try not to saturate the backing but it's a great way to regenerate curls. Wet it, and leave it to air dry. Also sometimes it's easier to make tight, tidy braids if its wet.
Add buttons, bows and gizmos! Have fun!